Menu toggle

8000 rpm 3.2 engine?

Had the great fortune to attend the Midland Hill climb Championship Awards bash last night with about 140 others, all dressed-up in posh rags, barely recognised anyone!

We started doing the Championship in 1992 maybe '93, in my old 911, the one I still have.

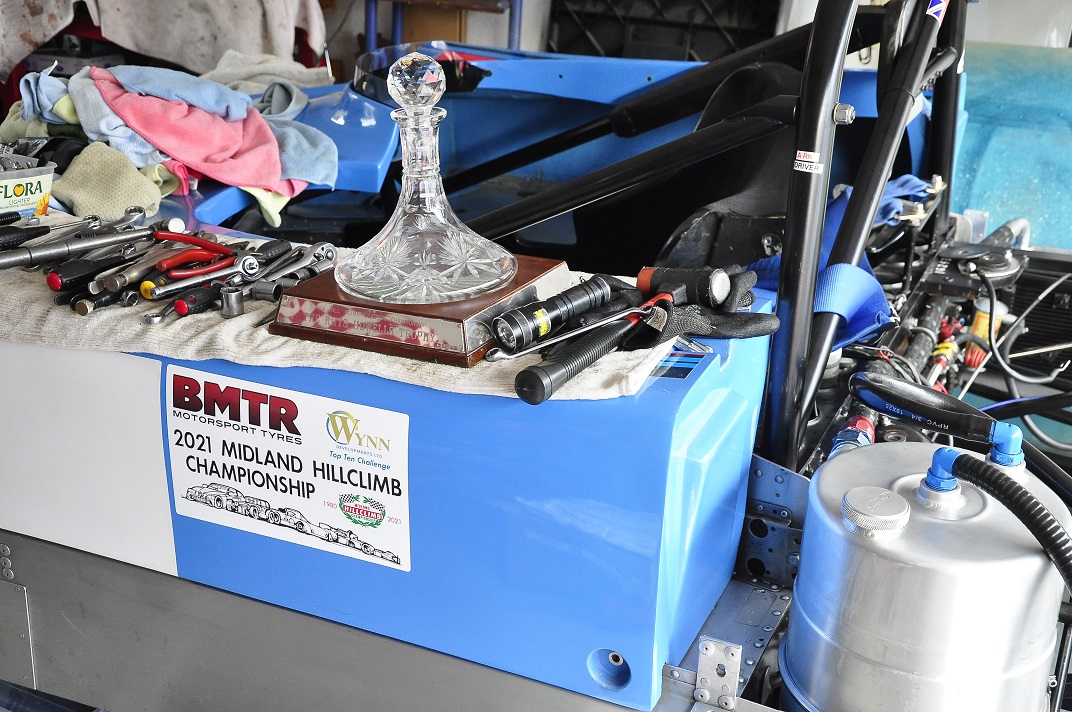
So many trophies were handed out to winners and people who support this Championship and hillclimbing in general, some needed a lorry to take their stash home.

Some classes have a dedicated award with history behind them and another to keep, the boxes pile up fast.

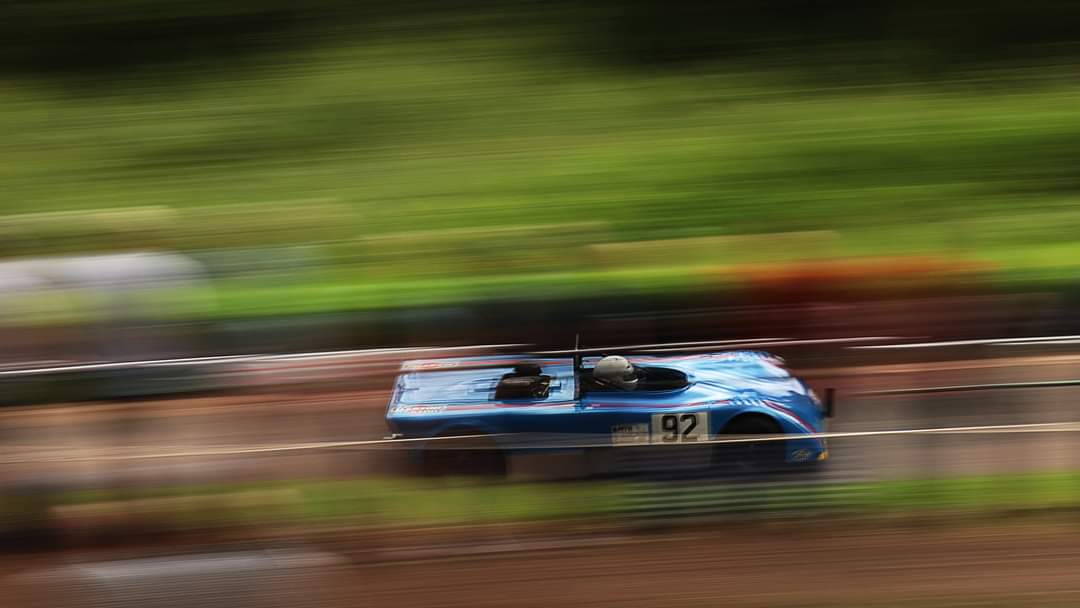
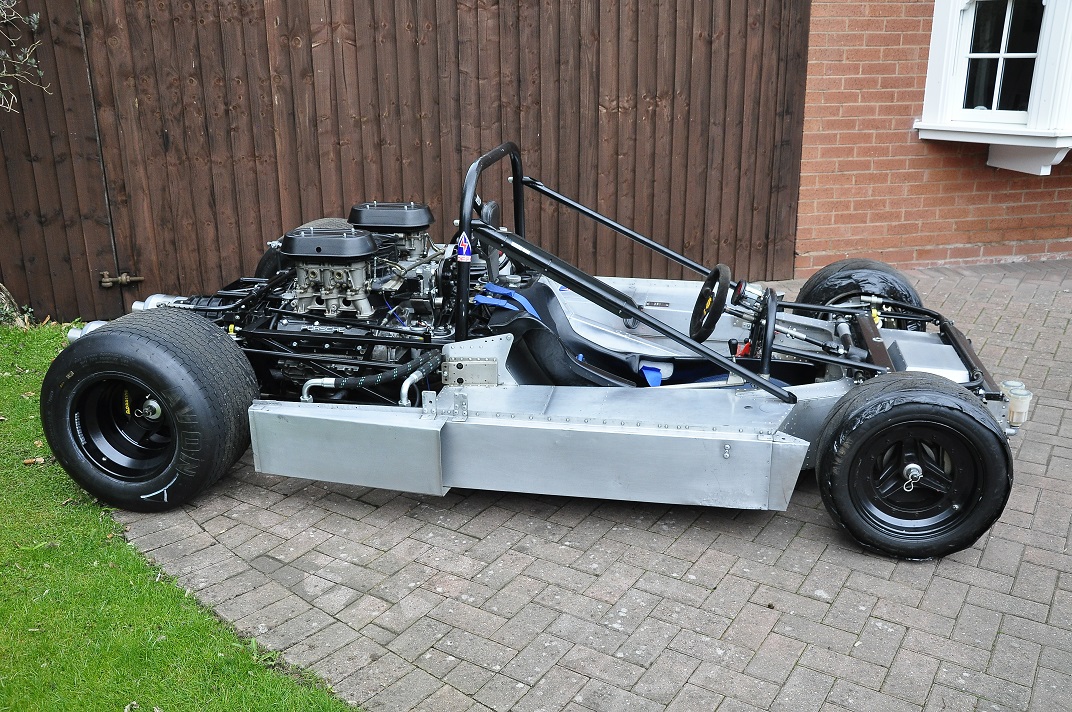
We have had a great season. The car has been perfect, even the driver operated it well on a few occasions, and seeing as I never won the class once we managed to lift the Class Win for the 4th time in 29 years, all wins with the lovely Lola-Porsche.We have had all these years with great class mates, some I've known for 30 years and all add so much richness to the weekends.
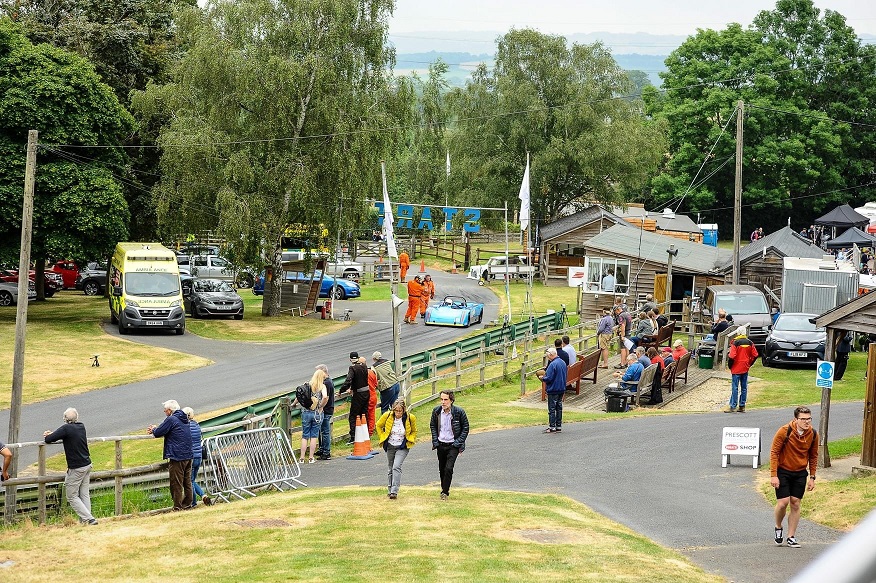
We have done 9 meetings and the fabulous PCGB Porsche day at Prescott.

Seeing as we always turned up the few points we won gathered pace and as several (all) the class registered runners only did a few of the meetings, we won through.

So, Class win #4.

Never 29 years ago did I dream this would happen.
Hard work and a touch of perseverance and a totally supportive wife sure reaps rewards.

I should add another DDK member took home an awful lot of awards, he might tell his story.

I hope you will forgive a few moments of Bragging Rights.
drunken_smilie.gif


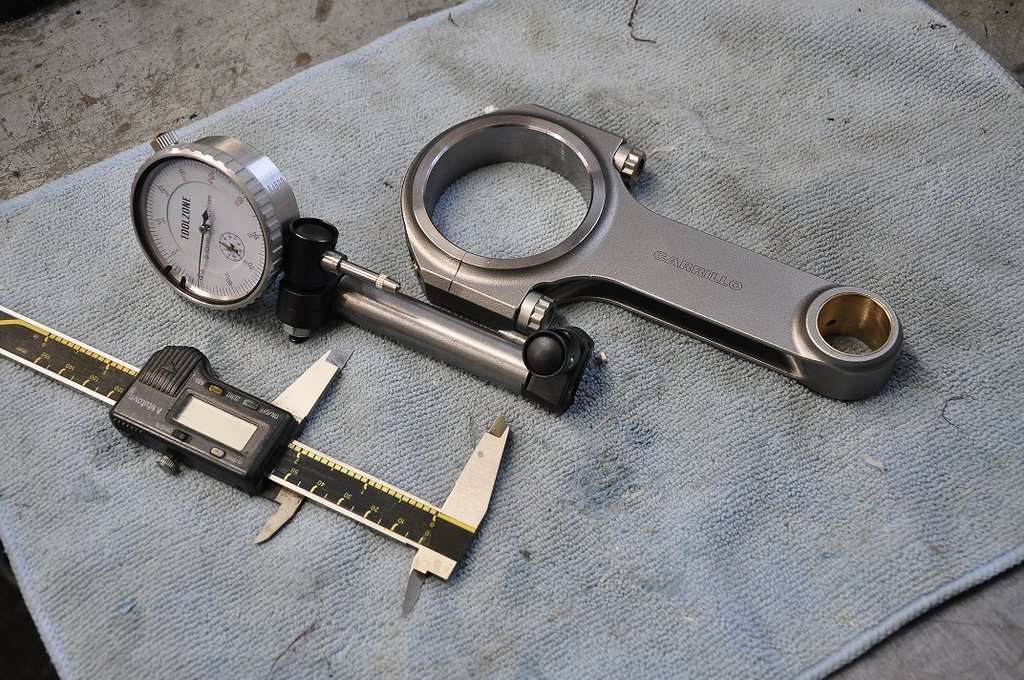
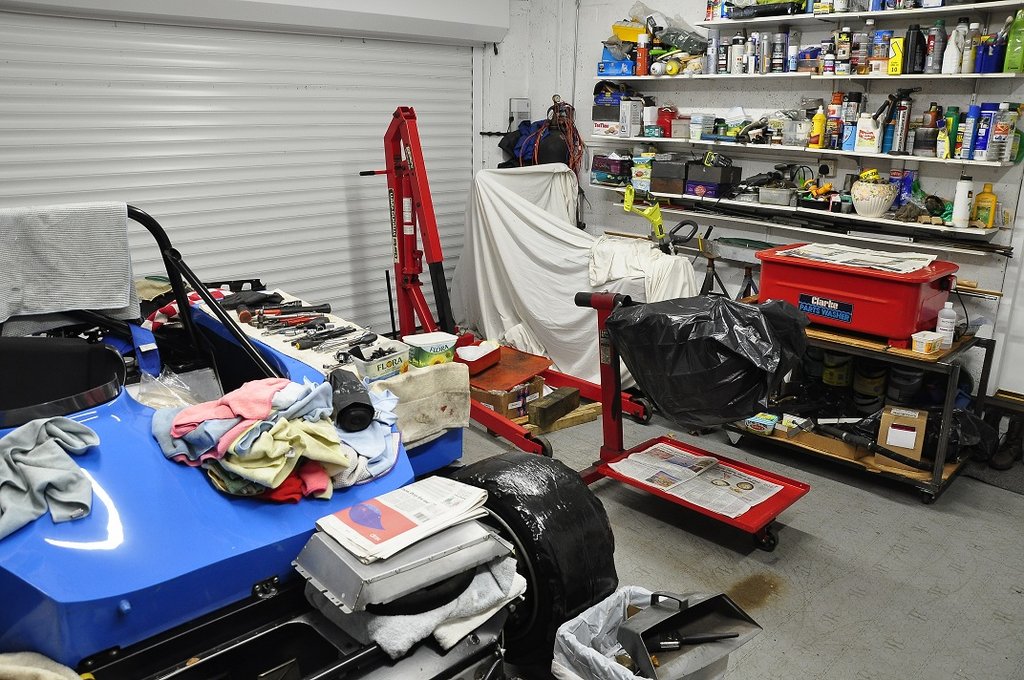
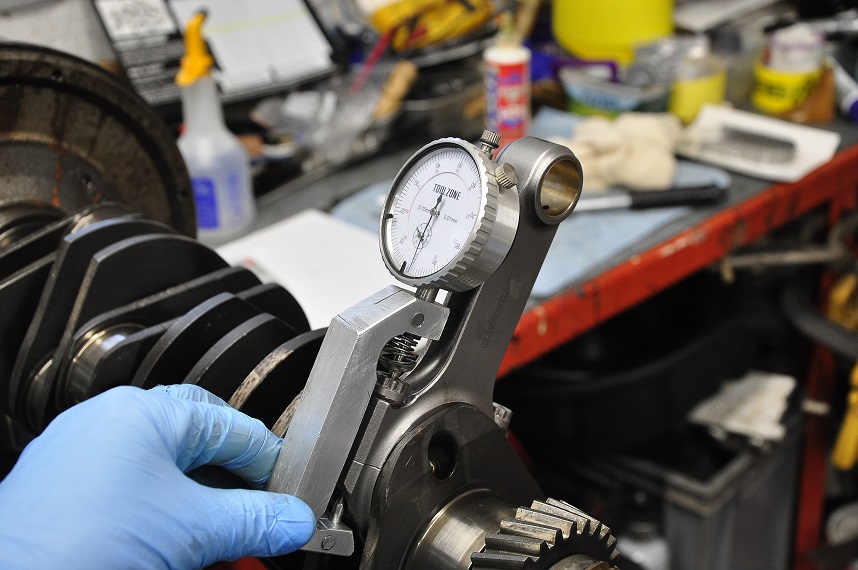
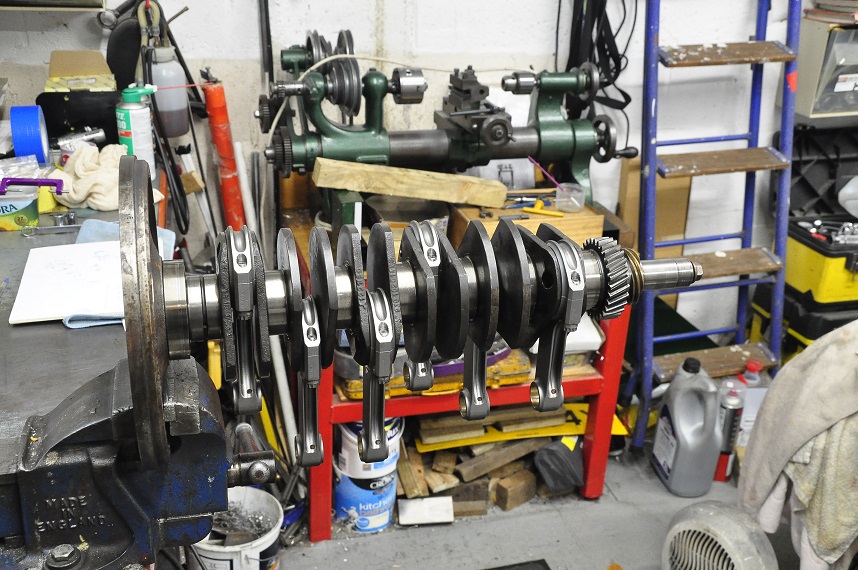
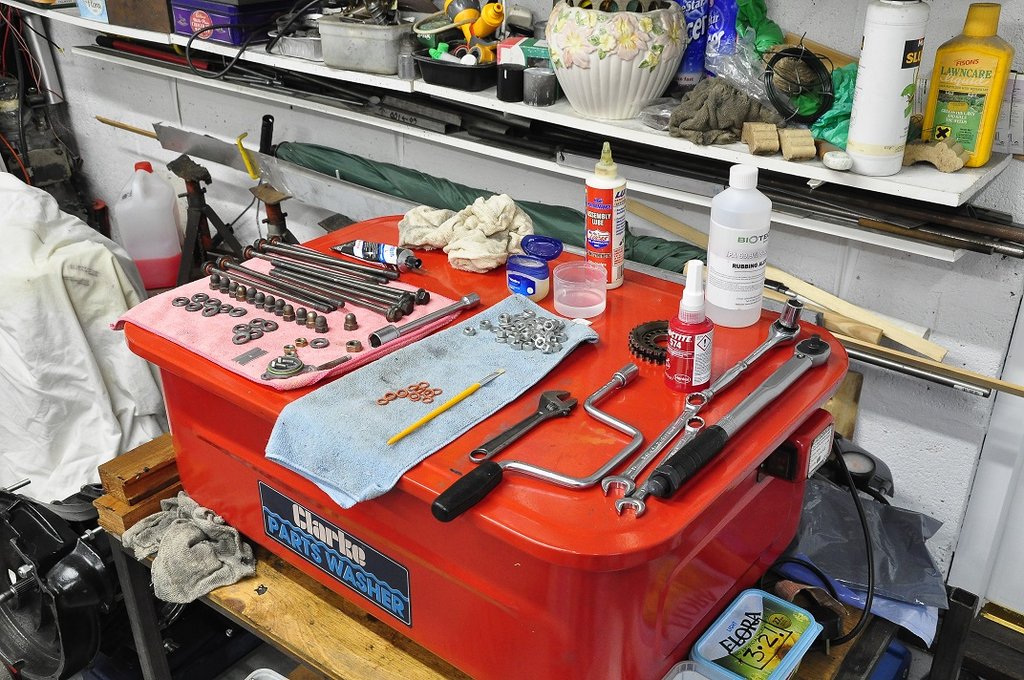
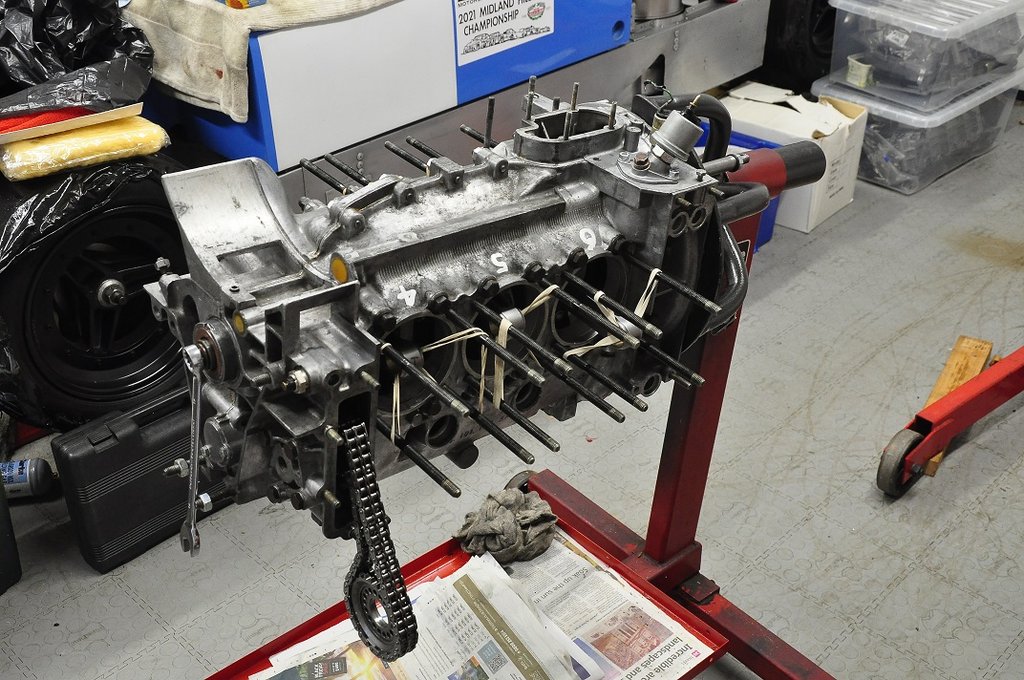
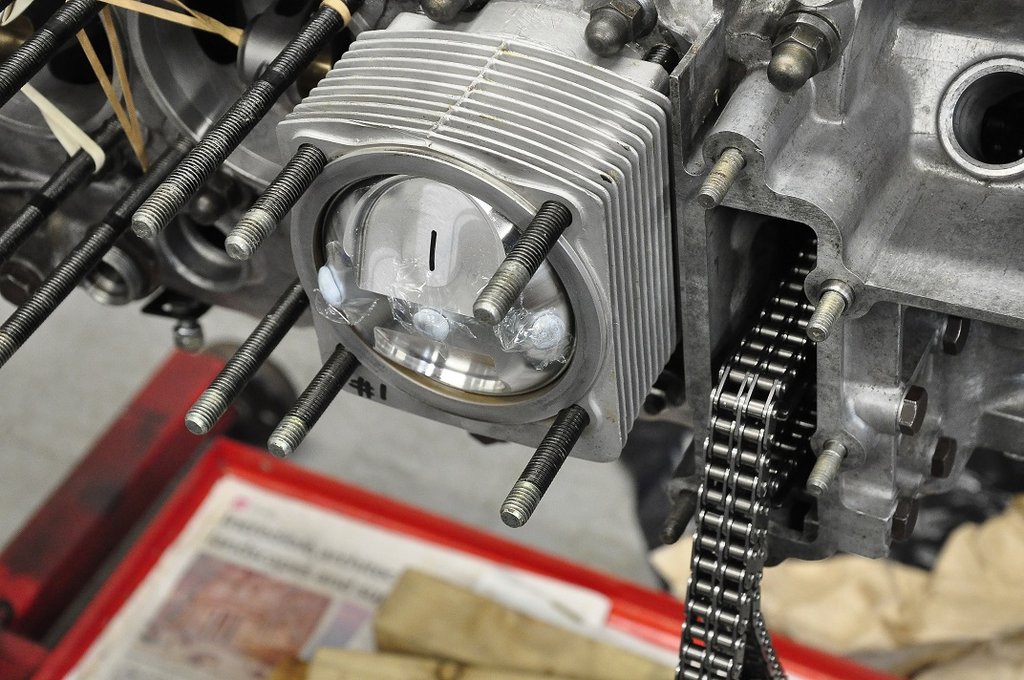
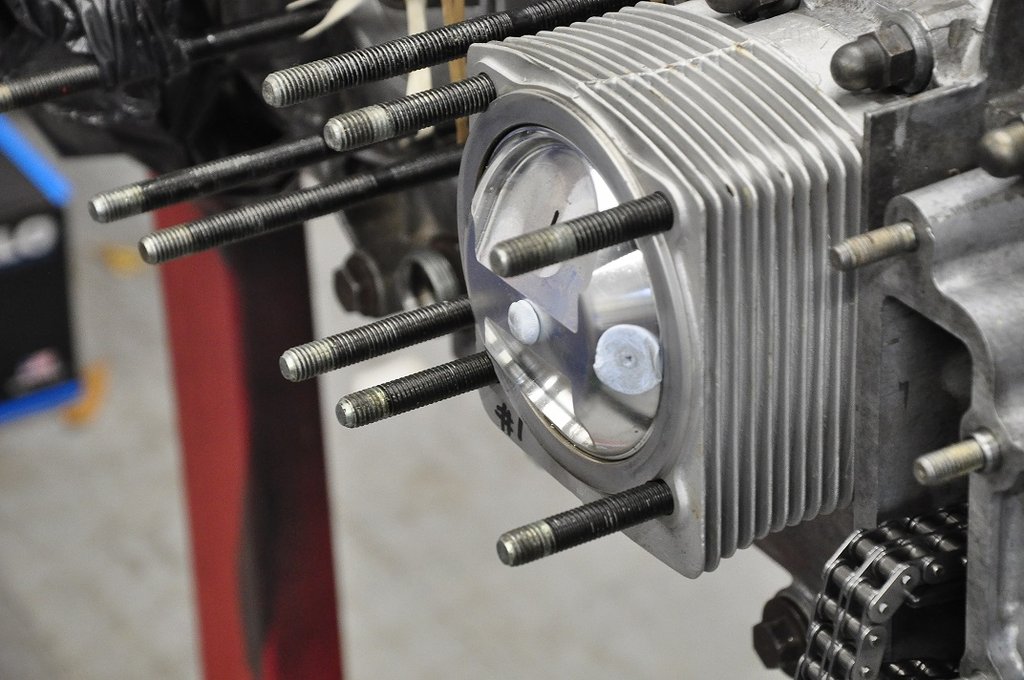
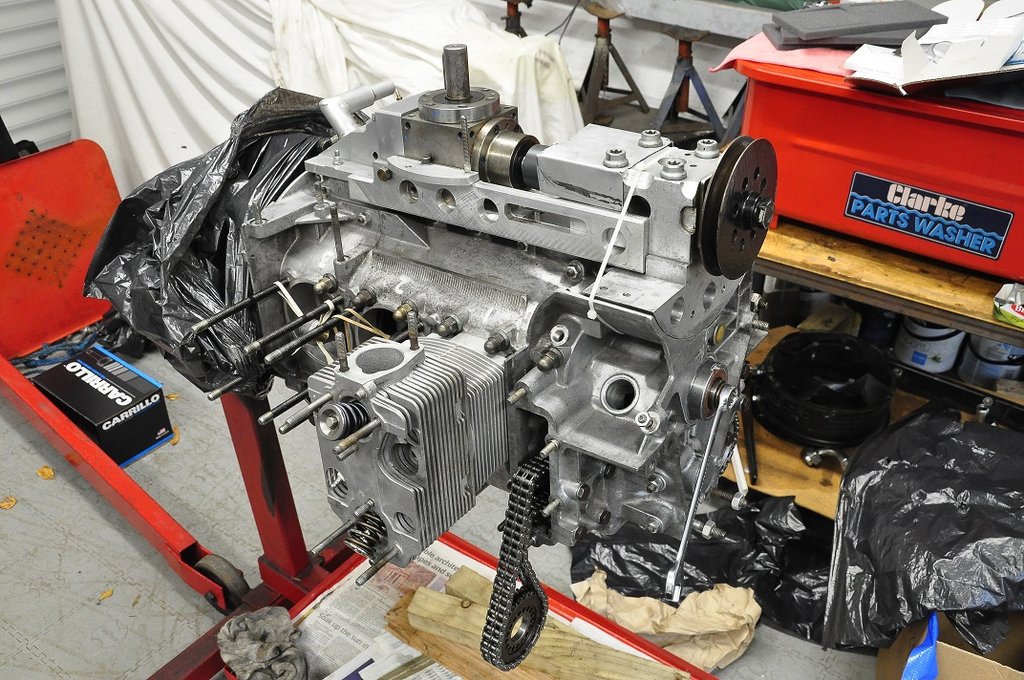
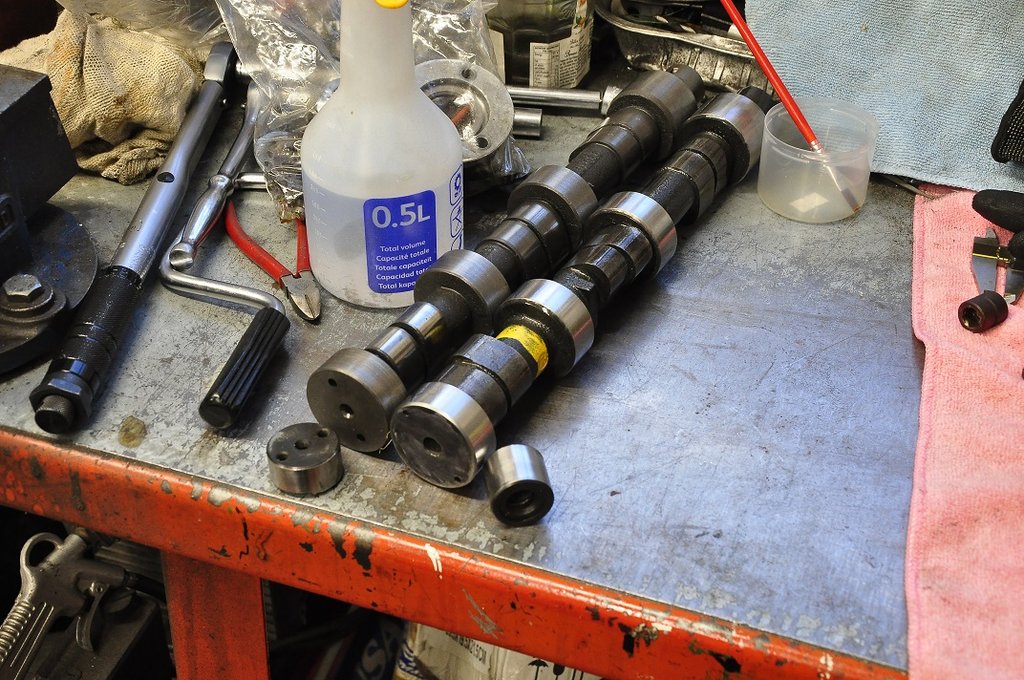
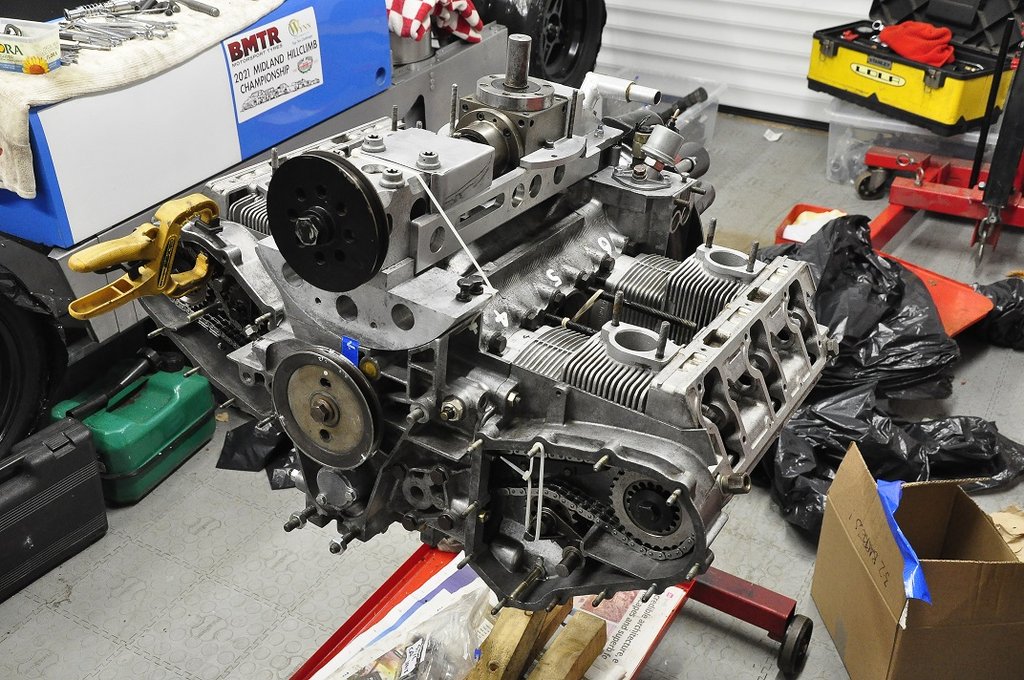
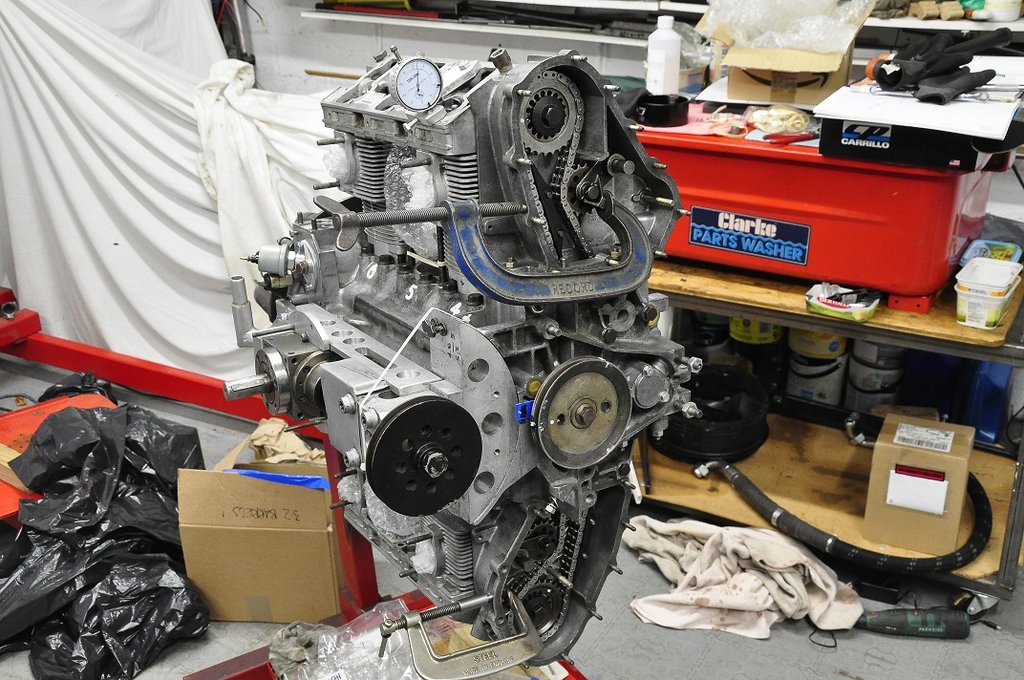
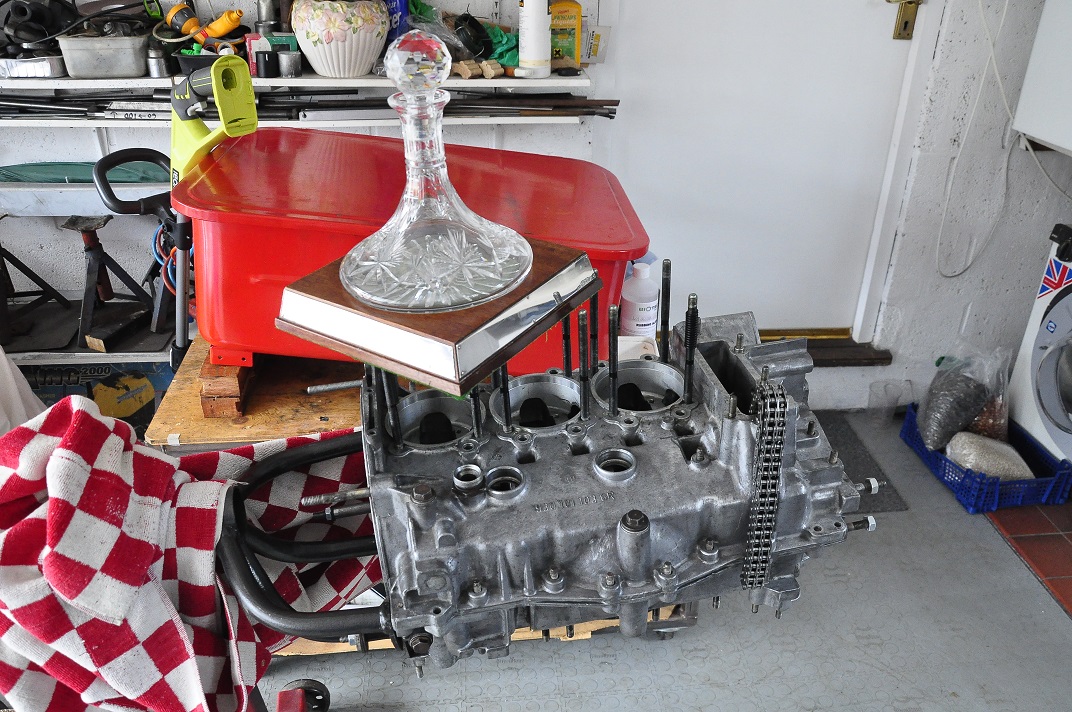
And a few pictures from the year:


Thanks Andy, hope the 1,000,000 bhp from this new engine will make 2022 better still!

Wiscombe?
Spectated twice, what a lovely hill it is, even in the rain...
Long way to tow down there, but many say I should do it, same as Doune in Scotland.
Maybe!
 
Congrats Graham … perseverance has paid off! ??

Hopefully those extra revs - plus a decent gearshift! - will help you lift the 5th Class Win next year.

Jeff
 
A few OFFs go with the territory everywhere!
I think that was David Seaton a few years back?
Had David in the class a few times, even beaten him once!!
 
Thanks!

Time to get going on this little engine.

The debate about how to measure to 1 thou the stretch of the con rod bolts is resolved, I will use my digital verniers.
They give easy access and (in my hands) a repeatable result, despite my nerves.

I did 'make' a dti gauge like those sold all over the USA and used by the professionals, but I find them clumsy.

I've washed the crank, poked and washed the oilways with proper oil way brushes and carb/brake cleaner rattle can.
Dowsed the thing in WD40 after mounting it on the old flywheel.

The rod bolts need a 1/2" 12 point socket and I only have metric, too loose @ 13mm. A mate is bringing a selection of 1/2" for me to try later this week (ex Snap-On dealer).

The lower crank case has been cleaned 5 times using brake cleaner, oil drillings brushes and a scriber. All old sealant is off and all flushed out.

Black bin bags all cover the parts ready for an assembly. I expect to do the rods/crank Thursday and lay the crank/inter shaft and chains in the new mains after Xmas.

As to bonding the cases, that will be between Xmas and NY when I have the day clear in the garage.

The garage is getting as messy as Rob's!


Time to crack on a bit with this engine.

Have all the bits, the tools and with my head clear, time for the rod installation.
Never done this before, so a bit new, but quite straightforward save for a few things...
The Carrillo bolts are pre-assembled to the rods, so they all needed cracking loose and one by one removed. I weighed the rods.
They are all within 0.5 gram of each other.

Mounted the crank on an old flywheel horizontal in the vice. I think this was a good move.

Cleaned the first rod journal, the rod faces and he new shell faces, assembled the lot with a nice smear of assy lube and snugged the freshly greased bolts to 12 lbft.
Rods slipped round the crank a treat.

With my home modified DTI, set the gauge to Zero and the limit markers to Zero and 0.170mm, the amount the bolt has to be stretched to.

One bolt at a time applied the torque (wrench set at 75 lbft) with a fresh 1/2" 12 point socket. The torque level to reach this stretch is considerable.

In 3 steps got to 0.17mm stretch. Quite hard work!
Second bolt on the same rod, again a fight to get 0.17mm, only 10 more to go!

Eventually got all on the crank and all at 0.16/0.17 mm finally resorting to a LONG breaker bar and judgement.

Watched a video the other day and the tech said make sure you are strong enough to do the job. Now I know what he meant.

Job done and all rods slip round the crank.
Used up 3 sockets in this, the new Sealey one lasted 3 bolts, 2 others a further 3, and my old Britool 1/2 finished the rest off with ease. It is of course British made and 50 years old.

Have to say, pleased that is over with.

Case assembly next.


I'm mightily impressed by your skills and attention to getting everything just right. I've also been following your posts on Uphill Racers. This is what a car club is all about, never mind the fancy Clubhouse. Seasons greetings to you, I hope I'll have the opportunity to see your car in action in 2022.
 
Thank you Andrew.
These engines only work if you are hyper careful.

The crank and intermediate gear, oil pump and cam chains are now in the lower case half with fresh bearings.

Soon will be fitting the top case half but after Xmas/Boxing day. That is a busy stage and critical effort to avoid oil leaks....

Waiting for my JE pistons to arrive with 11.5:1 cr and the next adventure commences! They should be in the UK 2nd week of Jan.

Plan is to get the engine built and back in the car for the end Jan and then to the ignition which I'm dreading.
 
Big step today, the build of the short block, 4th time for me, still makes me nervous.

Preparation and cleaning the order of the day, and all Boy Scout stuff, "Be Prepared".

Tools laid out and cleaned, all the bits required from the gasket set (which has an excess of some O rings), fresh sealants, cleaner, sockets sets and cleaner.

Lots of work then The Moment and the clocks starts ticking, 40 mins to get it all up tight.

Went well, not much drama (that came later) and even felt I was a near expert, but far closer to dangerous with a little knowledge. Dempsey Handbook always there, great book to follow.

All fasteners tight and checked 3 times to torque, fiddly chain ramps in place and time to stand back and admire the architecture of the air cooled flat six, an engineers dream.
drunken_smilie.gif

With everything tight, time to turn the crank, hopefully more than 720 degrees.

Fat chance as the crank came to a very hard stop after 45 degrees. What a horror, first thought was the one con rod was hitting the oil pump (you can get that scenario if you change to a bigger pump).

Found #3 rod solid. Backed off the crank and the rod was free. Stared at it (no swearing oddly) and thought I would hold #3 in it's correct position, ie about the centre line of the bore as if with it's piston.

Crank moved freely, 5 revs and all is well and SO VERY SMOOTH.

Decided to suspend the rods with elastic bands as noted on an engine rebuild at Greatworth Classics at the Autojumble. All rods now 'on centre' and the crank is beautiful.
Flywheel on with ARP bolts and all the right potions for assembly to 70 LbFt.

So, the end of a day, great to get this one done too.
Just need some pistons for the fun to continue.


Had a pass-out for this afternoon, so decided to check the squish 'height', crown height, and the rest of the ring gaps.

To the first, mounted the piston to the rod with #1 barrel and an old copper base gasket, then added 3 pea sized pellets of BlueTac on the sides of the piston dome and the very top with a smnall piece of cling film over the top so when crushed the bluTac would not stick to the piston.
Advanced the crank well over TDC.
Added the #1 head and torqued the lot to final spec, 26 lbft.
Rotated the crank until you feel the blutac being squashed and then over tdc for about 30 degrees.

Remove the head and measure the crushed BluTac with verniers.
Repeat for the RH side.

Results were 1.72mm and 1.76mm (doubt you can call the last digit accurate) Squish. So, about 70 thou. and the top was about 3mm!
I'm happy with that.

Thirdly, placed the top ring in all the other barrels and all need opening up from a gap of 12 thou to 15 thou, none larger.
JE spec is 17 thou min, the second ring is 4 to 8 thou wider.

Awaiting Peter's gap grinder before I can get serious.

Next step is to build up both sides dry and set the cam timing. (what joy) and then advance the inlet 80 thou via the rocker screw and rotate so carefully the crank 720 degrees to feel for interference.

If clear, drop the inlet back and do the same with the exhausts but to 100 thou and keep my fingers crossed....


Managed some hours getting the engine to a dry build, ready for cam timing and valve interference test.
This too k ages, partly due to my stupidity.

I ordered the cams and forgot to tell them to delete the rear drive pots on the back of the cams as James had warned me. Forgot.

So, spent some time sawing the stubs off and levelling the back, bit nerve wracking on a pair of £1300 cam shafts, but all done. Cast iron is nice to cut!
Checked the fit of the woodruff key in the cams and found them too tight so out with the needle files and some carful thinning of the keys and all was well.

Built the cylinders up missing out #2 and #5 as not needed for this task.
Assembled each side with the engine on it's side so gravity was always keeping the chains in place and slowly got it all together, just the rockers in #1 and #4 heads to fit and I'm ready for endless fun with the DTI gauge.

However, for a bit of relaxation, helping a fellow DDK'r take his engine out of his 911 tomorrow.
icon_smile.gif


Just caught up with this Graham. Excellent precision work - very impressed with the level of care and thoroughness!

I’m wondering if the same was true when the engine was assembled originally? Having said that, the engine tech had all the jigs and tools readily at hand and probably had assembled so many engines that he/she could have done it blindfolded. ??

Good luck with the cam timing procedure.

Jeff
 
Graham,most impressive-where has the piece of kit now mounted on the engine with a pulley,bevel/mitre gearbox etc come from ?
Also.I trust you have used riveted links on the chains.
 
Thanks Jeff, yes, this is my 4th 911 air cooled rebuild, but with standard parts it is MUCH easier!
"Now is the time to take your time"
Vitesse, the parts on top of the engine are the one-off parts made for a top mounted fan, or 'Flat-Fan' and were custom designed by 3 blokes in a pub..for real on a knapkin.

I was not involved, but one who was told me that.

The chains are link-less, I don't fancy linked chains running at 8000 rpm.

Had a first go at the cam timing on this dry-build step this afternoon, left side came out perfect first try!

Right side was not so good, 4.7 mm instead of the required 5mm.
Will correct that tomorrow.

Just to add variety, helped take a friend's 911 engine/box out of his '73 rally car this morning.
Rallies sure make an engine dirty!

Back to the precise stuff tomorrow and checking for valve clearances to pistons.
What can possibly go wrong comes to mind.
 
Spent several hours on the dry assembly to conclude it.

Got the cam timing of the GE60 to 5mm (range is 4.8 to 5.2) on both sides.
The LHS came on 5mm first setting!
icon_eek.gif

The RHS came on 4.7mm and took several iterations to get to 5mm.

So far, so good, then the evil bit, checking the valve to piston gaps...

Started with the LHS inlet and clearance is 2.5mm (min is 1.5mm allowed) and thus lots of room.
RHS inlet was 2.35mm
LHS Exhaust was 3.25mm (2mm minimum allowed)
RHS Exhaust was 3.25mm

Phew, all ok and room to spare.

Will check it all over gain tomorrow and then tear the lot down.

Have the loan of a DDK ring gap grinder, so gapping all 12 rings next which will be a joy.
icon_wink.gif


Just one pic covers 3 hours.


Posts made and opinions expressed are those of the individual forum members

Use of the Forum is subject to the Terms and Conditions

Disclaimer

The opinions expressed on this site are not necessarily those of the Club, who shall have no liability in respect of them or the accuracy of the content. The Club assumes no responsibility for any effects arising from errors or omissions.

Porsche Club Great Britain gives no warranties, guarantees or assurances and makes no representations or recommendations regarding any goods or services advertised on this site. It is the responsibility of visitors to satisfy themselves that goods and/or services supplied by any advertiser are bona fide and in no instance can the Porsche Club Great Britain be held responsible.

When responding to advertisements please ensure that you satisfy yourself of any applicable call charges on numbers not prefixed by usual "landline" STD Codes. Information can be obtained from the operator or the white pages. Before giving out ANY information regarding cars, or any other items for sale, please satisfy yourself that any potential purchaser is bona fide.

Directors of the Board of Porsche Club GB, Club Office Staff, Register Secretaries and Regional Organisers are often requested by Club members to provide information on matters connected with their cars and other matters referred to in the Club Rules. Such information, advice and assistance provided by such persons is given in good faith and is based on the personal experience and knowledge of the individual concerned.

Neither Porsche Club GB, nor any of the aforementioned, shall be under any liability in respect of any such information, advice or assistance given to members. Members are advised to consult qualified specialists for information, advice and assistance on matters connected with their cars at all times.

Back
Top