
Well here with go with Part 2 of Project 991 and another major change....
I like to have a car that's unique and though I often stress about the details, the reality is that it gives me something positive to focus on (despite all my health problems). I've been modifying cars for almost 40 years and admiring Porsches since I was 8, so the phrase "I couldn't find the sports car of my dreams, so I built it myself" really resonates
")
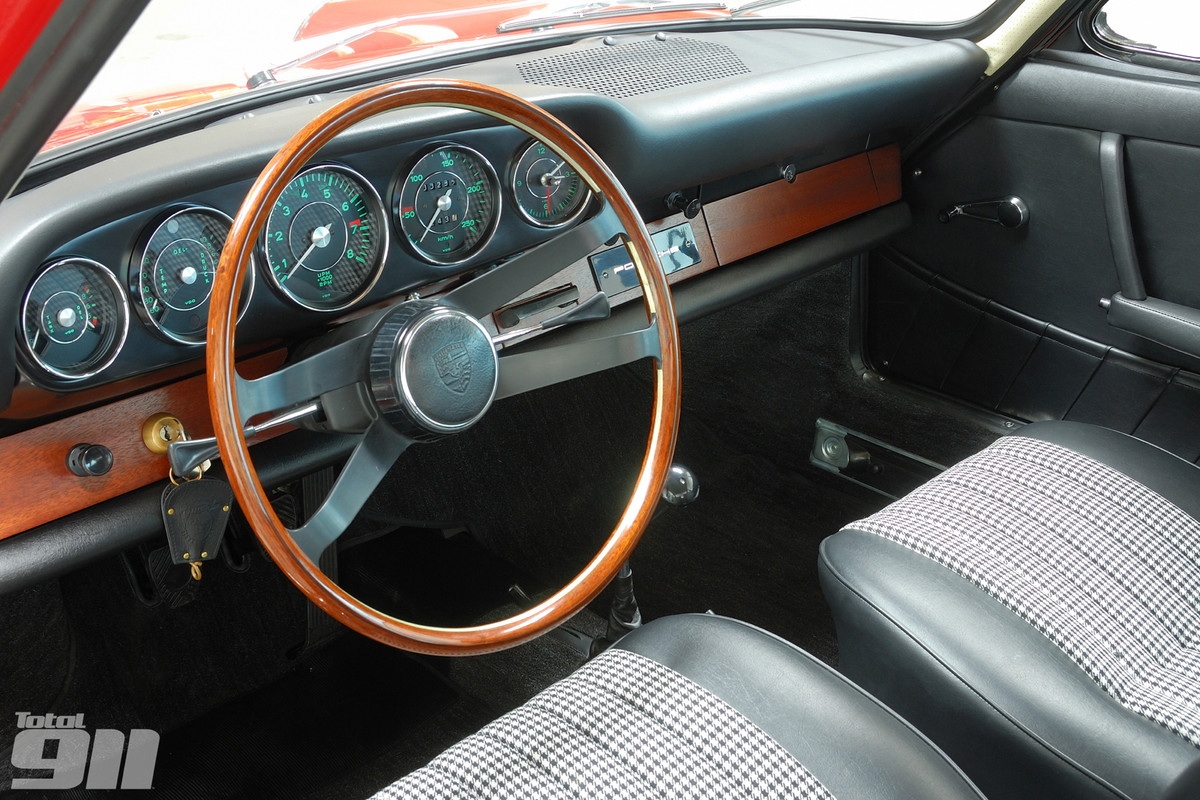
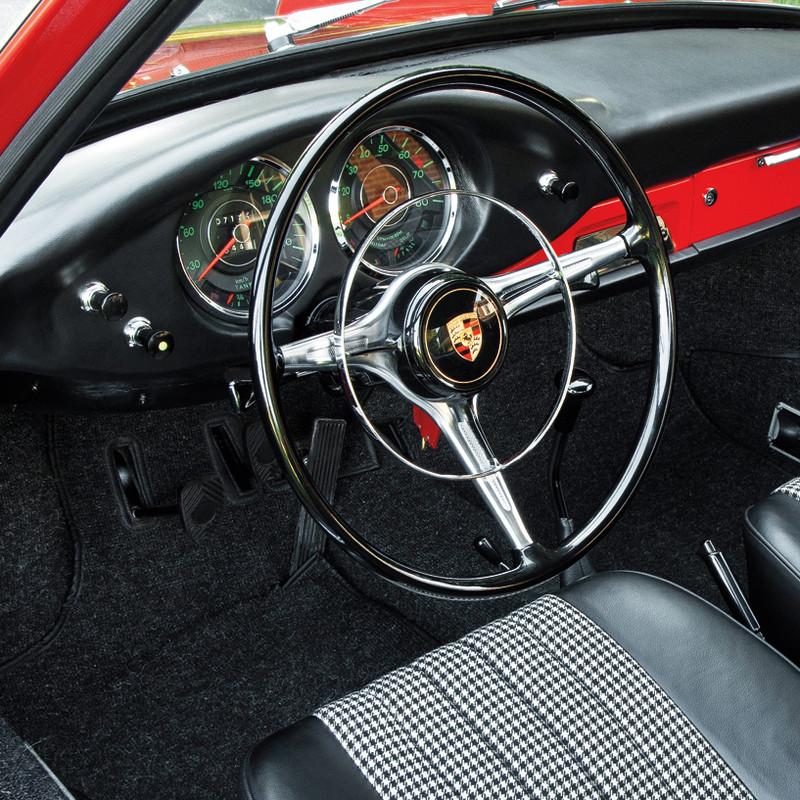
After the re-trim (covered here: https://www.porscheclubgb.com/forum/tm.aspx?m=1066538), I wanted a modern version of the gauges from the original 901 and as close a match as possible, to the green & red of those early instruments.
Research & Planning
Once again, the seed of the idea was sown shortly after I bought the car - I guess in an ideal world I'd have just bought a Singer/Kaege or built it myself, in order to have those classic looks but with modern creature comforts but sadly I couldn't find the necessary ££££s stuffed into the mattress and nowadays my health problems and skeletal issues prevent me doing much real engineering!!
This part of the project took a LONG time to come to fruition and during the research phase, I contacted quite number of companies to ask for their help. Thanks to a YouTuber called James - Auto Amateur ( https://www.youtube.com/c...DciilDn7-v5fyzvOe6WFlQ ), I managed to find the manufacturers of both the Sport Chrono clock (Paragon AG) and subsequently the main gauges (Marelli S.p.A). Initially the Press Office at Paragon were quite positive about the idea of helping with the project but then they went cold and despite several emails to Marelli, they just failed to reply at all - maybe it was my shonky Italian grammar?
Next, I contacted Caerbont Automotive Instruments in Wales, who make the gauges for Singer - they were responsive but sadly unable to help me with the gauges for the 991 (most of their work is on Smiths or short production runs for specialist manufacturers). Finally, I was pointed in the direction of Julian at Reap Automotive Design but reaching him proved to be more difficult than I'd imagined as, having re-printed gauges for Porsche UK, Overfinch and lots of early 911 owners, he's always inundated with work and being a one-man craftsmen, is often so flat out that he can't keep up with incoming calls or emails.
After many failed attempts, we finally spoke in March and began to discuss my aims and how they might be achieved on the 991.
Removing the Instruments
To cut to the chase, it's NOT for the faint hearted and several folks told me that I was certifiably nuts to even consider it - as once fitted, the factory probably never intended them to come out again!
The Sport Chrono was straight forward (thanks again James) but the main instruments weren't - the cluster surround wasn't willing to budge and seemed 'welded' into place: In 45 years of working on cars, I've rarely come across a more obstinate piece of trim!! It resisted all my efforts to remove it and those of my good friend Peter, until finally a part of it broke off and the remaining pieces had to be carefully removed, a piece at a time. We discovered afterwards that there's a rubber inlay moulded into the plastic surround, which had presumably become 'bonded' to the leather of the dash cap after 7 years in situ.
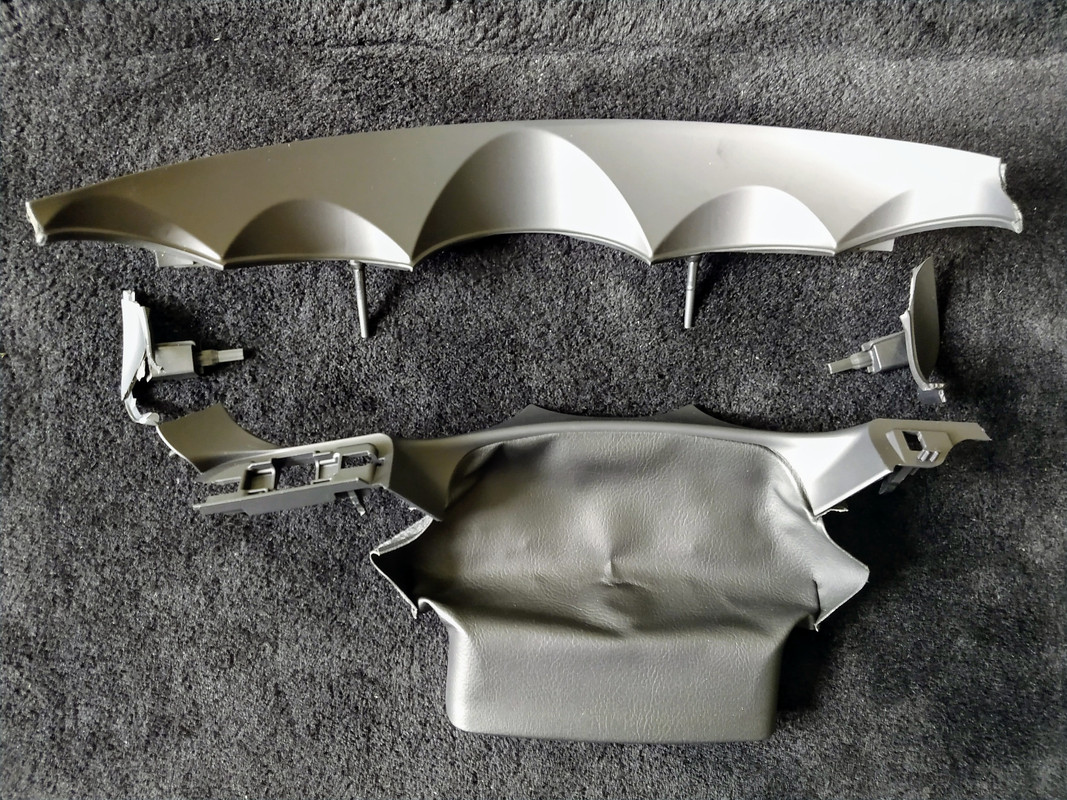
At last, the original gauges could be removed:
Re-Printing the Faces and the Needling Question
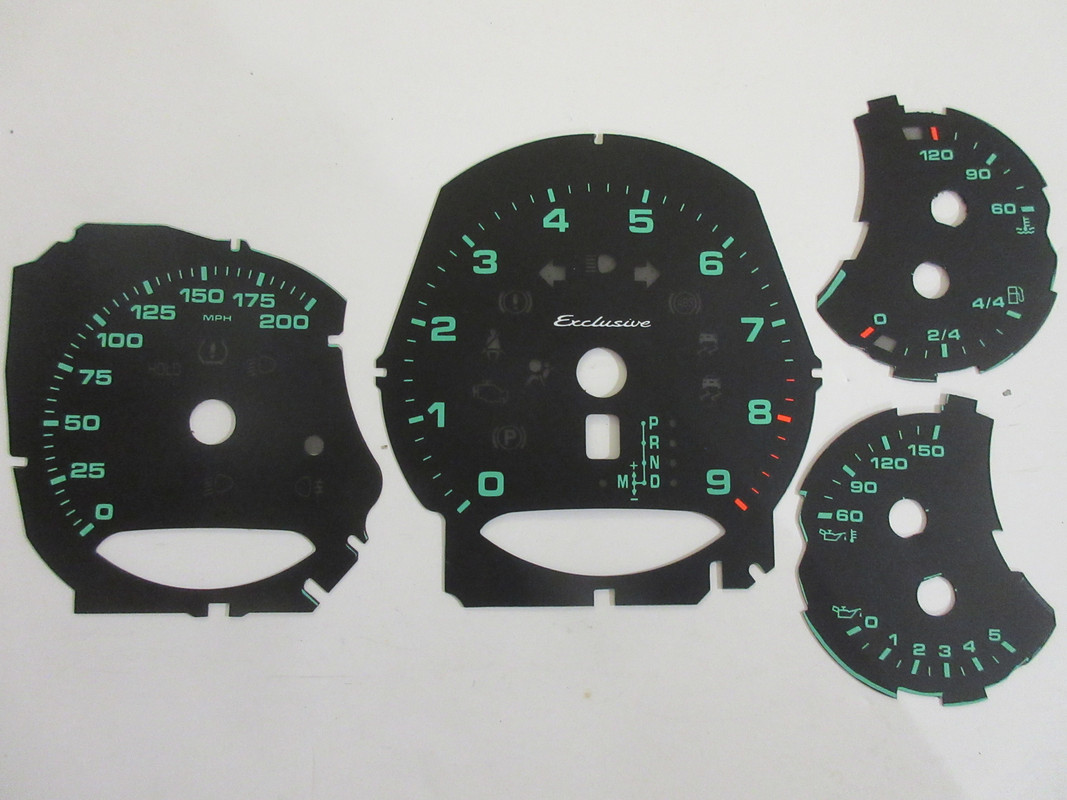
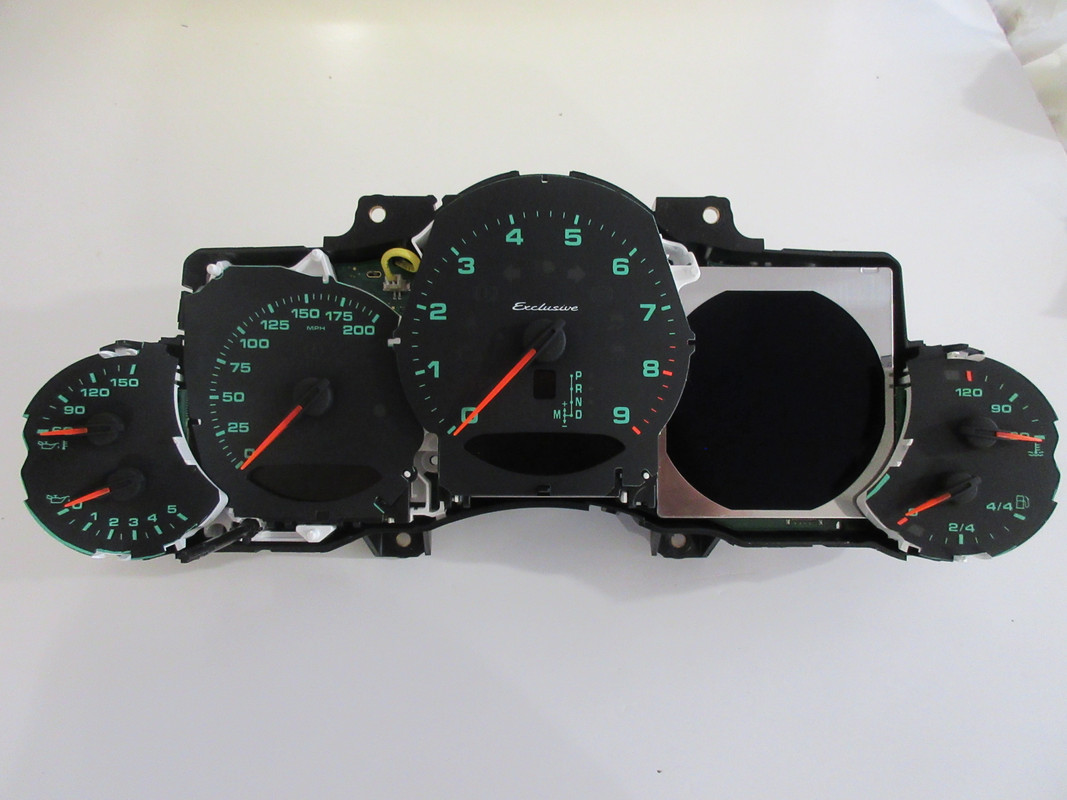
Packed using more bubble wrap than you can possibly imagine, the gauges were despatched to Julian, who disassembled them ready for re-printing. We'd spoken several times about colours and I was very clear about wanting to match the specific shade of green used for the early 911s - which thankfully Julian is familiar with, so that wasn't a problem. He was also able to create the correct artwork for my 'Exclusive' gauges. As I mentioned earlier, he's re-printed and rebuilt gauges for Porsche UK and countless early 911s, so as you might expect, he has very exacting standards.
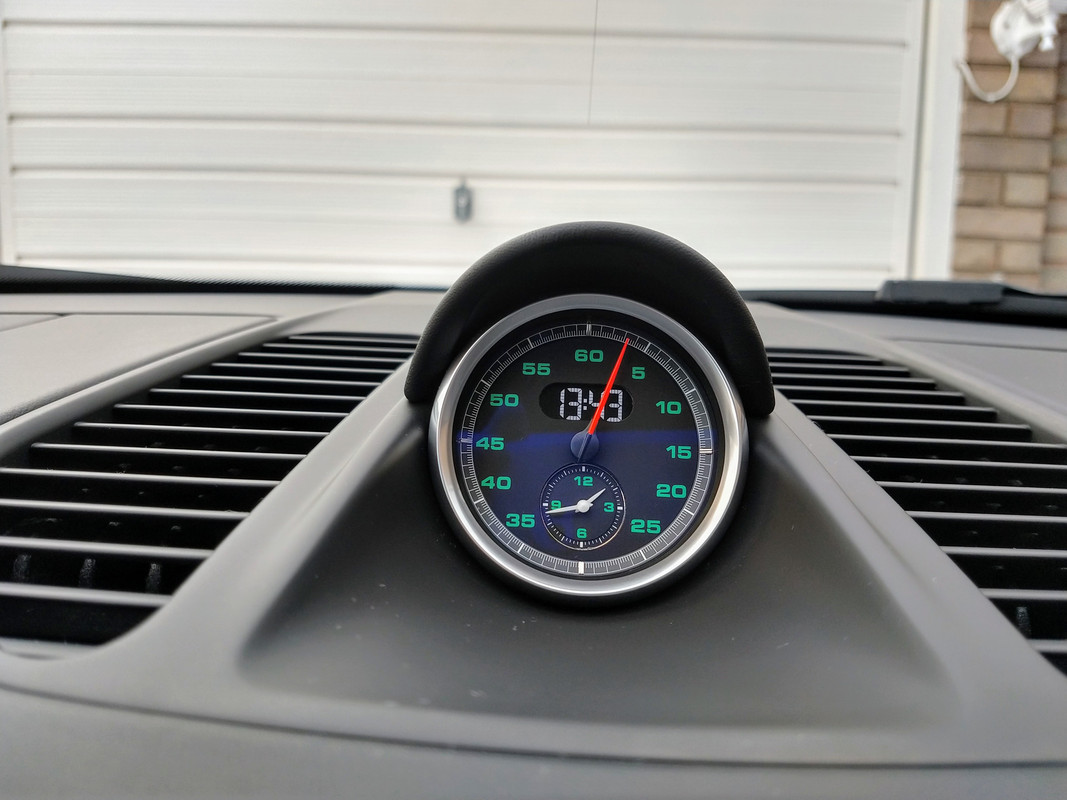
We talked at length about how to refinish the Sport Chrono face, as re-printing the bevelled rehaut simply isn't possible. We attempted to use a sticker from another supplier but in the end I wasn't happy with the quality and decided to remove it and revert to a green and white colour combination.
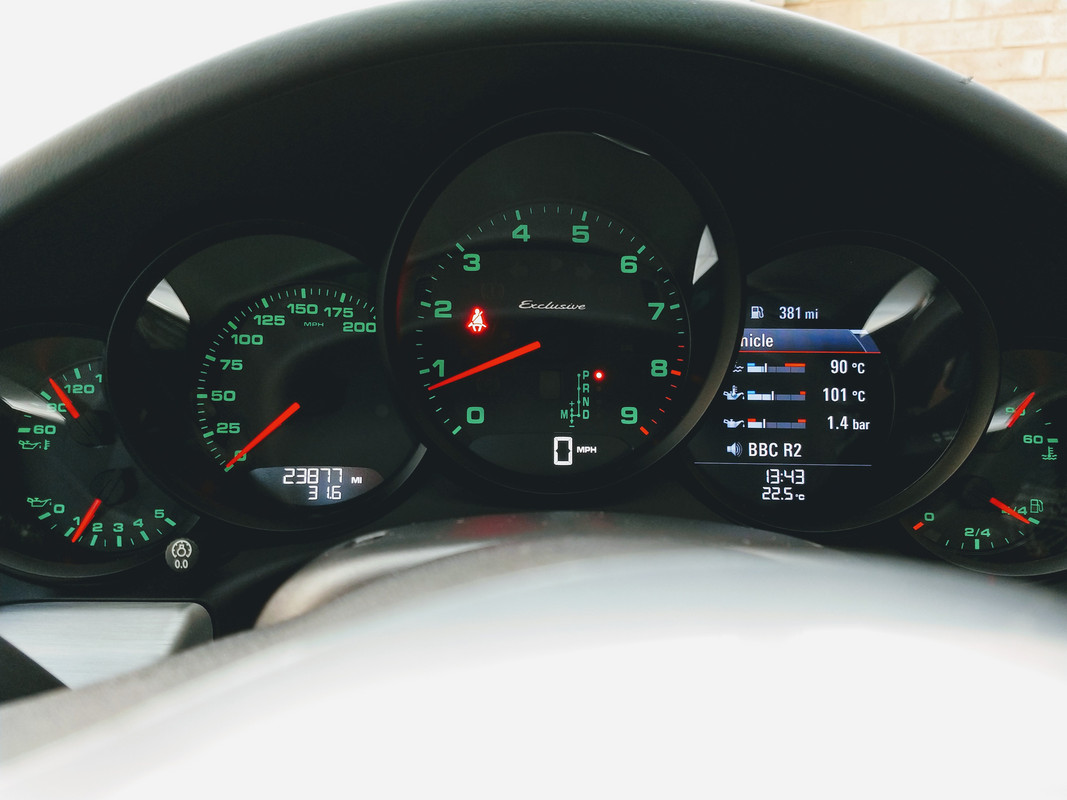
The one sticking point was the needles: When I first imagined how the instruments would look, they had white needles, similar to those in the early 911s but after Marelli & Paragon declined to help, finding translucent white needles of the correct length and with the precise internal diameter proved to be impossible. I even considered having them 3D printed but then I saw a photograph of the original 901 prototype and all was good.
Green printing and red needles - good enough for Porsche - good enough for me
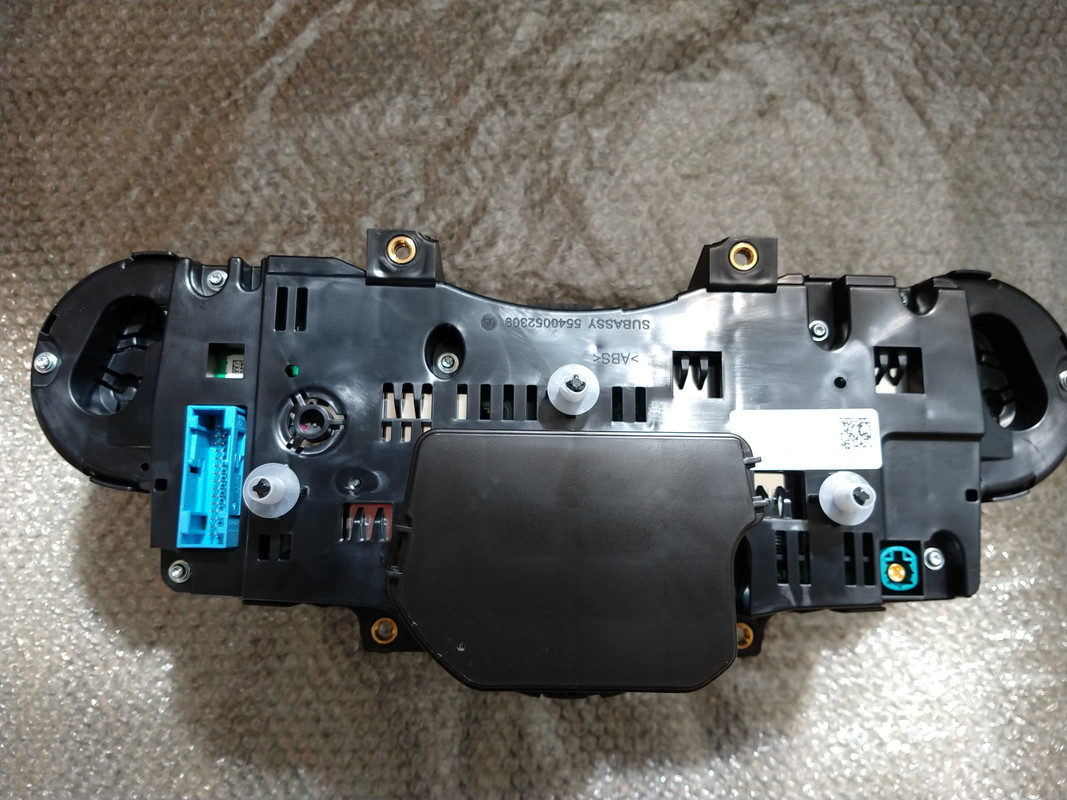
Here are some pics pre and post assembly at Reap:
Gauge Install and System Reset
Refitting them was much easier, though the new main instrument surround still wasn't as simple as it could have been and to be honest, could have been designed a lot better!
Once the battery was reconnected, there were a number of system values to be reset, like the window stop positions, steering angle sensor, Sat Nav, TPMS and the like but that went fairly smoothly.
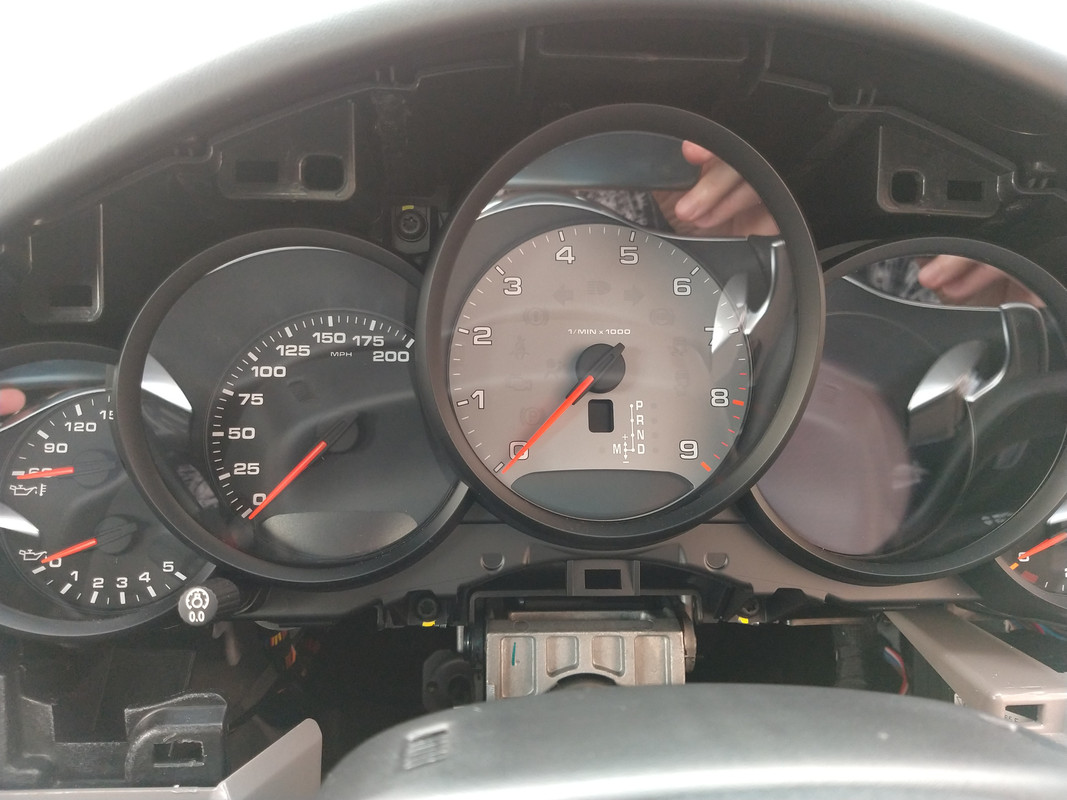
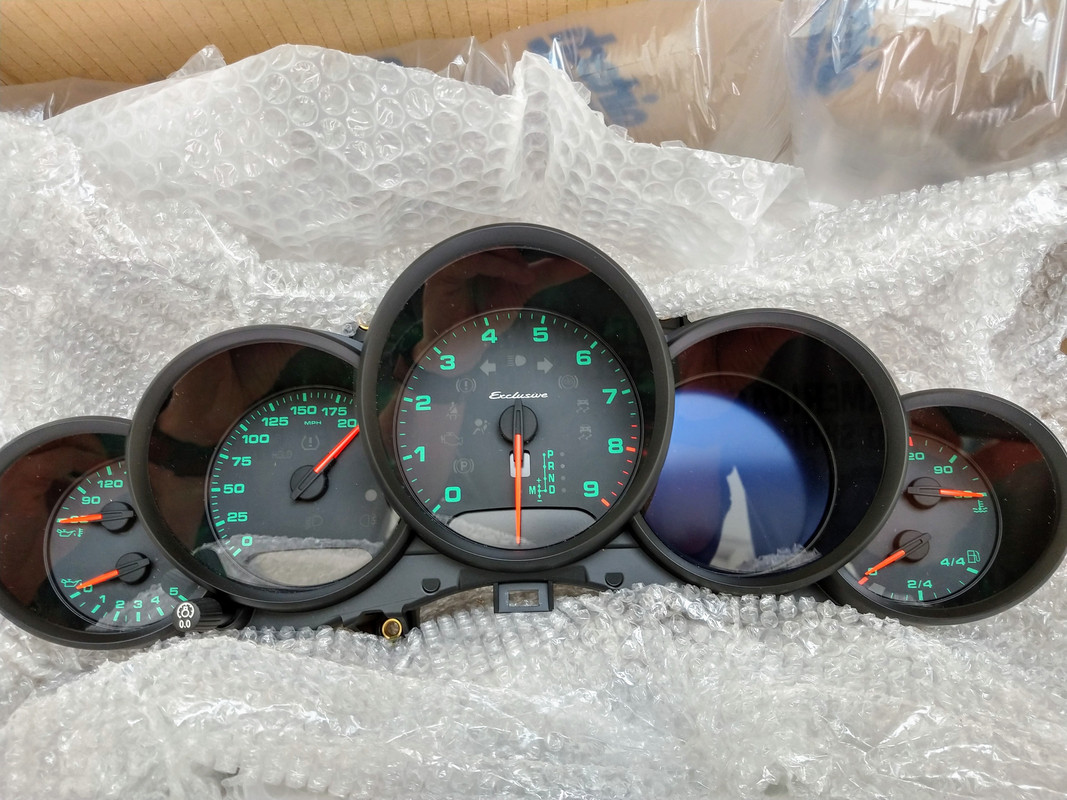
Here's how it looks now:
And the early 911 and 901 prototype gauges again for comparison:
Final Thoughts
This particular project has been a labour of love, with plenty of cursing and a few tears along the way but for me, the way it looks now has been worth all the effort and the car's taken another step closer to being a truly 'Exclusive' 991. Would I do it again, with that 'sticky' surround and the risk of greater damage - hell NO! Those folks were right, I must be certifiable
I'd like to give a massive THANK YOU to Julian at Reap Automotive Design, for his patience, hard work and attention to detail - it's nice to deal with a fellow perfectionist and it's been a real pleasure to know you!!
Thanks to my good friend Peter, for your help & support and for being my 'eyes' when I was struggling to see!!
Thanks also to James of Auto Amateur on YouTube for the manufacturer info! Keep up the mods and the videos James!
And thank YOU for reading!

