Hi All,
As I am a member and it looks like the forum needs a bit of waking up, I thought I would keep progress of my cars here. I have 4 Porsches as part of a small collection of cars, all of which I actively work on for fun, getting hands on is what I love to do, I still take the cars for their routine services to a specialist but for interim jobs, upgrades and replacement of consumable/worn parts, if a guy in a garage can do it then so can I, albeit, outside on a cold floor. It's nice to share the tasks I carry out, I enjoy following the progress of others who post their own accounts, sadly it seems to be something which is dying out and posting up progress on instagram just isn't the same. I like to keep a visual diary for my own references mainly but at the same time, hope this will help others to do jobs themselves or at least entertain you on these grey and wet days we have now.
At this point, I have owned the car for the best part of 8 months so forgive some time references..
With the news of my wife being pregnant (Now have a 4 month old boy), my first thought was obviously, woohoo, excuse for a new car! It didn’t take me long to decide on a Cayenne, she doesn’t like estate cars, a hatch would be too small and the boot on a saloon may prove challenging, we both fancied something high up, problem being was that most high up, non estate cars tend to be either diesels or unreliable which ruled out the 2nd inline choice of a BMW X5 4.8. A shame as I test drove one and I couldn't fault it, with it being much much much more modern inside compared to the 957 Cayenne and generally newer looking, after driving it, I couldn’t stop seeing them on the back of AA trucks, so I just kept returning to search for Cayennes. I would have loved a Macan but available car cash doesn’t stretch unless 1 of the collection goes. The Cayenne is pushing it on the size factor and I am going to have to see how the wife gets on with it while we still live in suburbia.
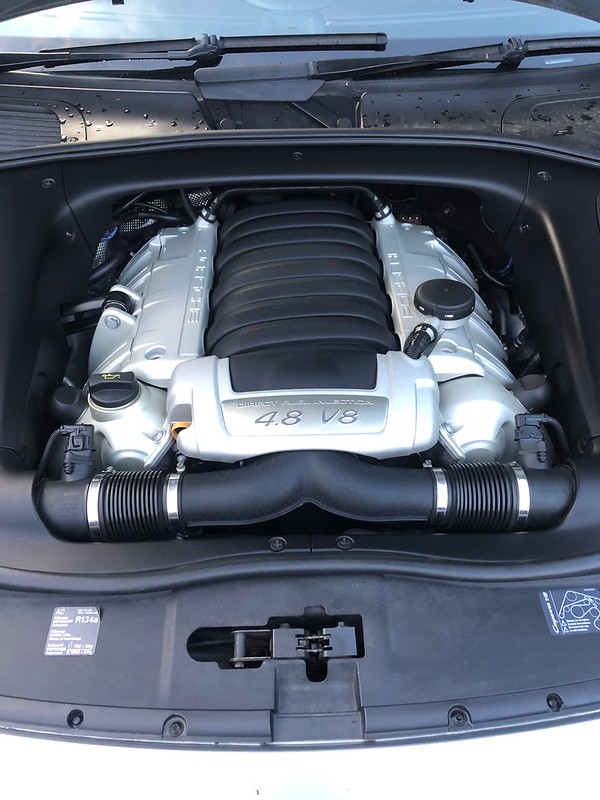
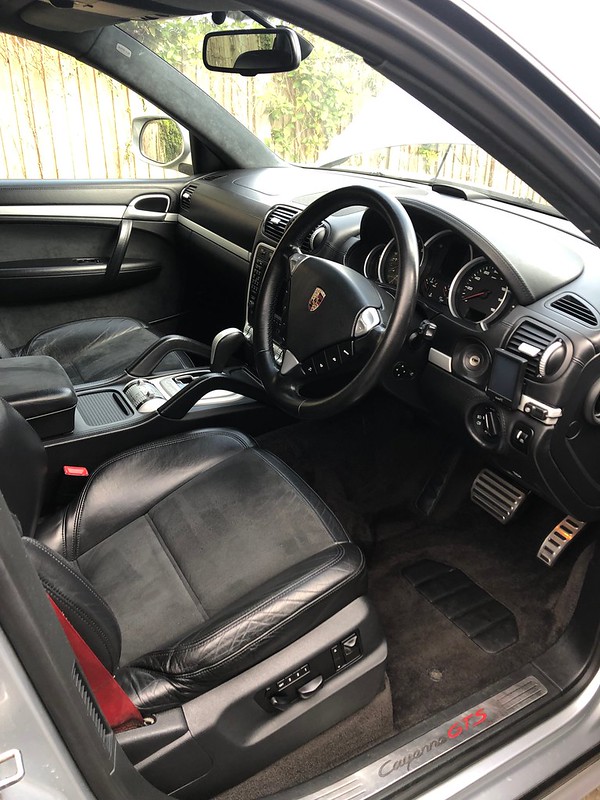
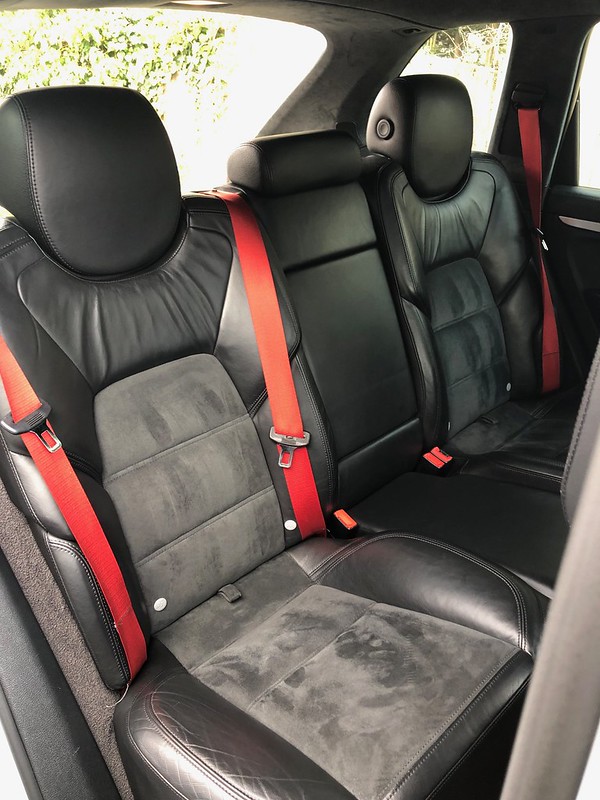
I had always liked the Cayenne and being in love with the Porsche brand, it made sense to add a 4th to the collection. Realising they do a GTS version which had alcantara, made a great noise and many other nice bits, it had to be one of those over the Turbo. I love naturally aspirated cars and the turbo was just a bit much for the duties required of it.
I had been looking for one since October/November 2018 and I just wasn’t finding much, they either pop up and disappear really quick or they have remained on sale for months and months for whatever reason. They also always seem to be black, as nice as it is, I really really didn’t want black as it a nightmare colour to maintain and on a car the size of a house, multiply that by 2!
To cut a long story short, I found my perfect one, albeit, more miles than I wanted but I did start to get a little desperate due to time running out, I wanted to get a car that I could get up to my standards before all of my free time is occupied with the baby.
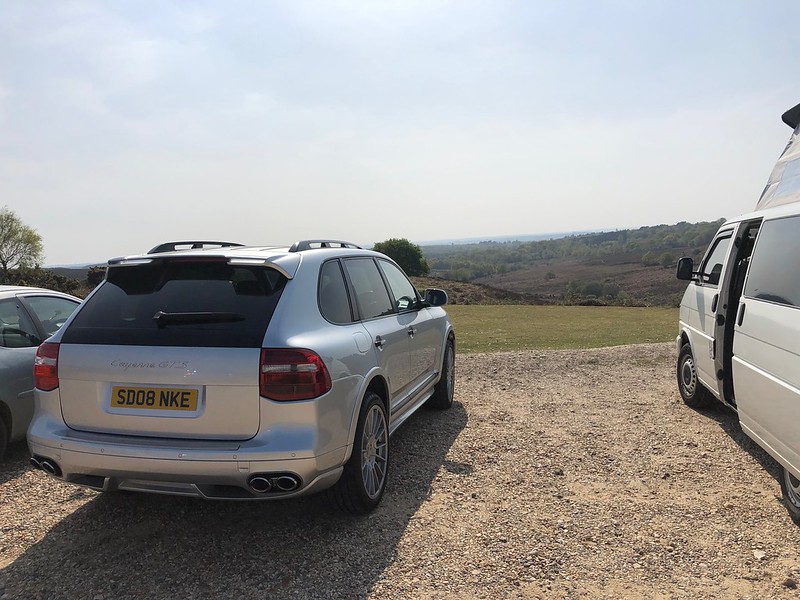
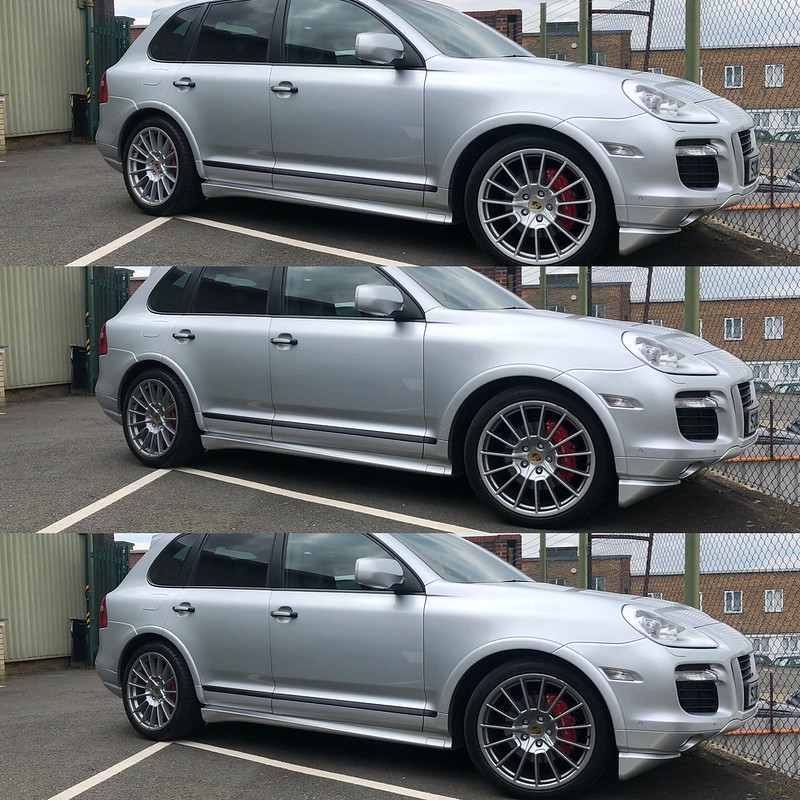
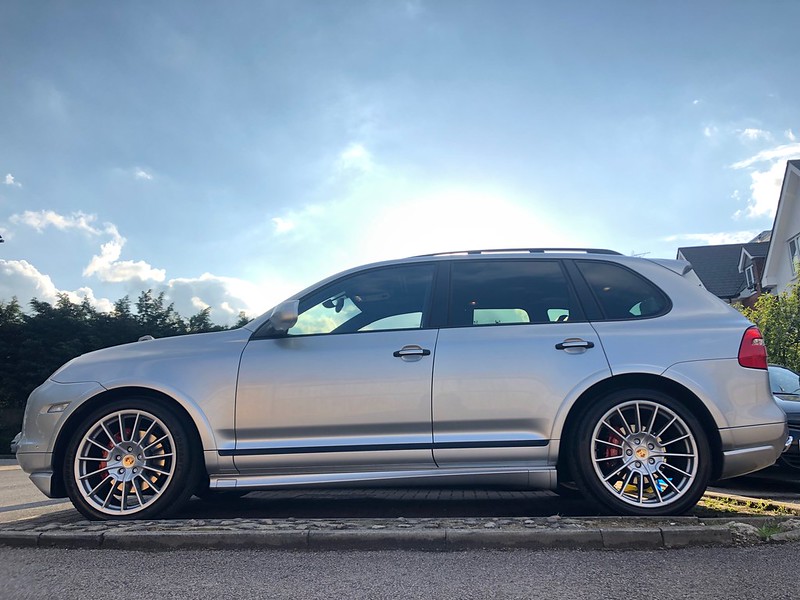
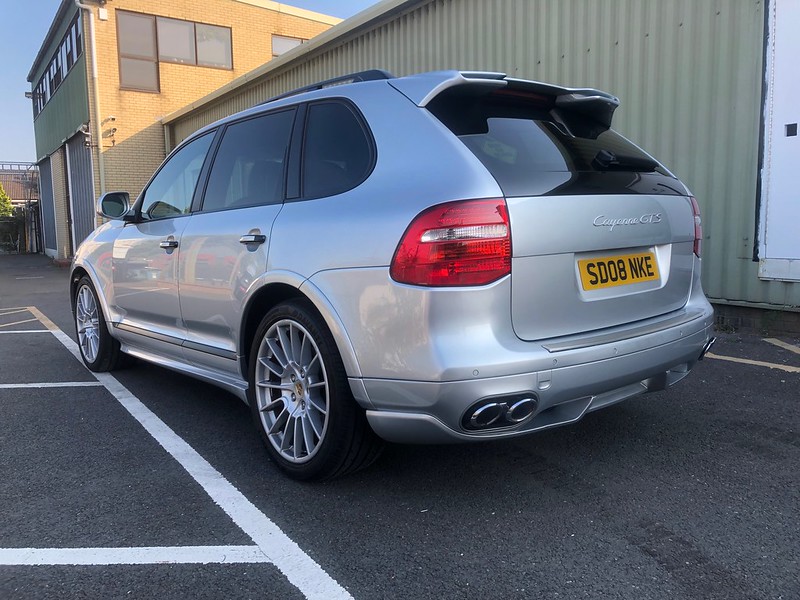
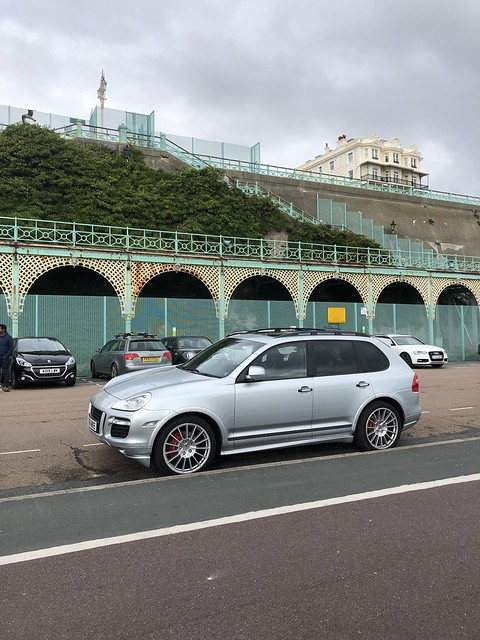
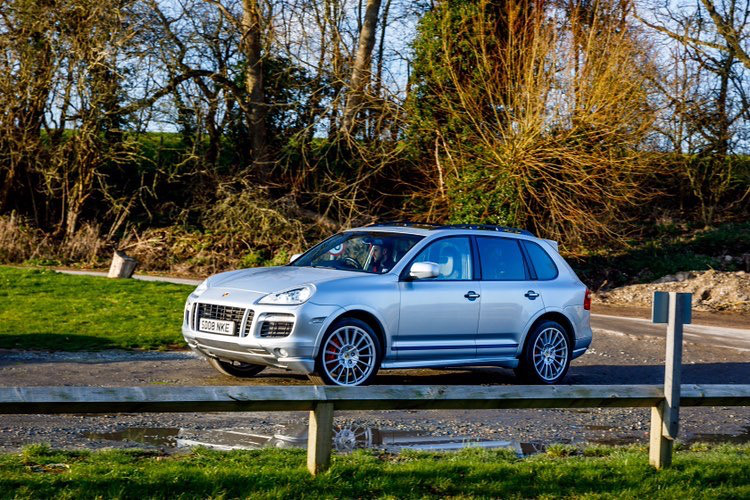
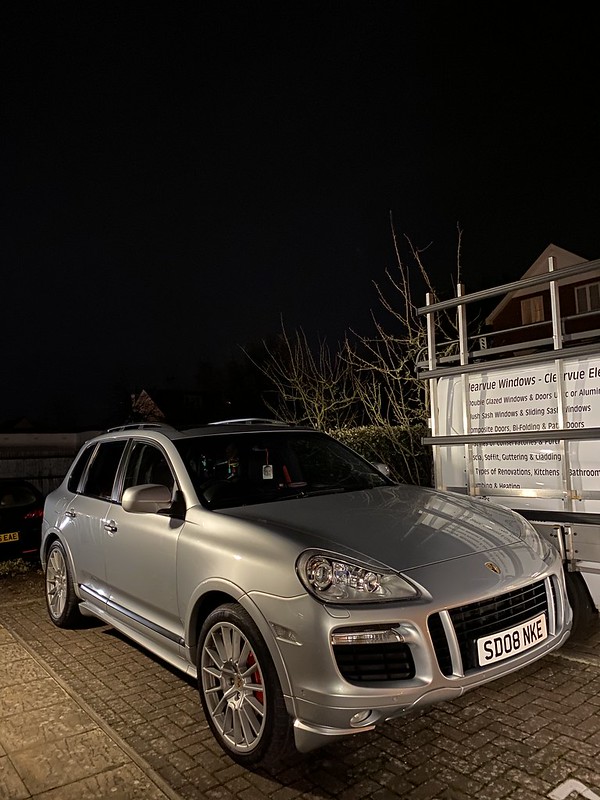
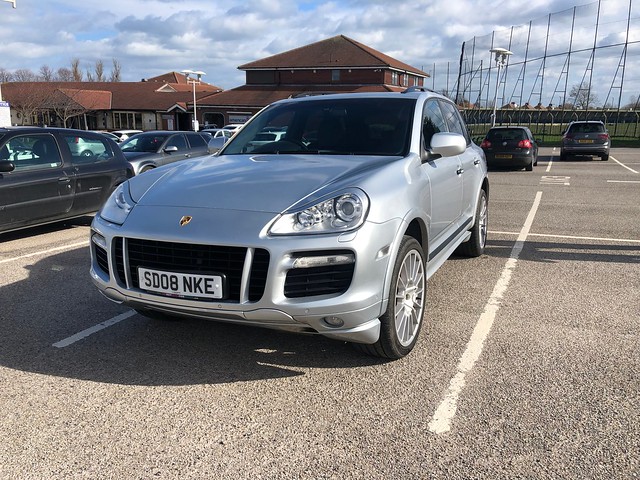
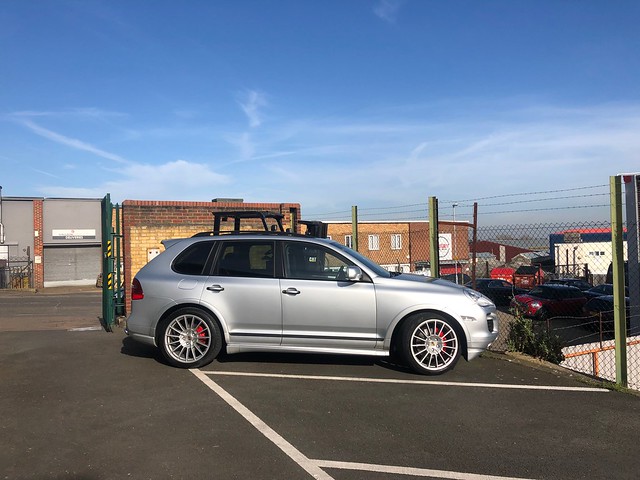
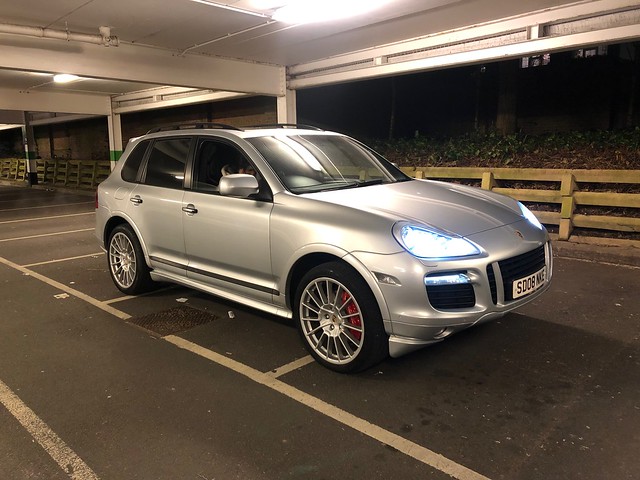
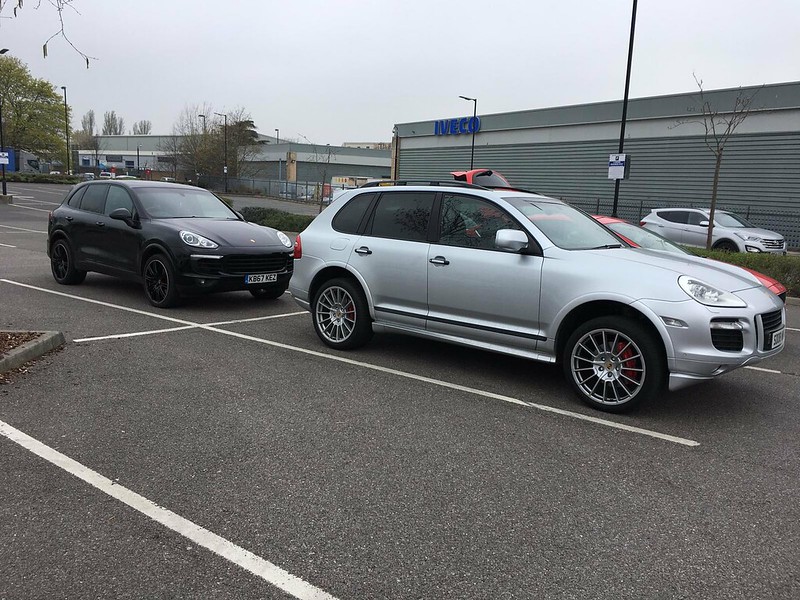
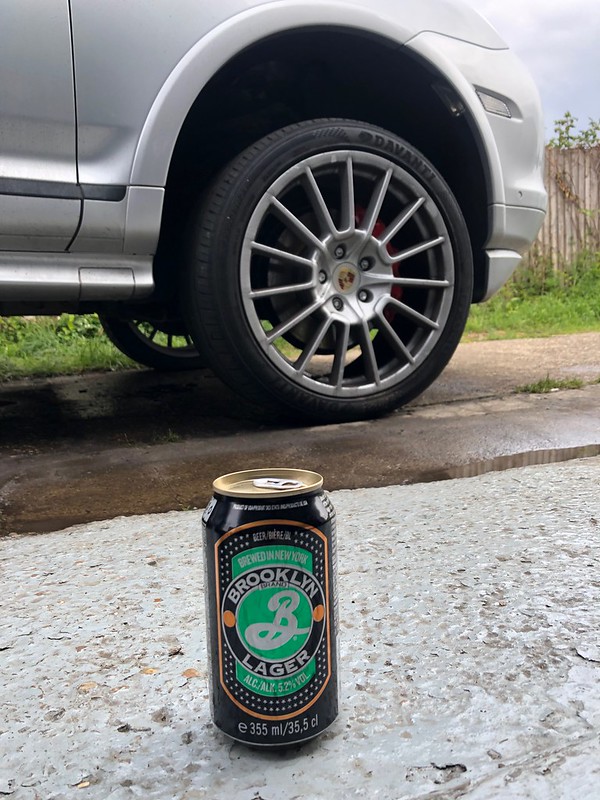
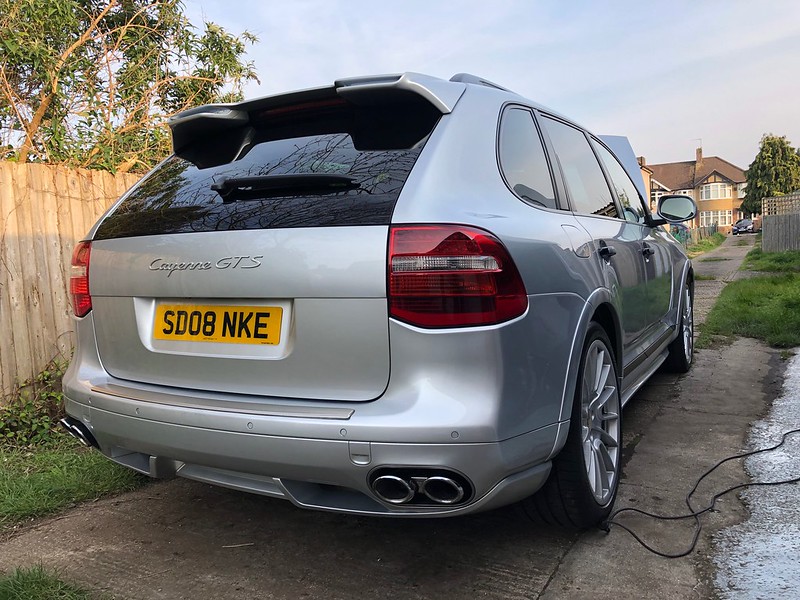
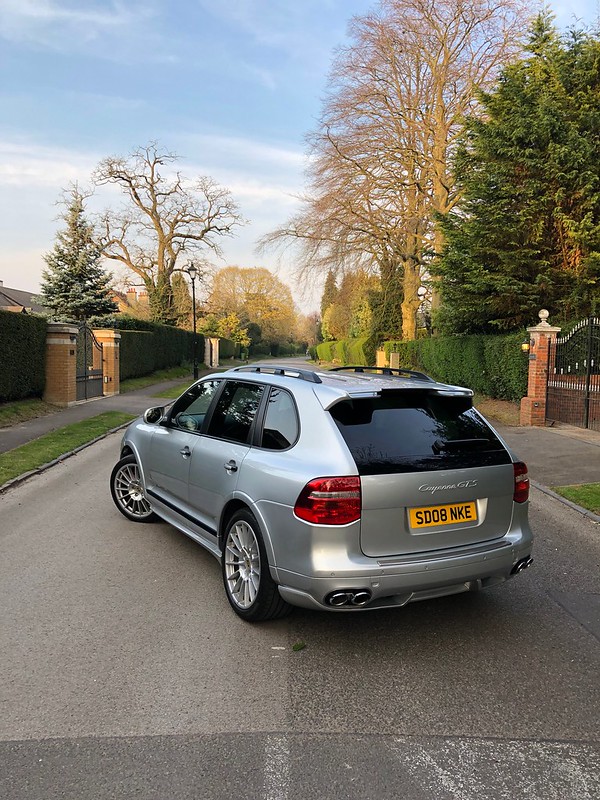
The car I found was silver, great! Silver is my favourite colour on a car, it had the wheels I was desperate for, full history and all the options I wanted and more.
I contacted the owner and a deal was done. In the time I was awaiting a good opportunity to go and get the car, I managed to locate the previous owner and spoke to him, a lovely guy who told me about his time with the car, who the 1st owner was (Manager of a football club hence every option box being ticked) and the various bits of work which was carried out on the car in his time. This was brilliant for me, I love to know everything I can find out about a car I own and to get this kind of contact and info was priceless. I was sent old pictures, info on jobs done and original brochure.
This all gave me confidence in the car and as it was 300 miles away, it helped, I normally don’t like buying cars that take longer than an hour to get to as I have had my time wasted so many times with dishonest sellers, an exception was made here.
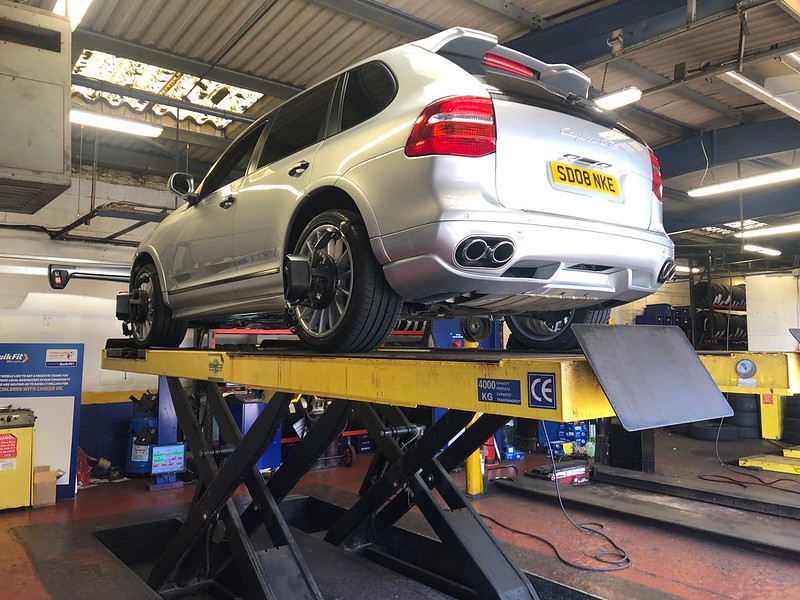
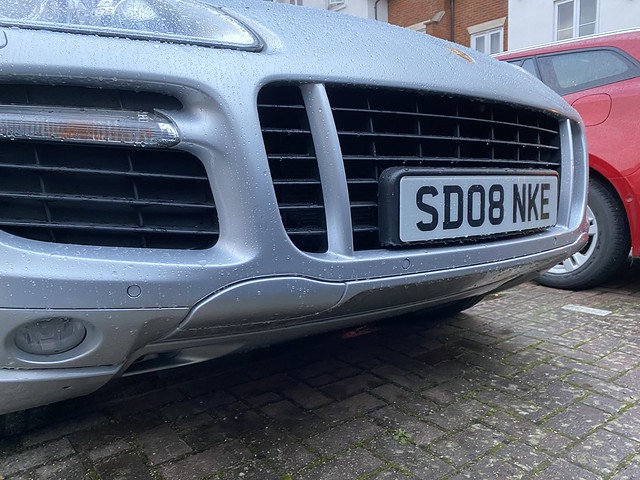
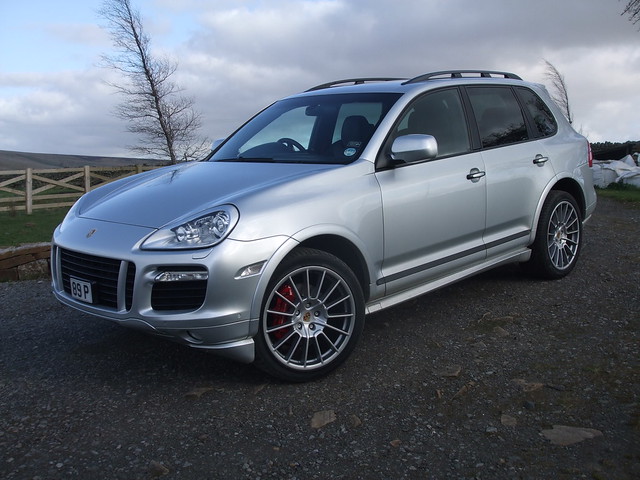
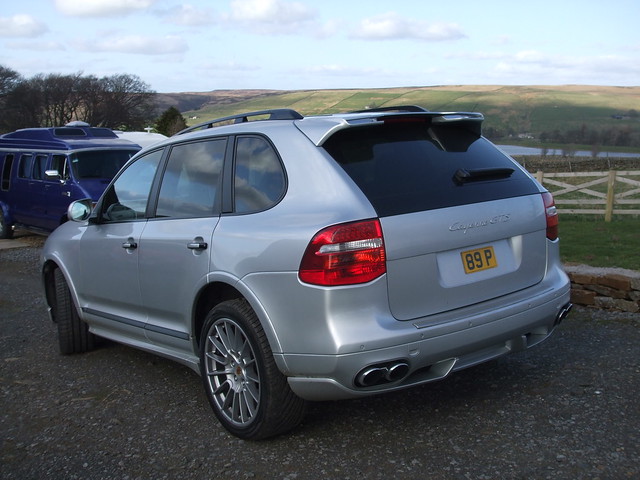
So here is the car based on some pics from the 2nd owner, I am now the 4th.
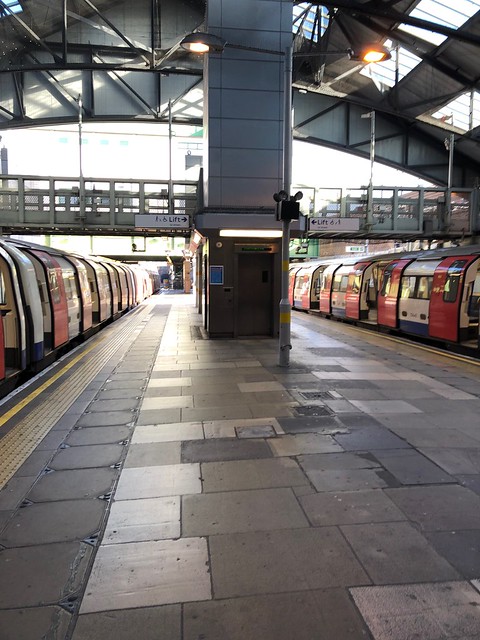
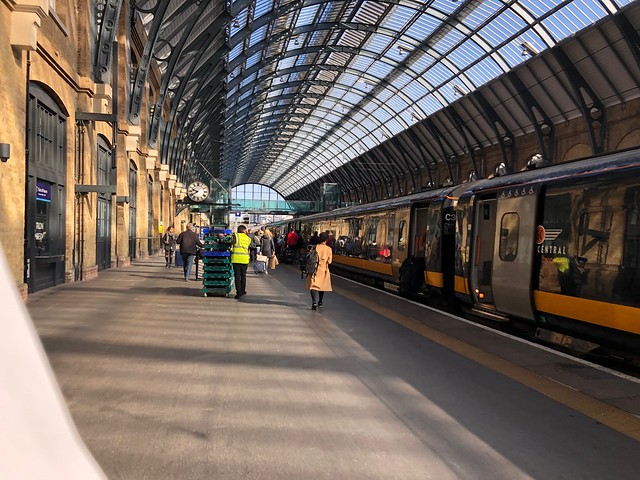
Collection day begun with an alarm at an obscene time on a Sunday and a train journey from South London to the North!
A ride to the tube to get to then get to Kings Cross…
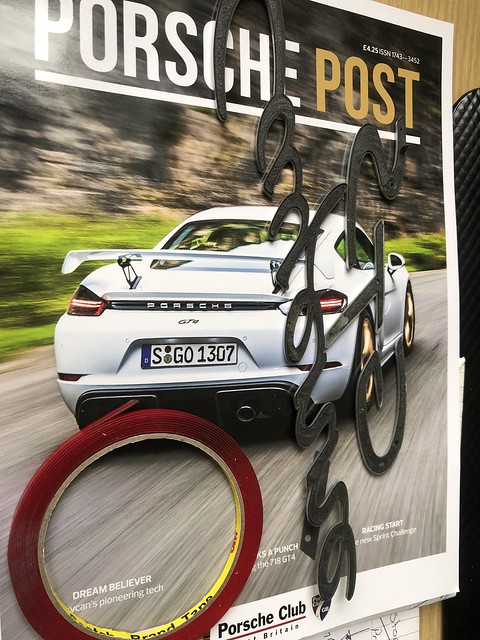
Reading material (Can’t believe mags are £5 each now!)

Started getting dizzy up there..

Collected from the station, good look around the car and then to a pub to go through paperwork and details over a pint (I love Northerners!)

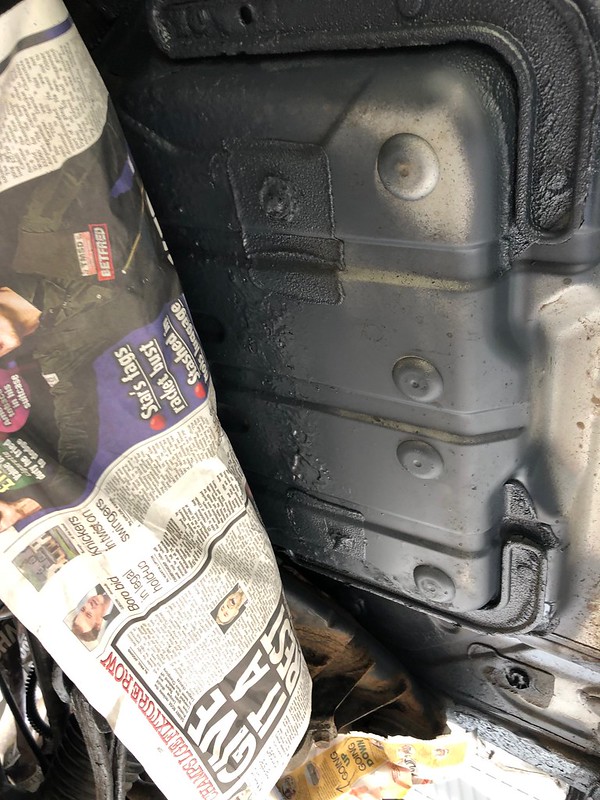
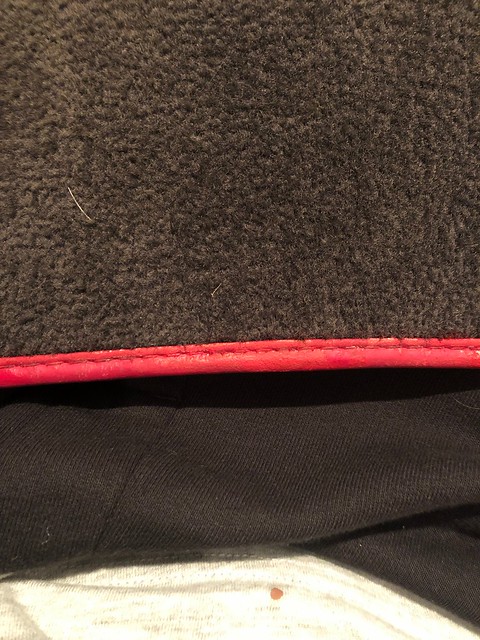
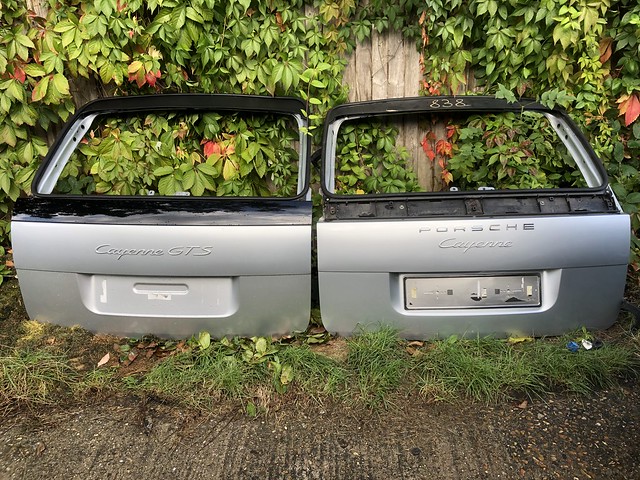
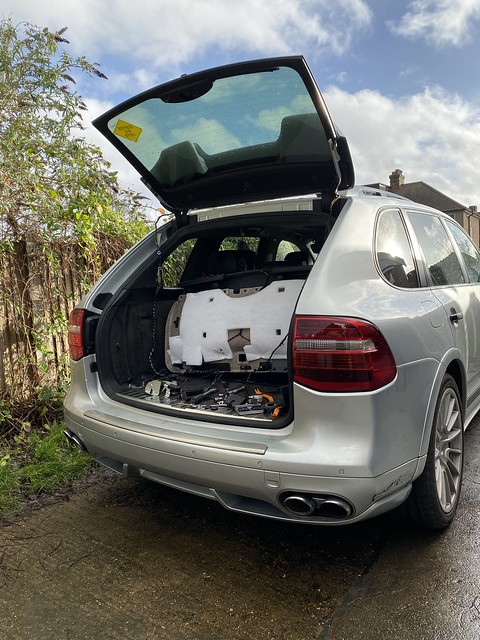
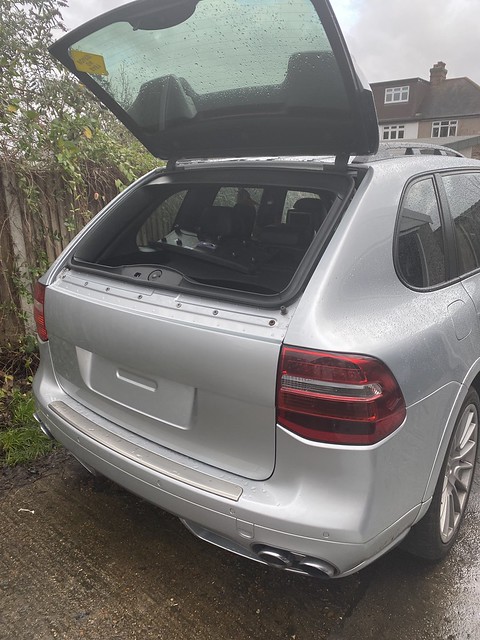
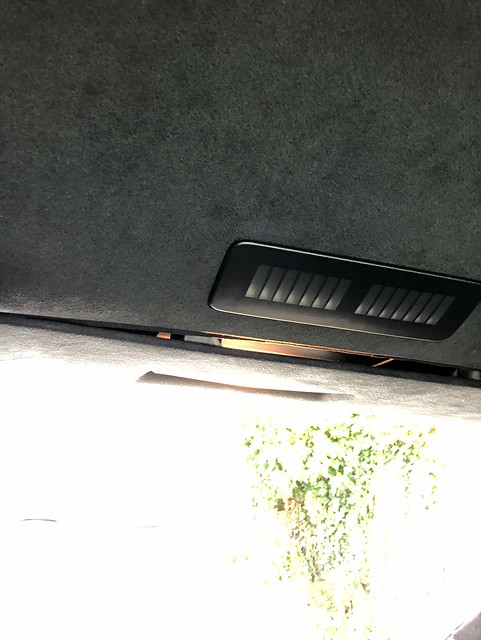
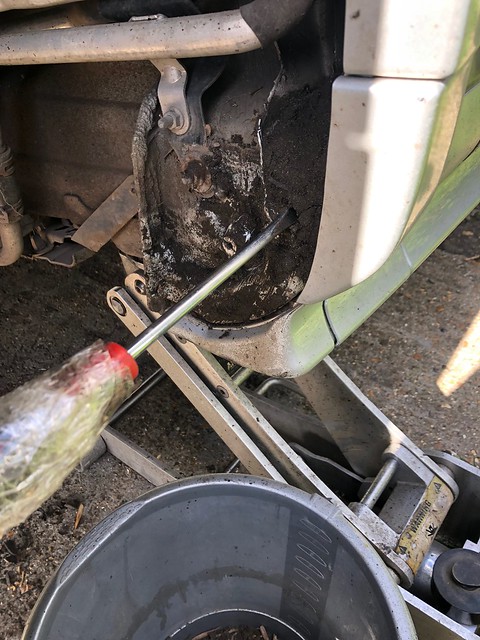
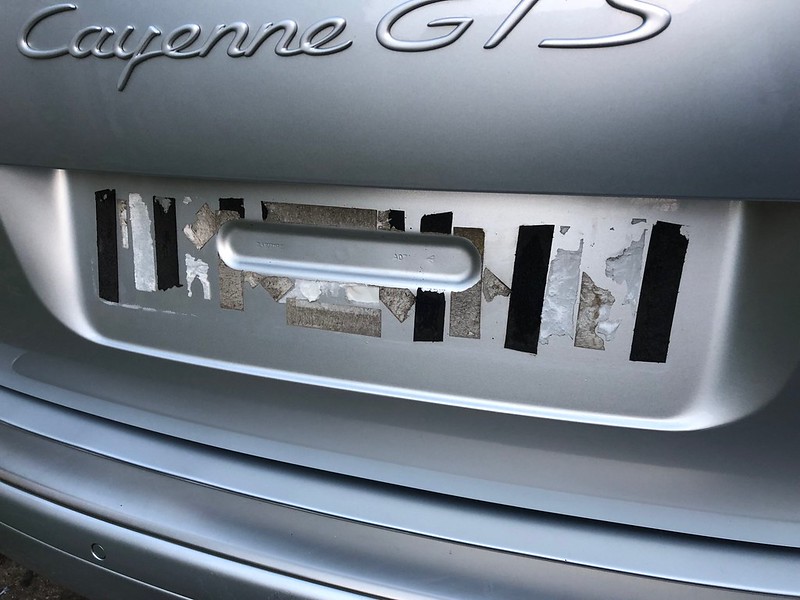
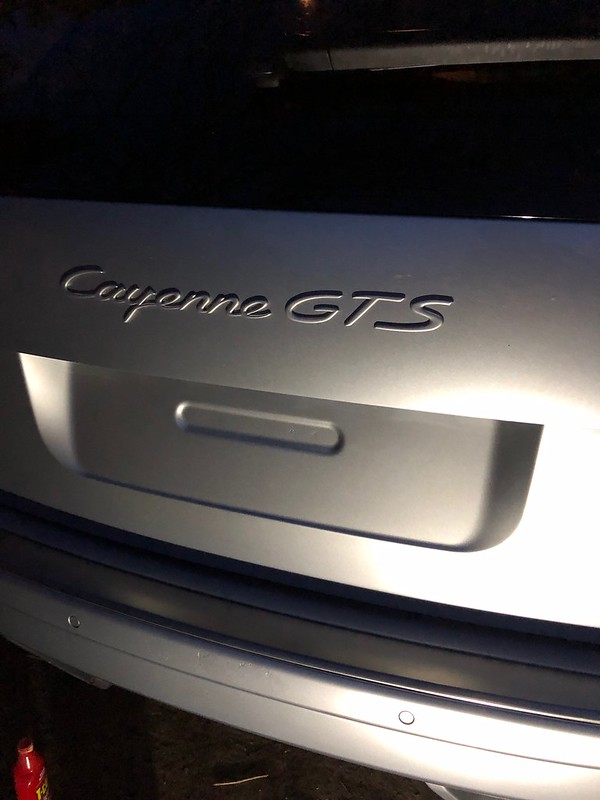
The car was generally as described, lots of paperwork, a great owner who was a copper and his wife used it mostly, it could be described as an honest used car, I love this as once I have finished with it, the results are much more noticeable. There was one thing which I wasn’t aware of and it did kind of put me off the car as I hate this kind of thing.. I was warned about the rear doors too! It is just the one door so it won’t be costly to repair and the price did reflect this in the end so not too bad, just an extra hassle to have sorted.

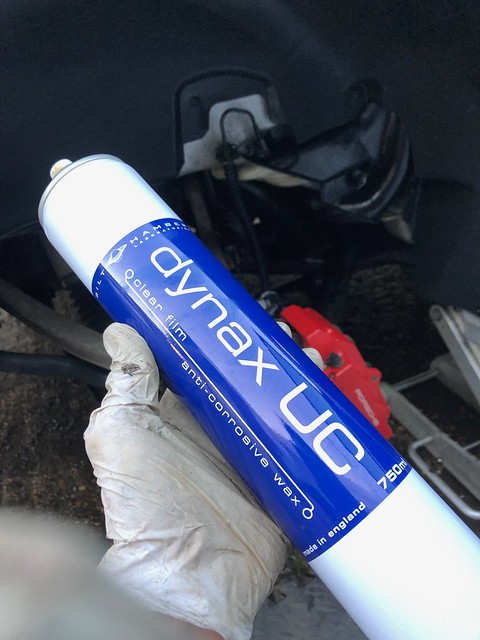
I will seal it up the best I can for now, make sure the wife is comfortable with the car and then book it in to be repaired. I will do some preventative stuff on the other side too! Assuming this rust is starting from the inside out? I was thinking to remove the door car and clean and seal with some dynax/waxoyl.
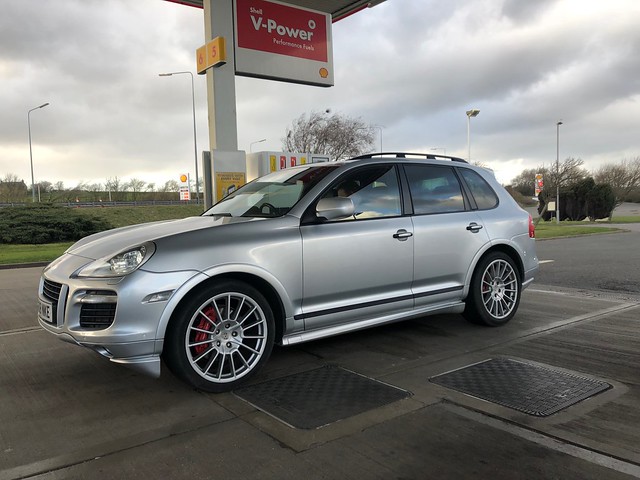
After a drink and waiting too long for the payment to go across, I was homeward bound! First fill of V power from near empty, £121!
I got home after 310 miles, 5 hours 5 minutes, 10:30pm.
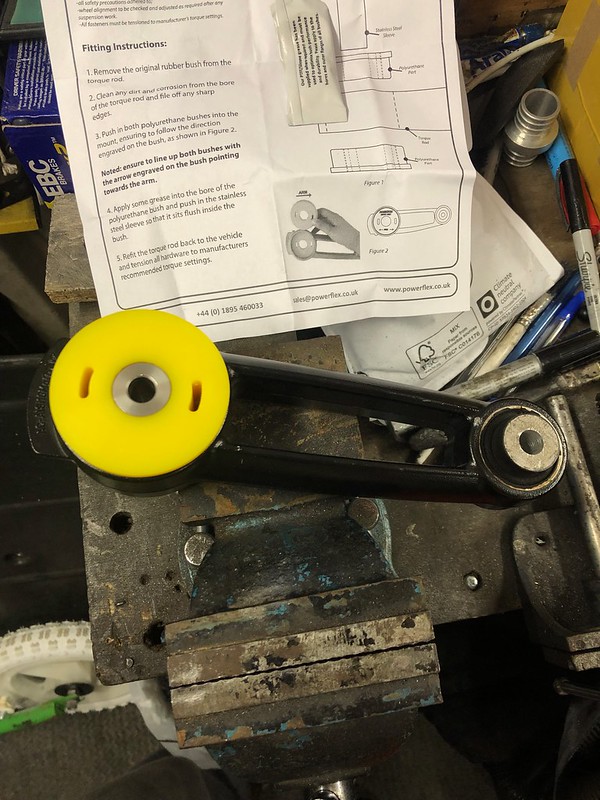
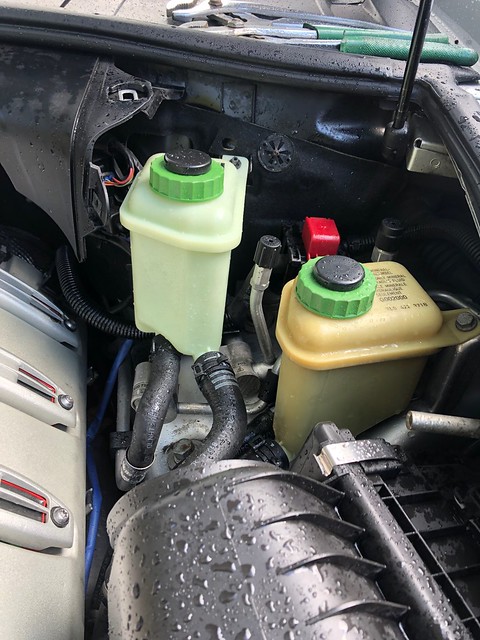
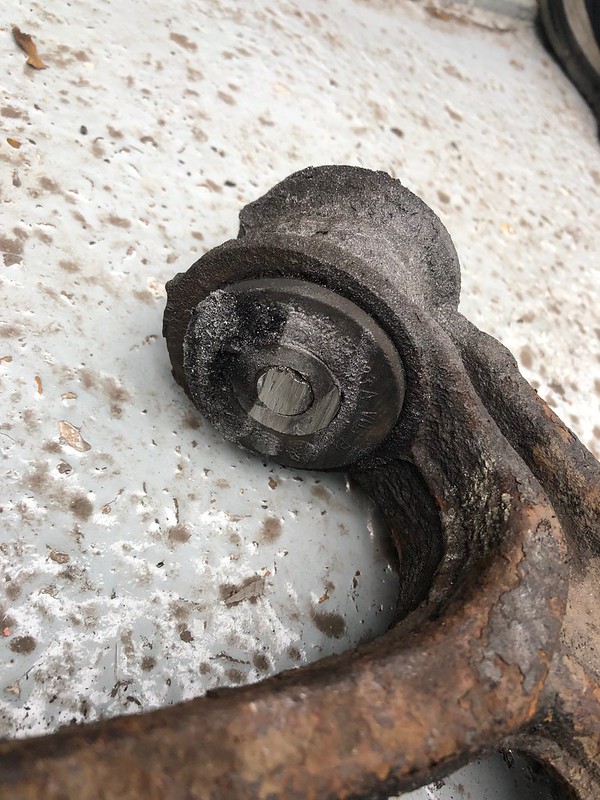
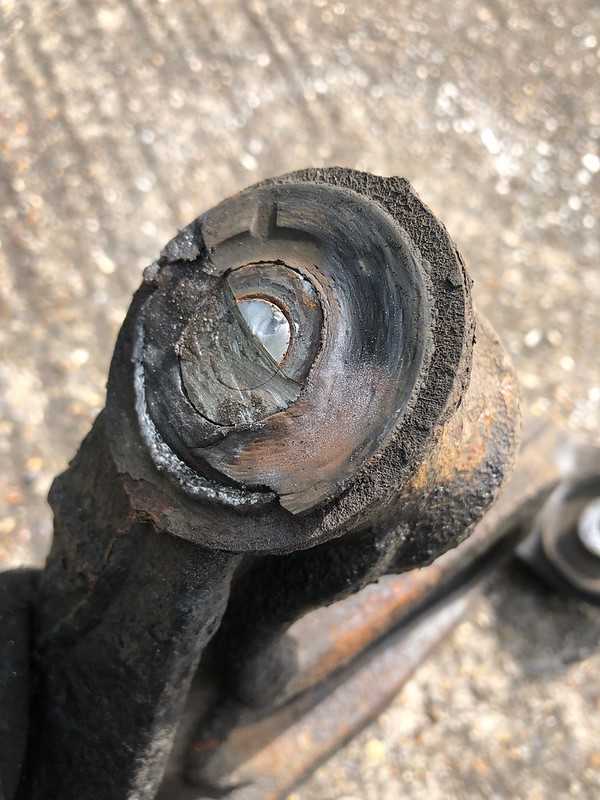
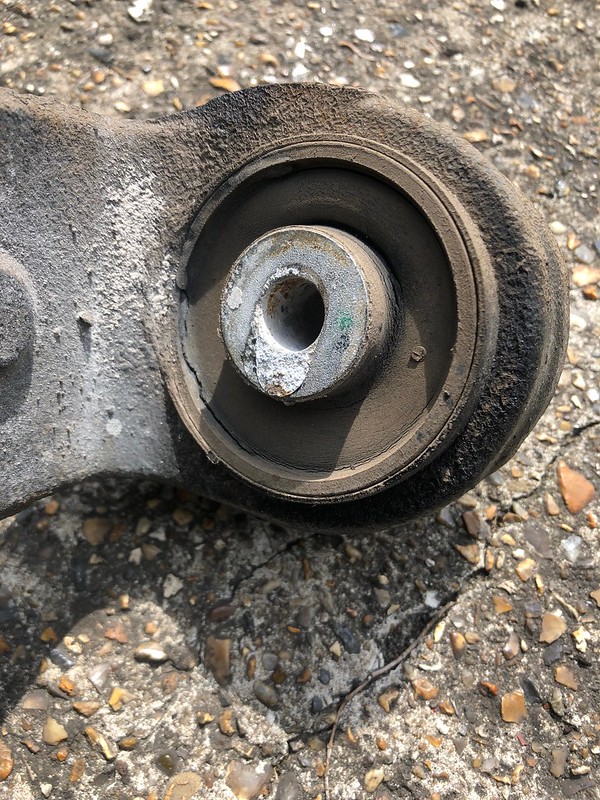
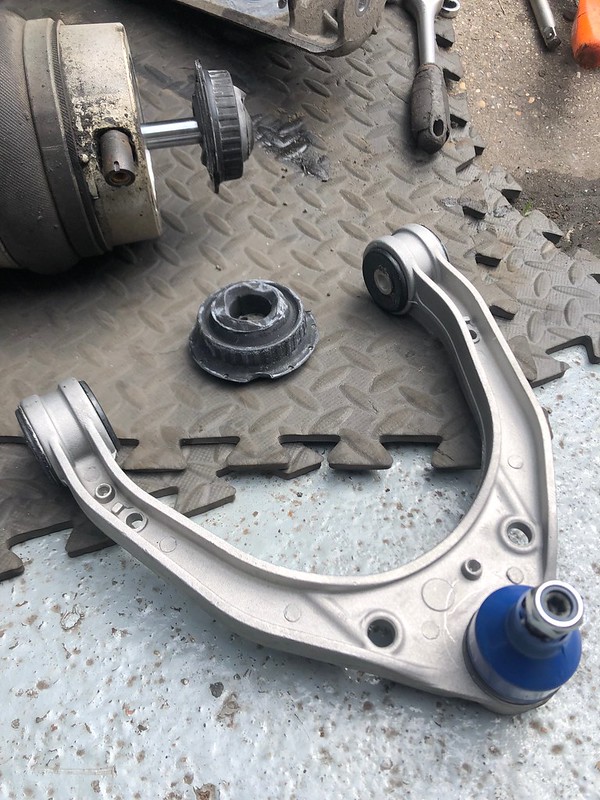
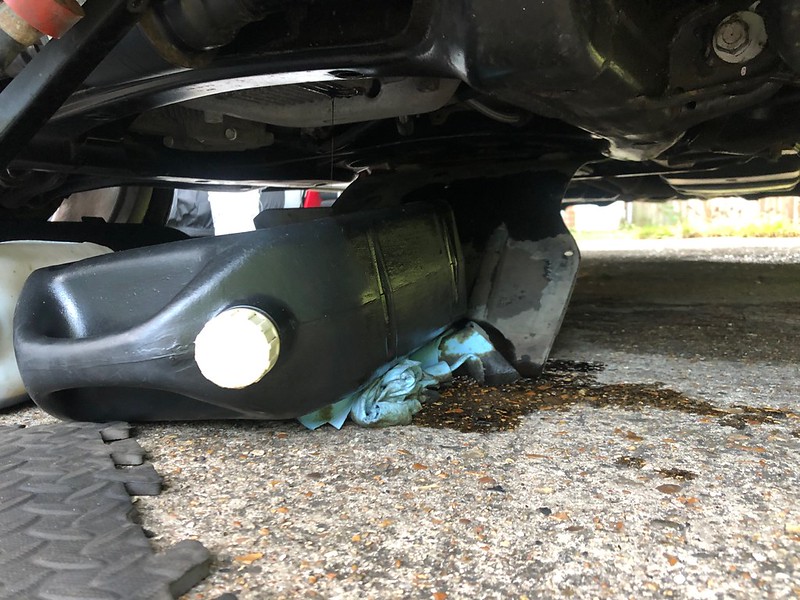
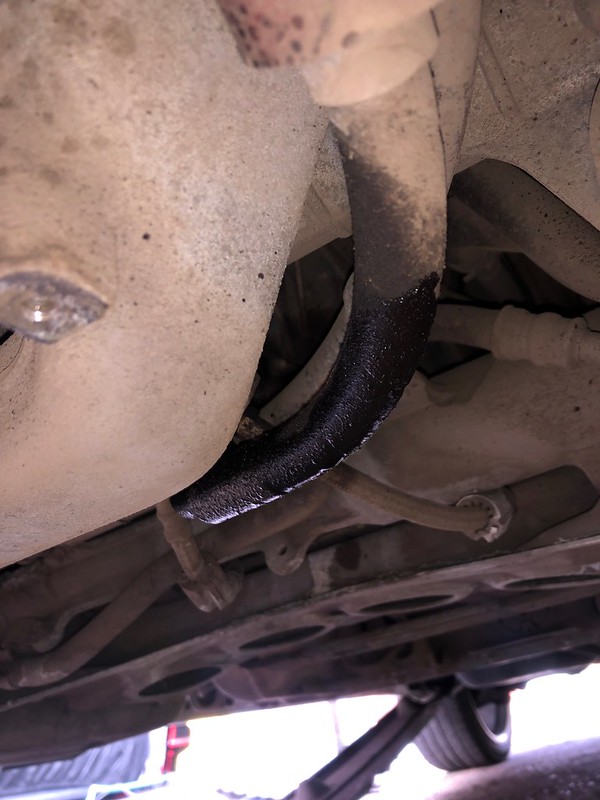
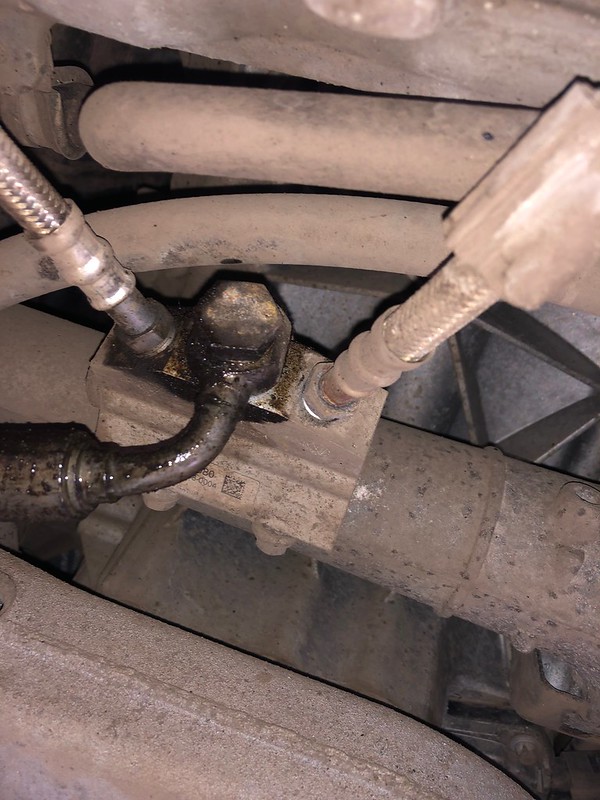
Full first day of ownership, I woke up early once again and cracked on! First job was to fully inspect the car in detail and clean the underside up, I like doing this as I get a close look at bushings and the underpinnings.
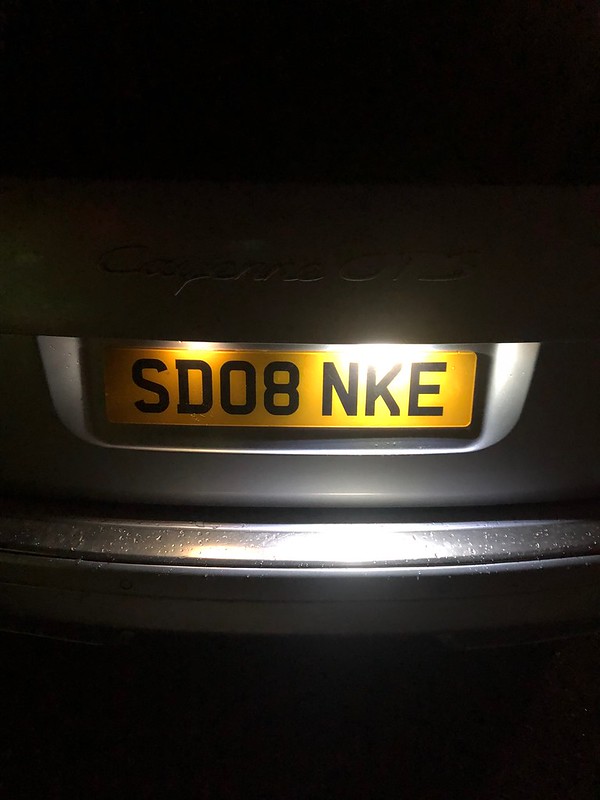
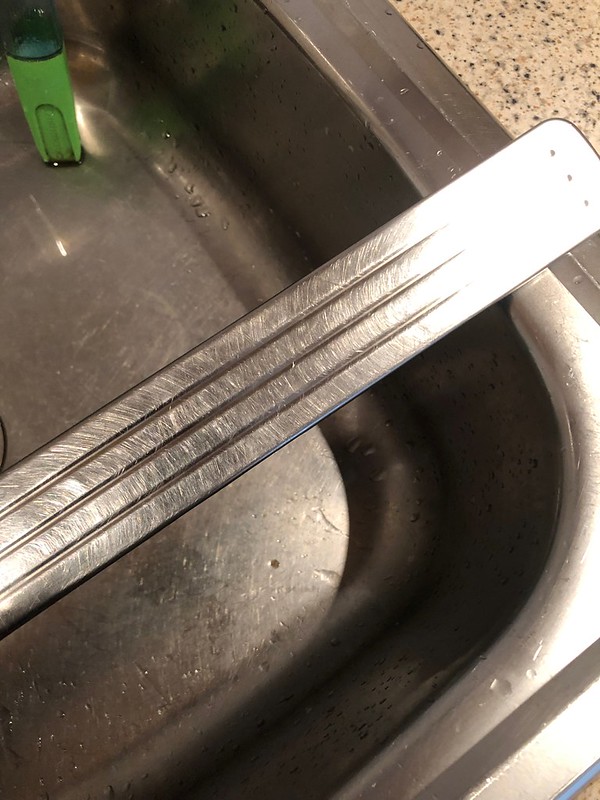
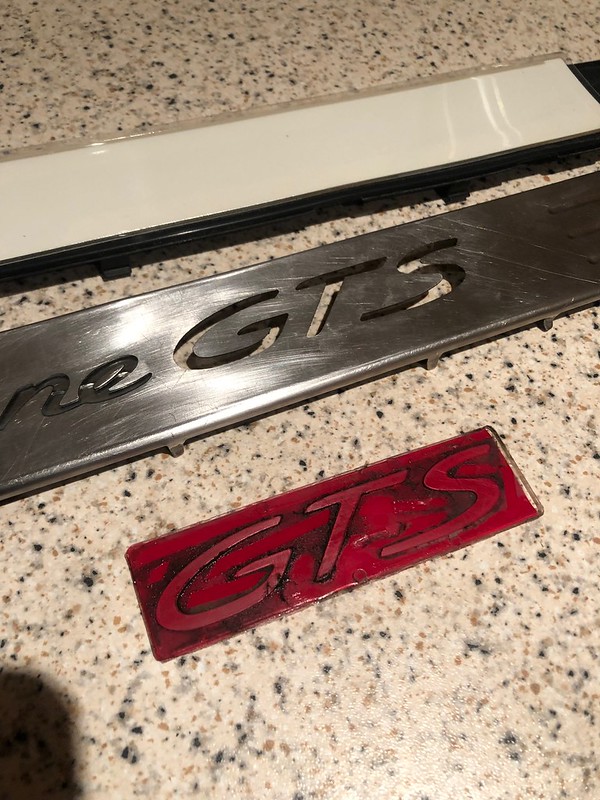
This annoyed me everytime I looked in the rear view, one of the clips was bent

Oh wow, everything is so bloody big!!
Yuck!!!
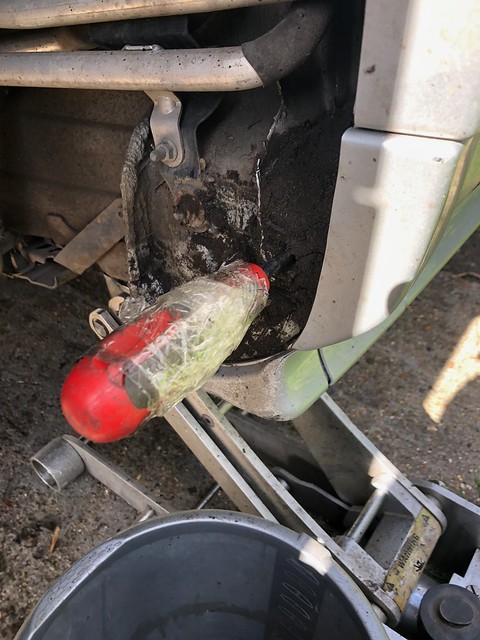
Drains blocked!
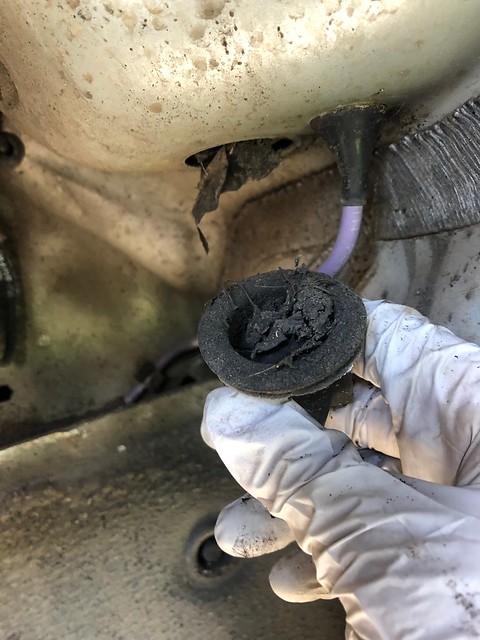

Mud removed
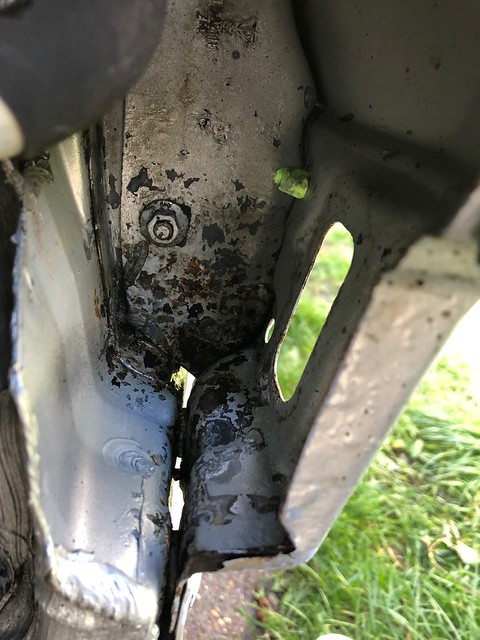
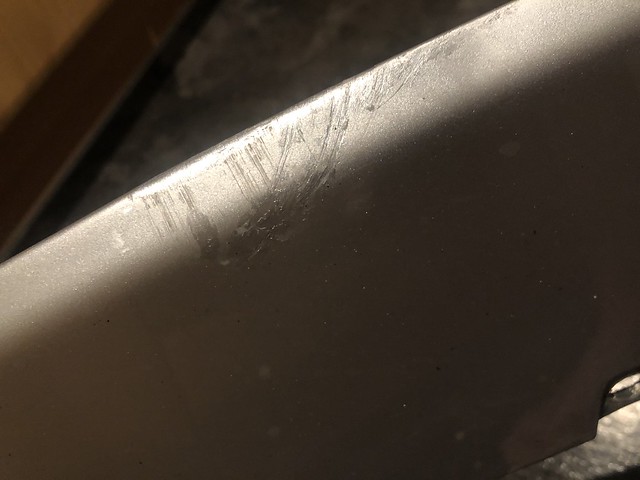
Stone chipped

Painted

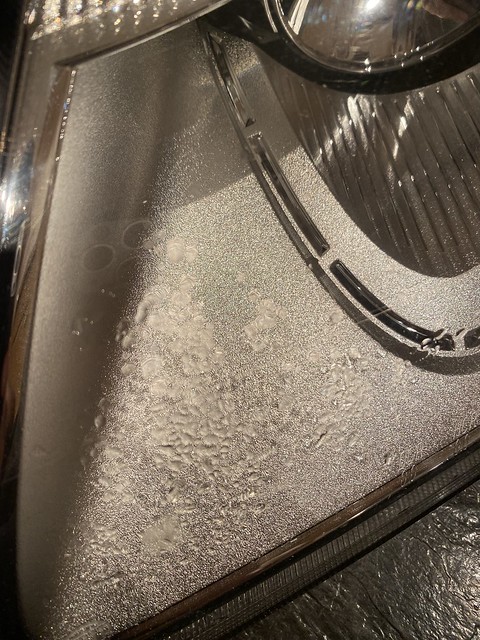
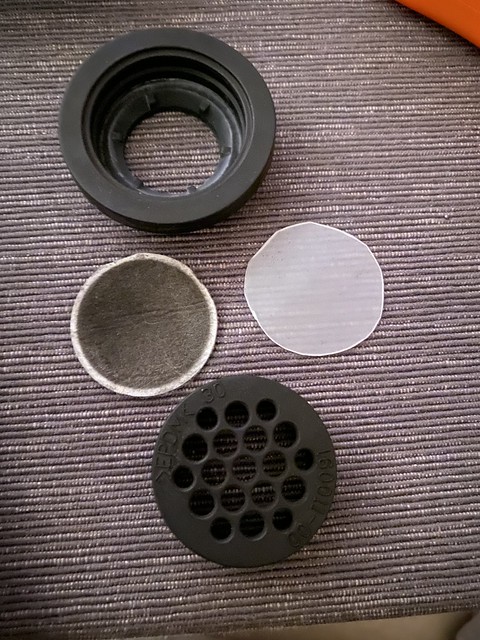
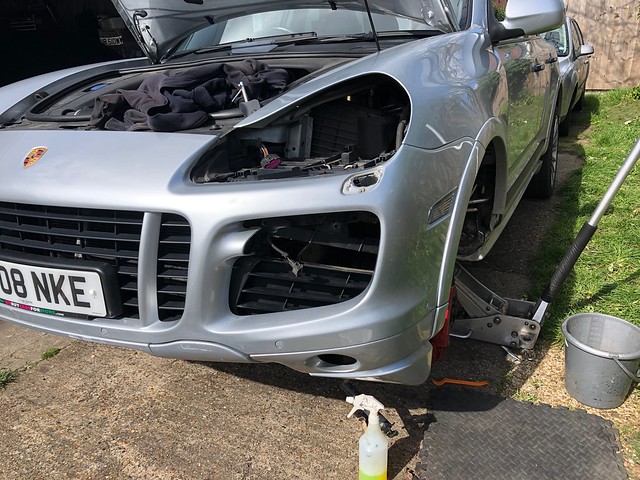
Front indicator was fogging up so wanted to take a closer look, what a ball ache that was! Think I need to replace with a new one.

Getting there

@Demort, I had you in mind here!
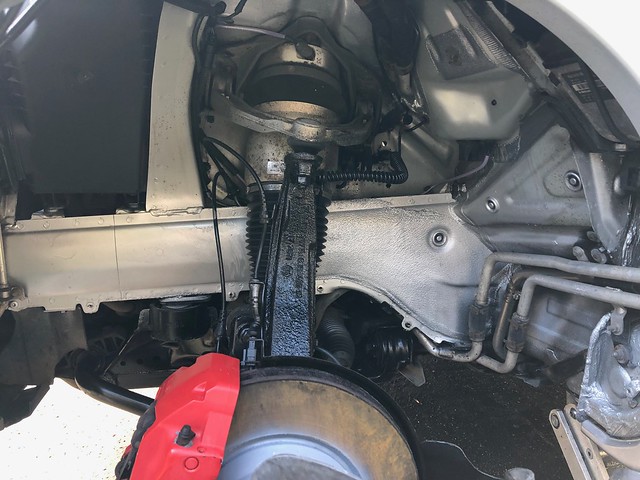
After everything was crisp, cleaned and dry. Everything got a good coat.

I repeated this a further 3 times and was absolutely shattered!!! I was flat out from 8am-ish through to 7PM.
All liner bolts painted

Rears


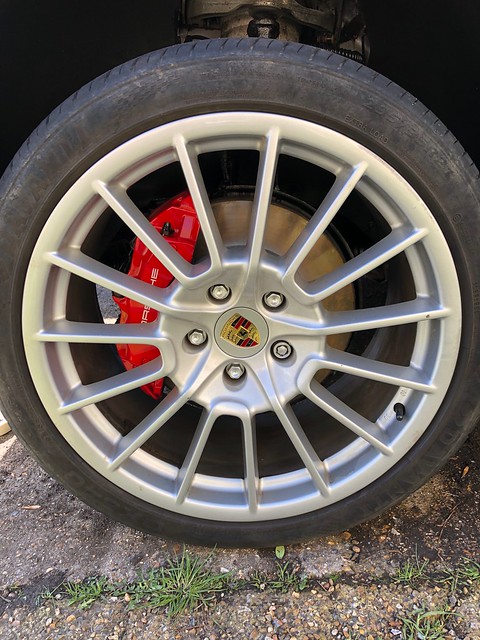
All wheel bolts painted and new caps
The last one before finishing for the night!!

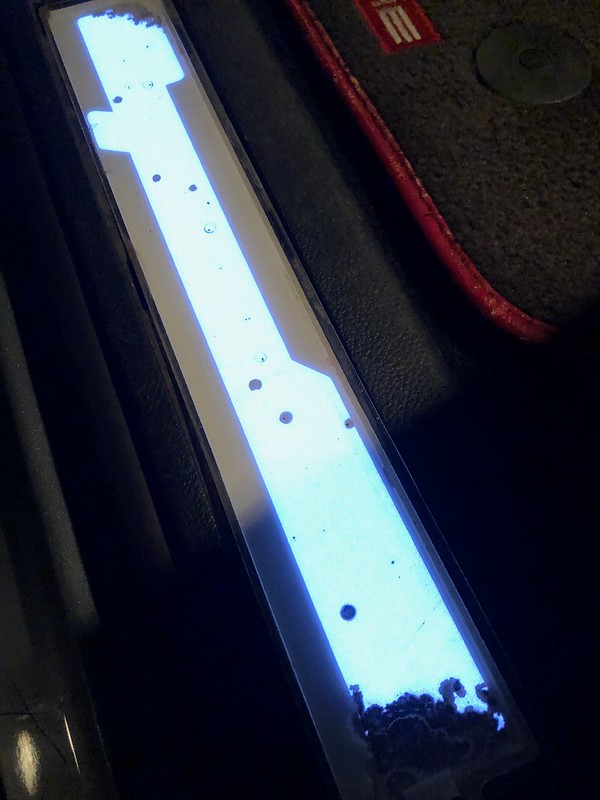
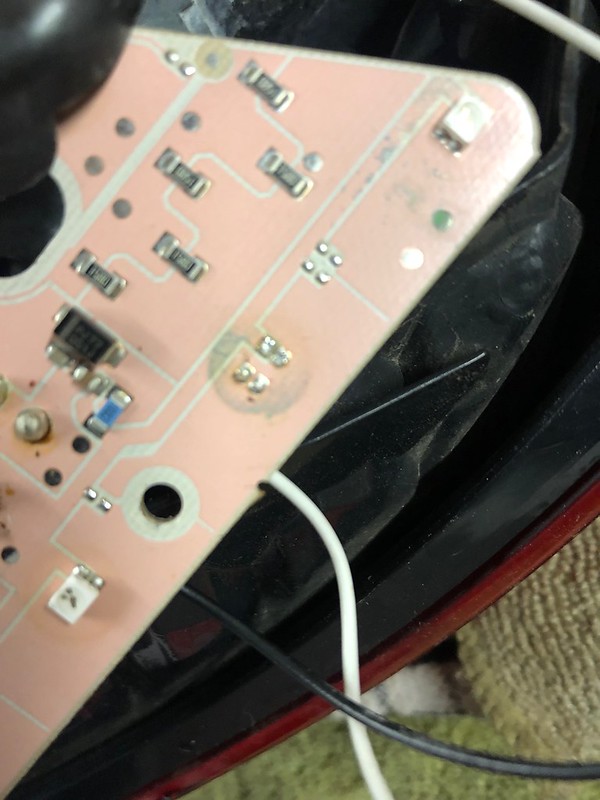
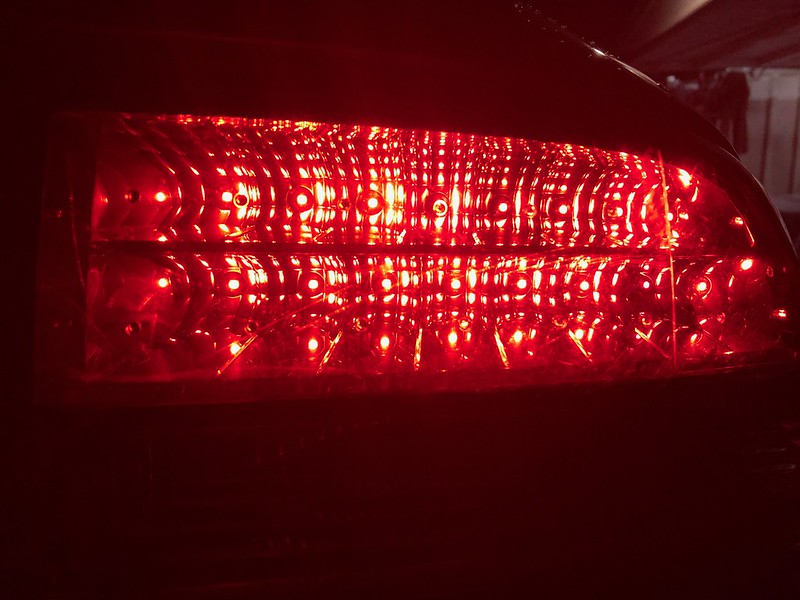
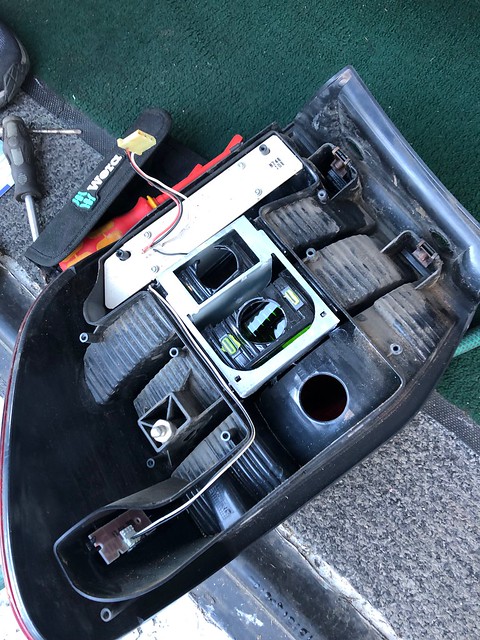
I did have some distractions along the way, I noticed the rear light had some moisture so had a quick poke. Going to revisit that but cleaned it up a bit.
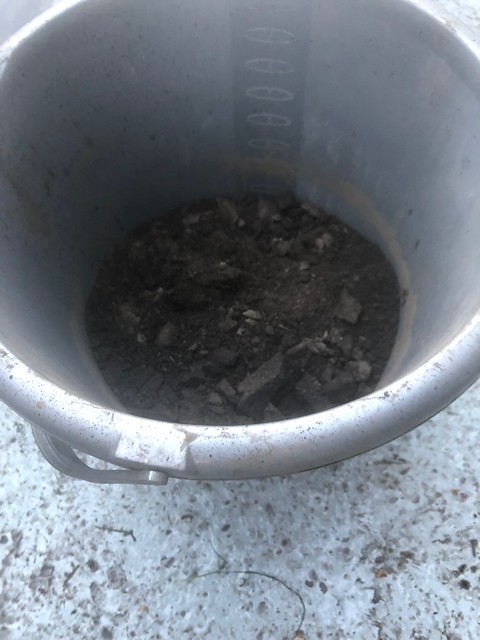
2 litres worth of mud, thats just what I caught! :floor:
That's all for now, MUCH more to come!
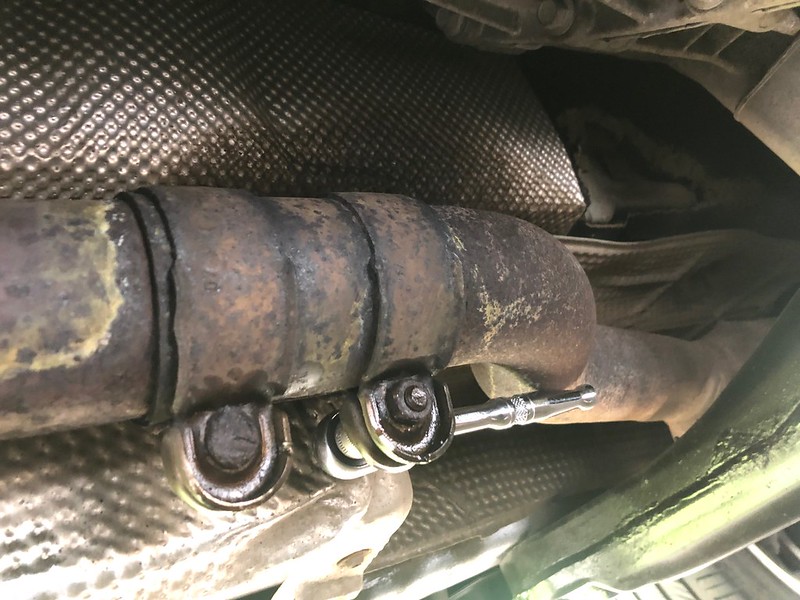
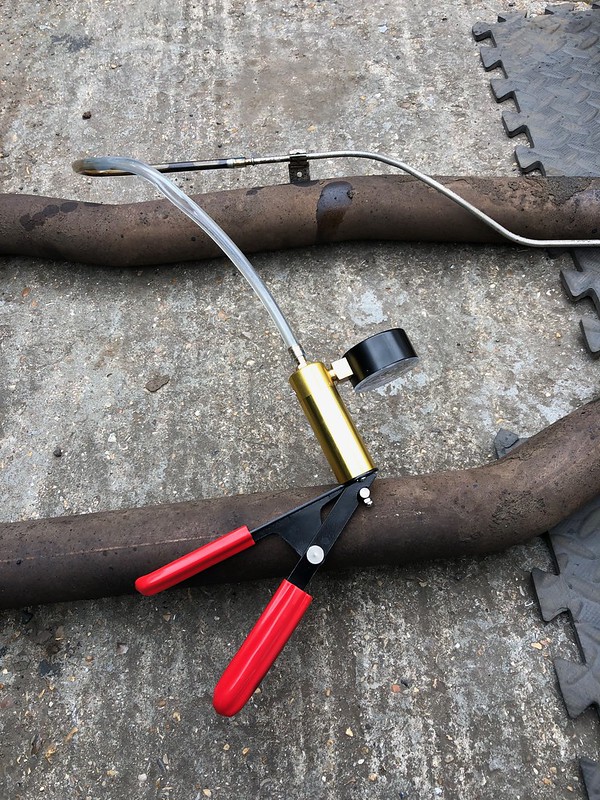
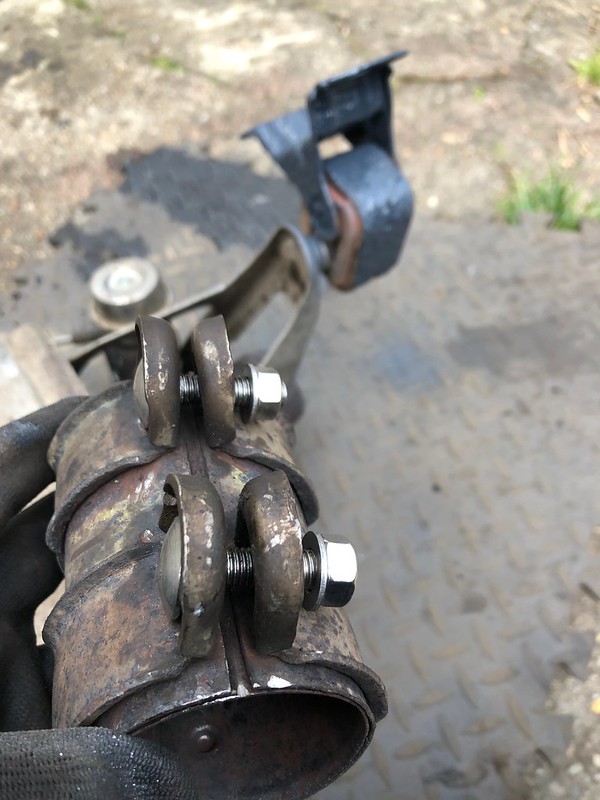
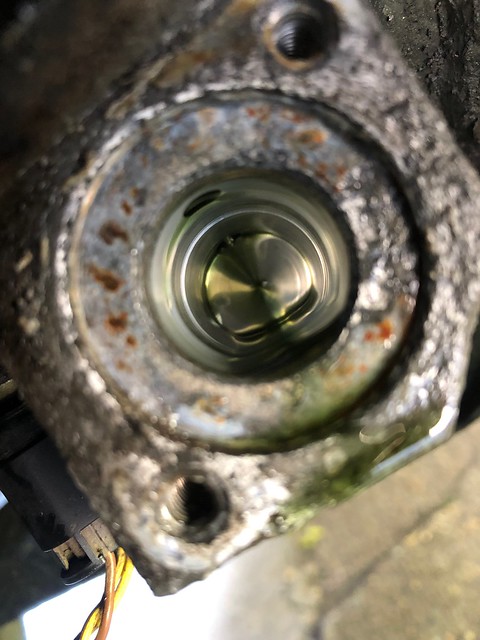
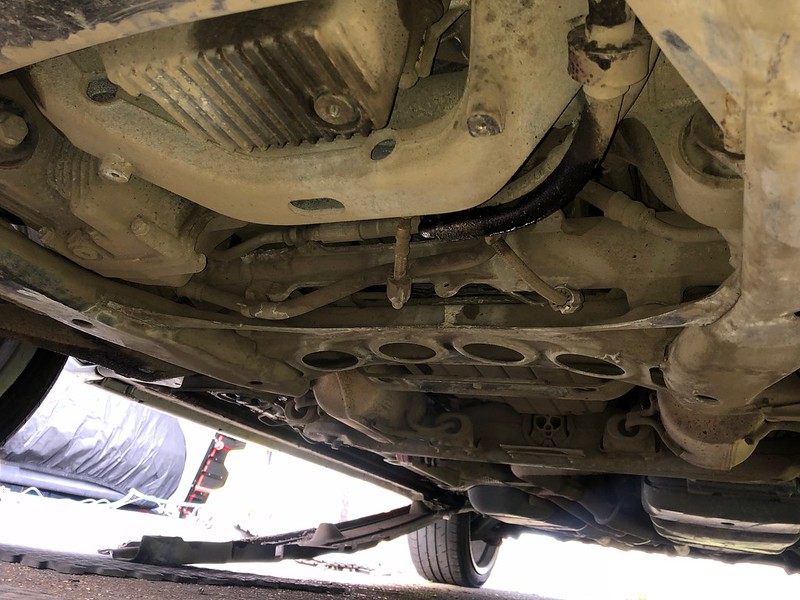
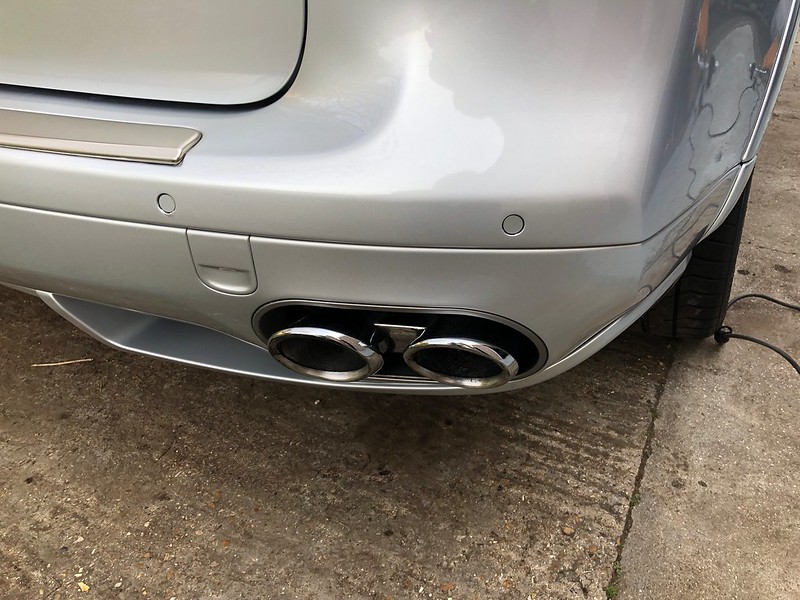
So, to finish up, no nasties found, just some surface rust which is kept at bay now. Could do with some new front brake pads in the coming months and I found that the exhaust valves are stuck open, I know most people have them permanently fixed open but I would like the feature to work, I disconnected the actuator arms but the flaps themselves are what is seized, I tried WD40 and a hammer but they're seized solid, so I plan to remove the exhaust tip and try and turn the flap itself from inside.
Looking better for brighter calipers and clean arches alone!

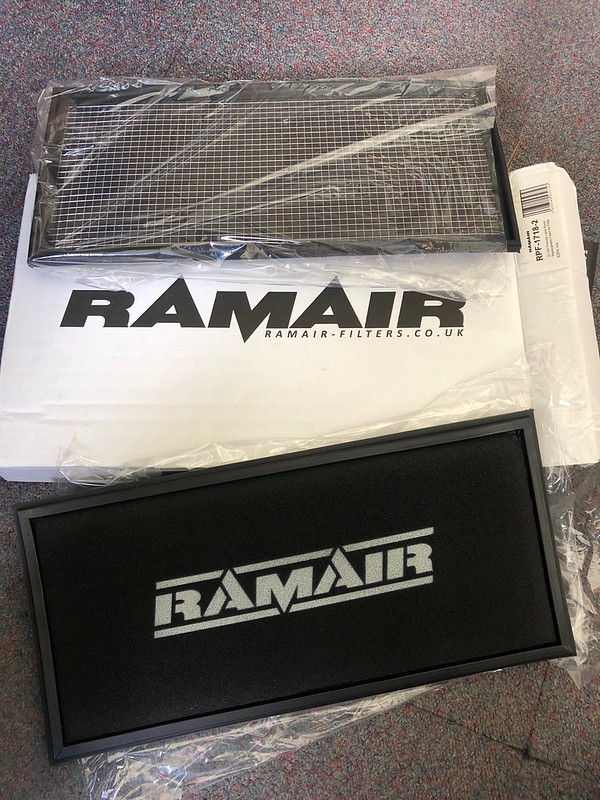
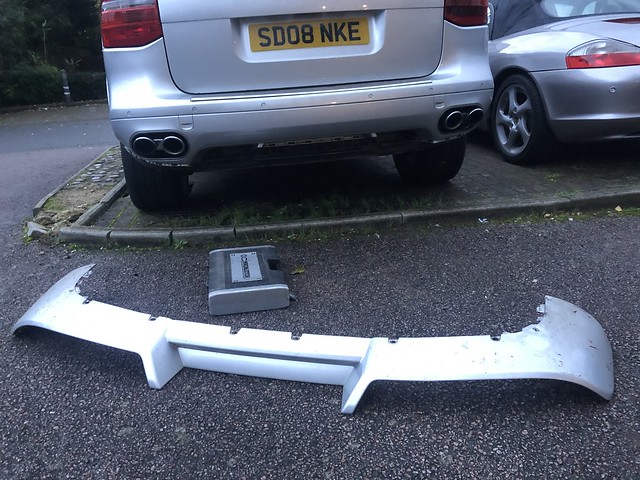
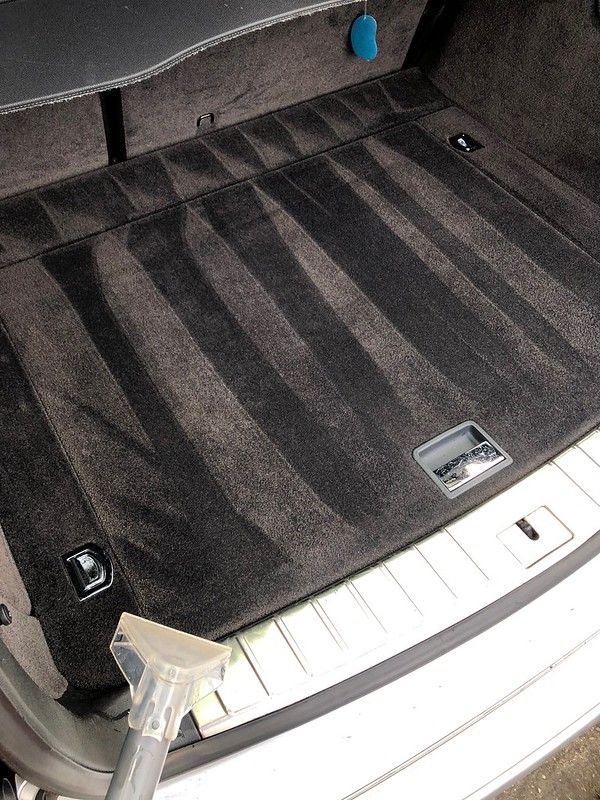
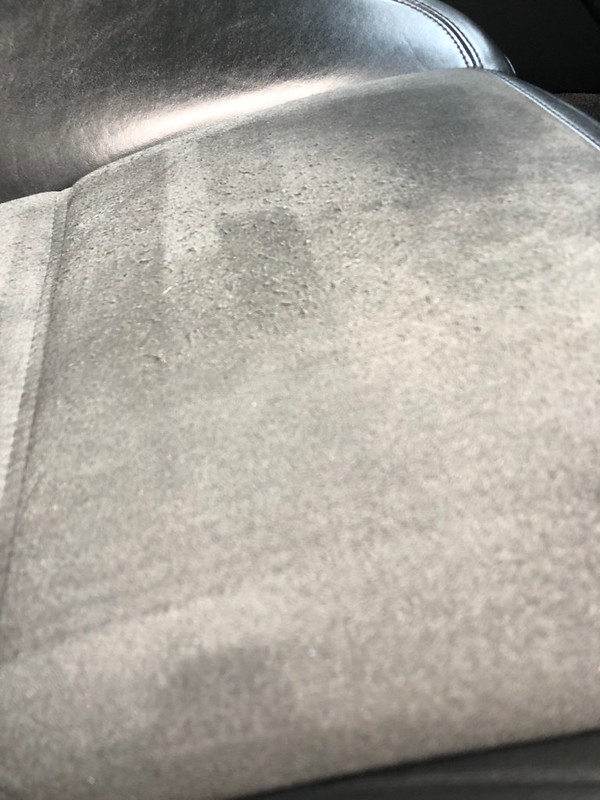
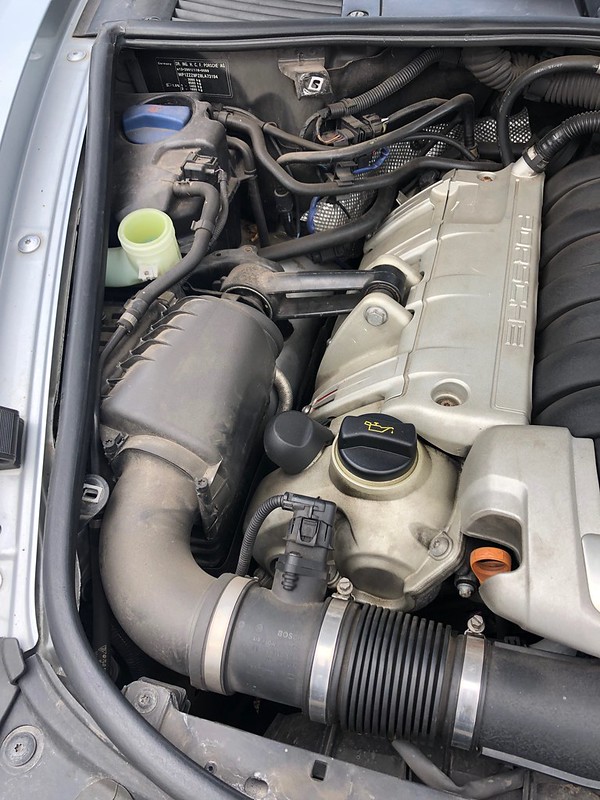
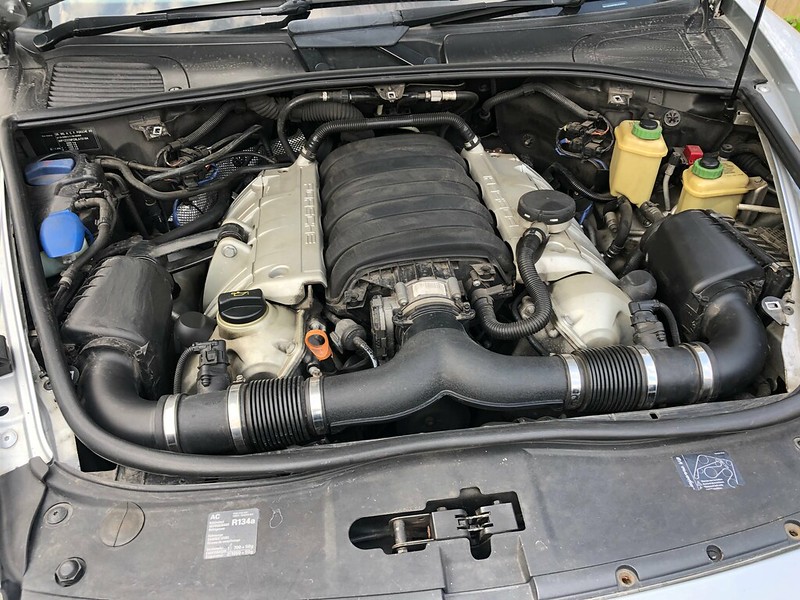
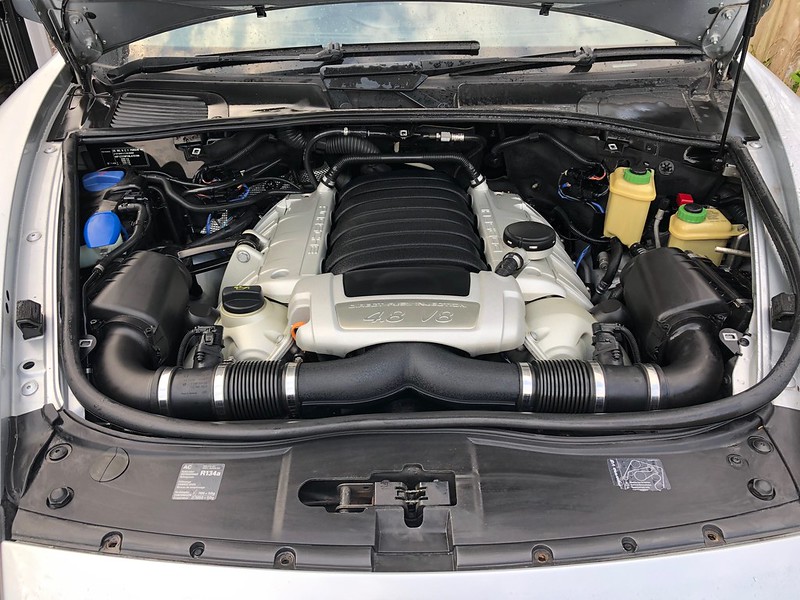
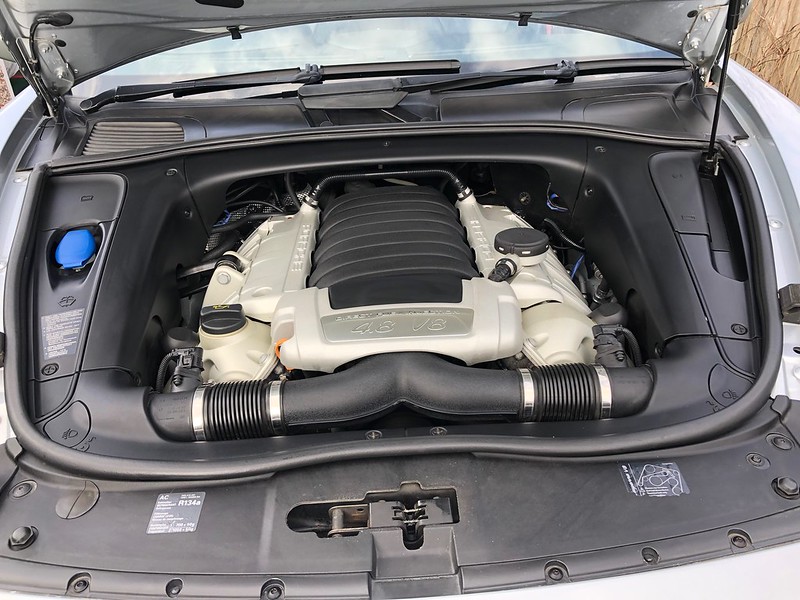
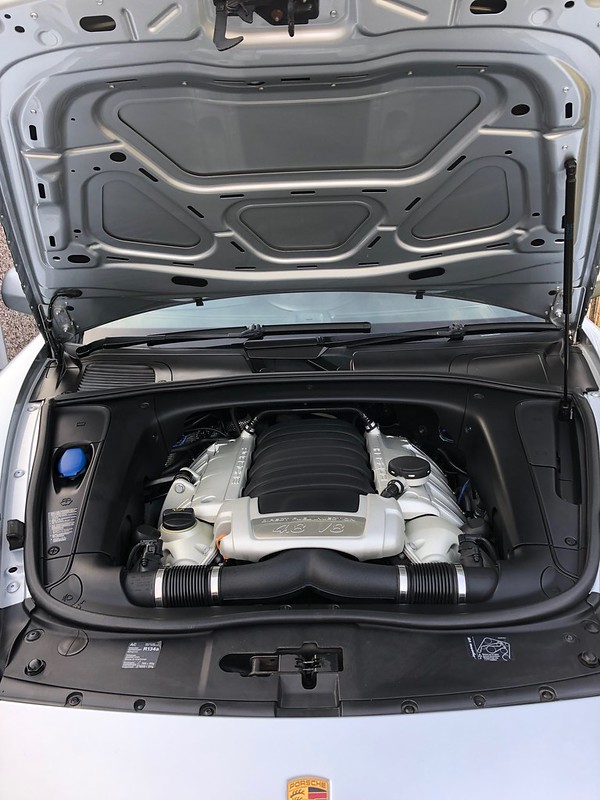
What's next, clean under trays (a bit brown) and poke under the belly of the car. Wetvac the carpets inside, I have a new pollen filter to fit, detail the engine bay and then polish the bodywork.
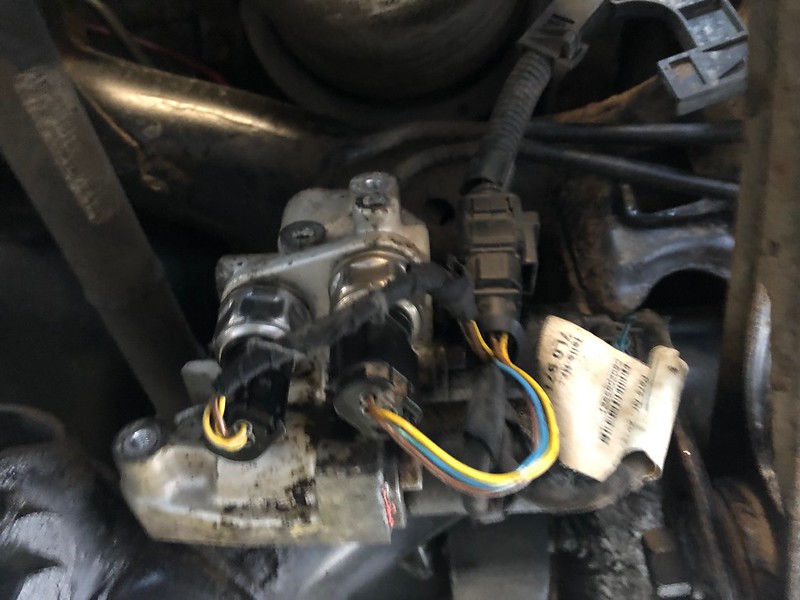
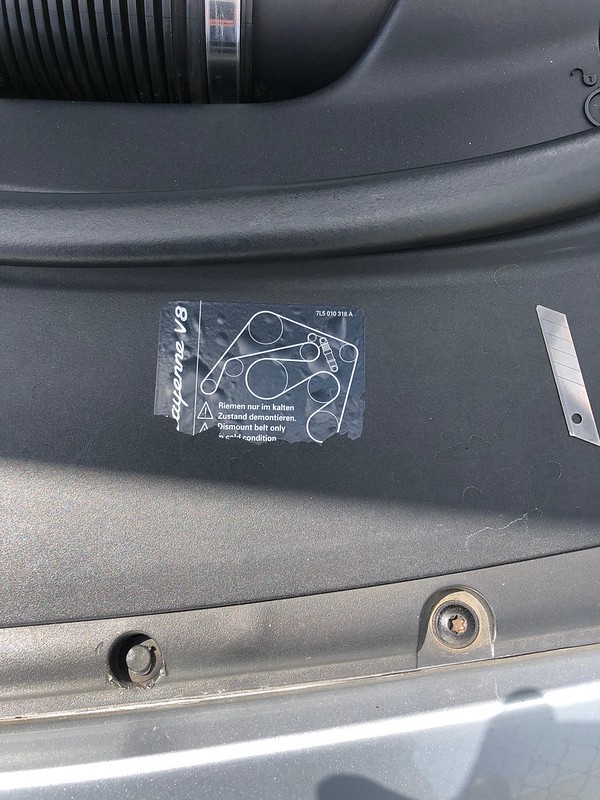
Only bits aside from front brake pads and front indicator lense I need are a pair of new tailgate spring things, it's a bit heavy and I think it needs a new belt tensioner, there is a whurring noise I can hear from inside and from the front of the engine, although it does seem louder in the car, its a whur sound which goes with the RPM of the engine, the belt could do with changing while I'm at that too. I haven't investigated this at all yet so it's an assumption, it definitely sounds belt/pulley bearing-ish! Hope so anyway..
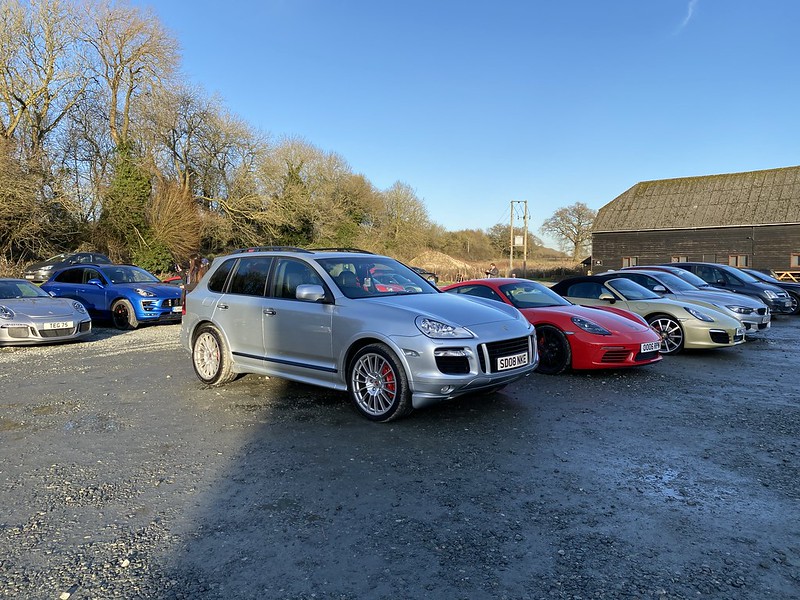
Brilliant car, comfortable, has some poke, looks great and generally, really happy with it! I'll get some full on pics of everything as it has so many options!
As I am a member and it looks like the forum needs a bit of waking up, I thought I would keep progress of my cars here. I have 4 Porsches as part of a small collection of cars, all of which I actively work on for fun, getting hands on is what I love to do, I still take the cars for their routine services to a specialist but for interim jobs, upgrades and replacement of consumable/worn parts, if a guy in a garage can do it then so can I, albeit, outside on a cold floor. It's nice to share the tasks I carry out, I enjoy following the progress of others who post their own accounts, sadly it seems to be something which is dying out and posting up progress on instagram just isn't the same. I like to keep a visual diary for my own references mainly but at the same time, hope this will help others to do jobs themselves or at least entertain you on these grey and wet days we have now.
At this point, I have owned the car for the best part of 8 months so forgive some time references..
With the news of my wife being pregnant (Now have a 4 month old boy), my first thought was obviously, woohoo, excuse for a new car! It didn’t take me long to decide on a Cayenne, she doesn’t like estate cars, a hatch would be too small and the boot on a saloon may prove challenging, we both fancied something high up, problem being was that most high up, non estate cars tend to be either diesels or unreliable which ruled out the 2nd inline choice of a BMW X5 4.8. A shame as I test drove one and I couldn't fault it, with it being much much much more modern inside compared to the 957 Cayenne and generally newer looking, after driving it, I couldn’t stop seeing them on the back of AA trucks, so I just kept returning to search for Cayennes. I would have loved a Macan but available car cash doesn’t stretch unless 1 of the collection goes. The Cayenne is pushing it on the size factor and I am going to have to see how the wife gets on with it while we still live in suburbia.
I had always liked the Cayenne and being in love with the Porsche brand, it made sense to add a 4th to the collection. Realising they do a GTS version which had alcantara, made a great noise and many other nice bits, it had to be one of those over the Turbo. I love naturally aspirated cars and the turbo was just a bit much for the duties required of it.
I had been looking for one since October/November 2018 and I just wasn’t finding much, they either pop up and disappear really quick or they have remained on sale for months and months for whatever reason. They also always seem to be black, as nice as it is, I really really didn’t want black as it a nightmare colour to maintain and on a car the size of a house, multiply that by 2!
To cut a long story short, I found my perfect one, albeit, more miles than I wanted but I did start to get a little desperate due to time running out, I wanted to get a car that I could get up to my standards before all of my free time is occupied with the baby.
The car I found was silver, great! Silver is my favourite colour on a car, it had the wheels I was desperate for, full history and all the options I wanted and more.
I contacted the owner and a deal was done. In the time I was awaiting a good opportunity to go and get the car, I managed to locate the previous owner and spoke to him, a lovely guy who told me about his time with the car, who the 1st owner was (Manager of a football club hence every option box being ticked) and the various bits of work which was carried out on the car in his time. This was brilliant for me, I love to know everything I can find out about a car I own and to get this kind of contact and info was priceless. I was sent old pictures, info on jobs done and original brochure.
This all gave me confidence in the car and as it was 300 miles away, it helped, I normally don’t like buying cars that take longer than an hour to get to as I have had my time wasted so many times with dishonest sellers, an exception was made here.
So here is the car based on some pics from the 2nd owner, I am now the 4th.
Collection day begun with an alarm at an obscene time on a Sunday and a train journey from South London to the North!
A ride to the tube to get to then get to Kings Cross…
Reading material (Can’t believe mags are £5 each now!)
Started getting dizzy up there..
Collected from the station, good look around the car and then to a pub to go through paperwork and details over a pint (I love Northerners!)
The car was generally as described, lots of paperwork, a great owner who was a copper and his wife used it mostly, it could be described as an honest used car, I love this as once I have finished with it, the results are much more noticeable. There was one thing which I wasn’t aware of and it did kind of put me off the car as I hate this kind of thing.. I was warned about the rear doors too! It is just the one door so it won’t be costly to repair and the price did reflect this in the end so not too bad, just an extra hassle to have sorted.
I will seal it up the best I can for now, make sure the wife is comfortable with the car and then book it in to be repaired. I will do some preventative stuff on the other side too! Assuming this rust is starting from the inside out? I was thinking to remove the door car and clean and seal with some dynax/waxoyl.
After a drink and waiting too long for the payment to go across, I was homeward bound! First fill of V power from near empty, £121!
I got home after 310 miles, 5 hours 5 minutes, 10:30pm.
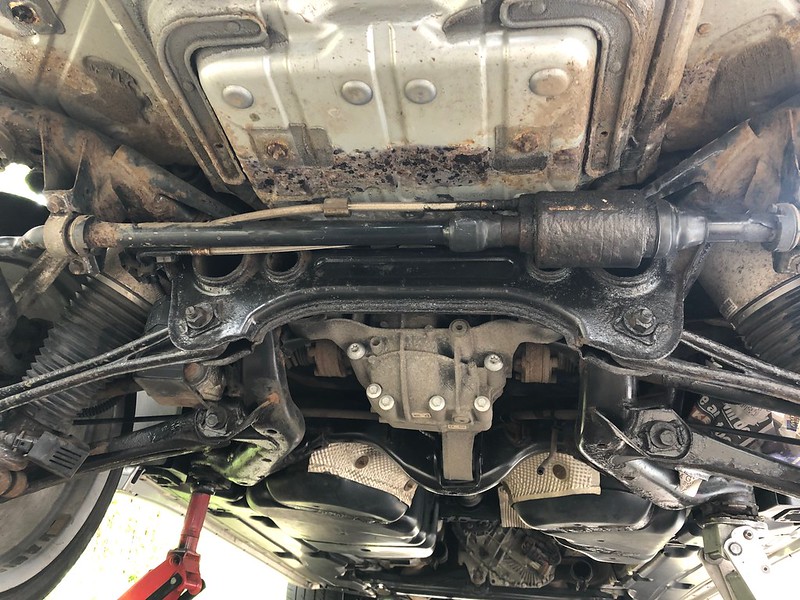
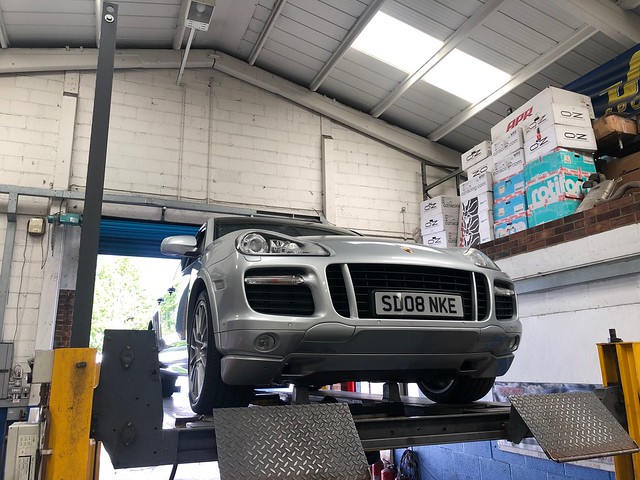
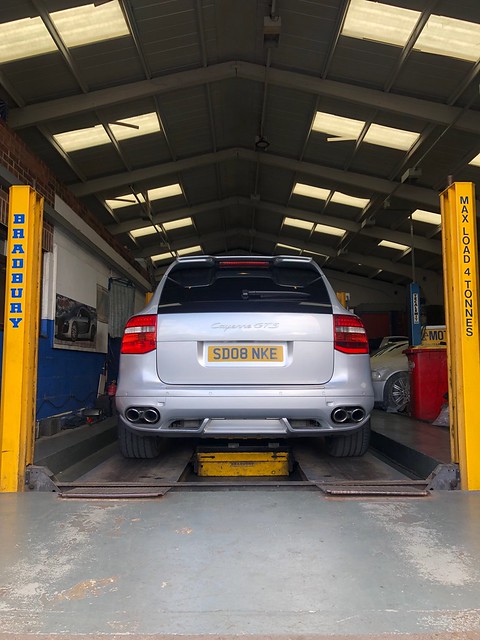
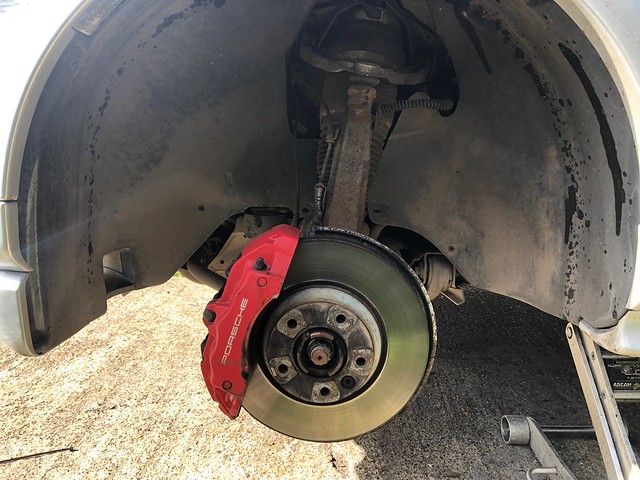
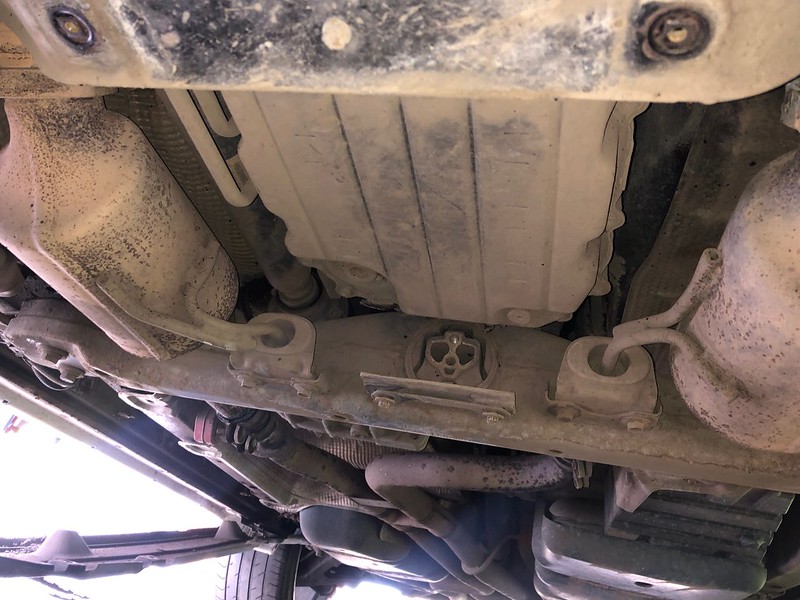
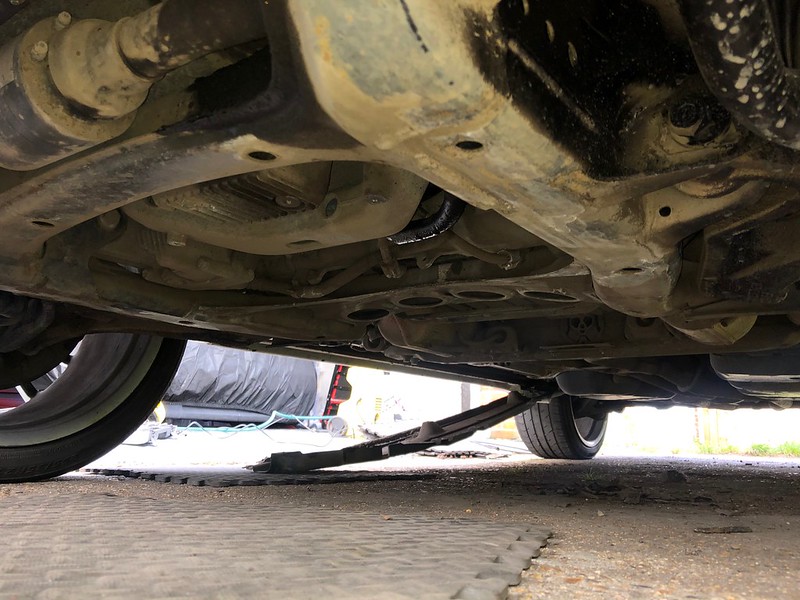
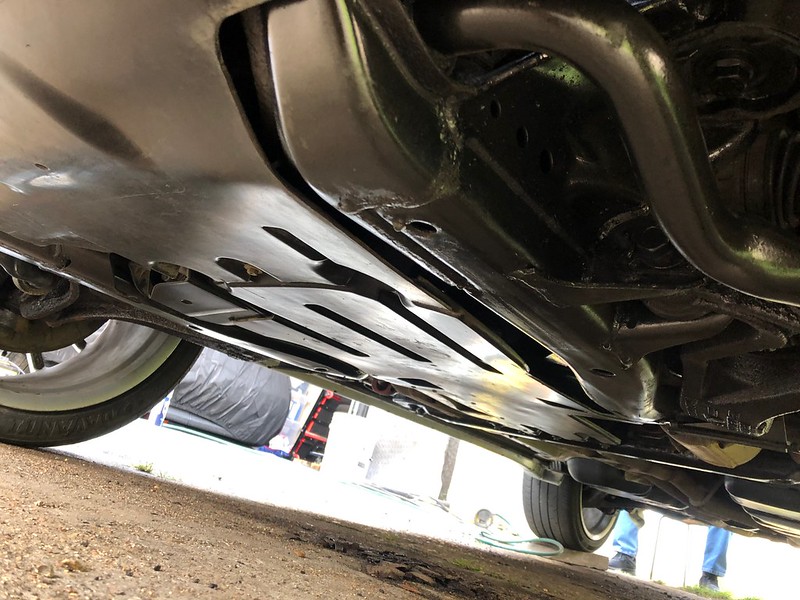
Full first day of ownership, I woke up early once again and cracked on! First job was to fully inspect the car in detail and clean the underside up, I like doing this as I get a close look at bushings and the underpinnings.
This annoyed me everytime I looked in the rear view, one of the clips was bent
Oh wow, everything is so bloody big!!
Yuck!!!
Drains blocked!
Mud removed
Stone chipped
Painted
Front indicator was fogging up so wanted to take a closer look, what a ball ache that was! Think I need to replace with a new one.
Getting there
@Demort, I had you in mind here!
After everything was crisp, cleaned and dry. Everything got a good coat.
I repeated this a further 3 times and was absolutely shattered!!! I was flat out from 8am-ish through to 7PM.
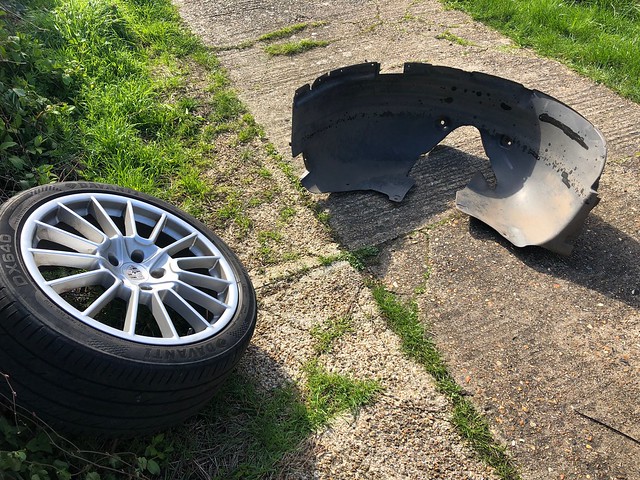
All liner bolts painted
Rears
All wheel bolts painted and new caps
The last one before finishing for the night!!
I did have some distractions along the way, I noticed the rear light had some moisture so had a quick poke. Going to revisit that but cleaned it up a bit.
2 litres worth of mud, thats just what I caught! :floor:
That's all for now, MUCH more to come!
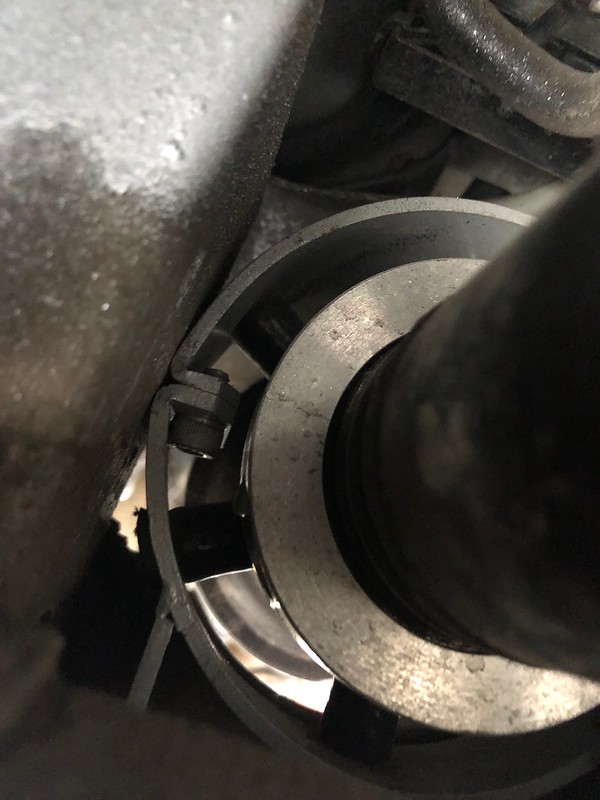
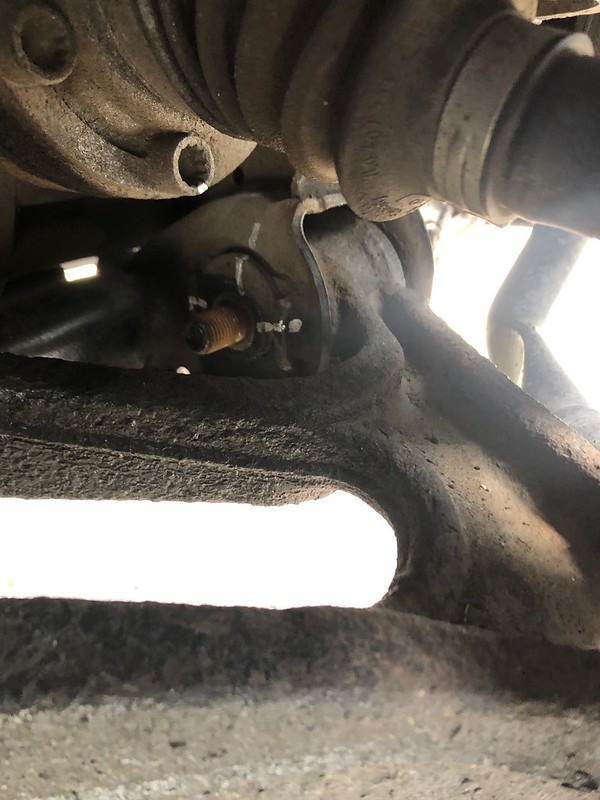
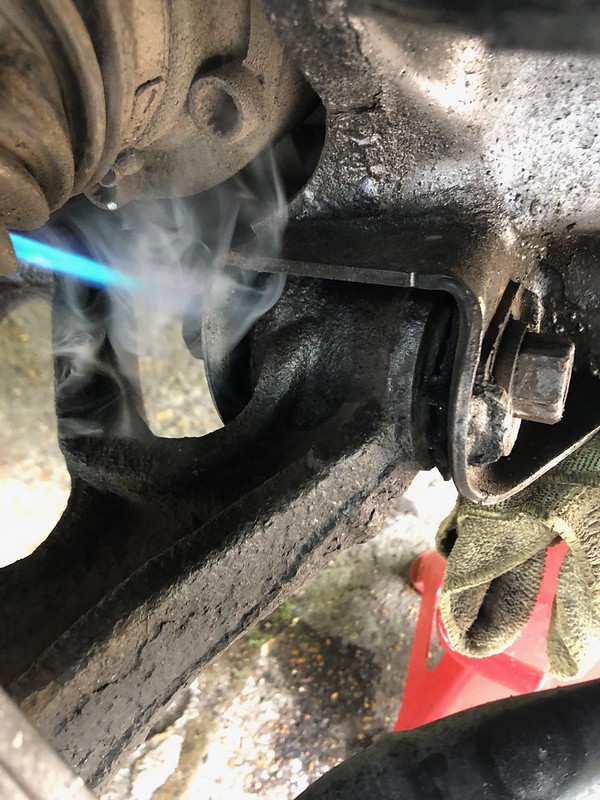
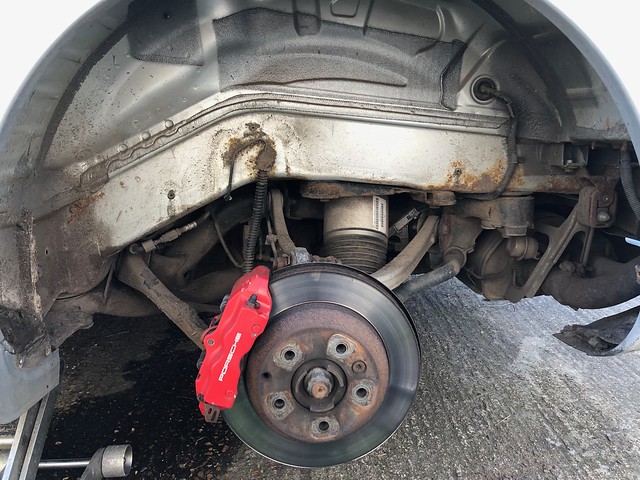
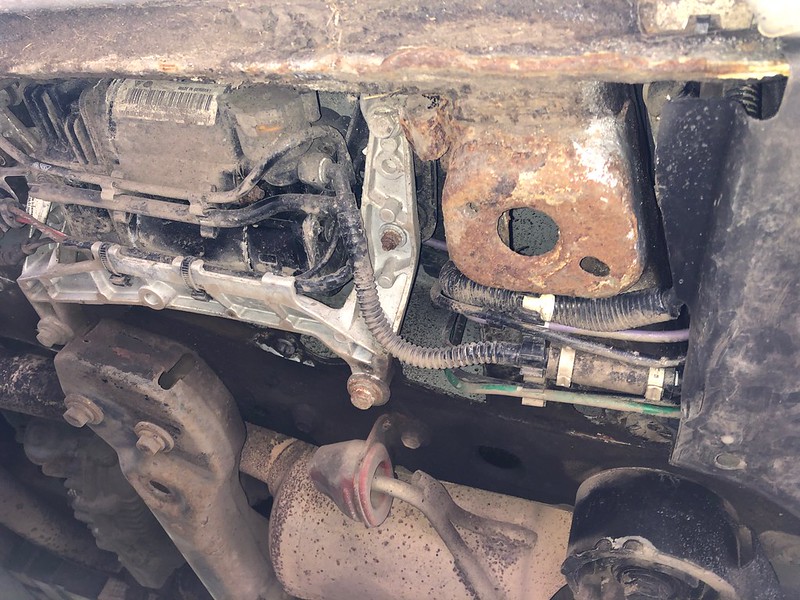
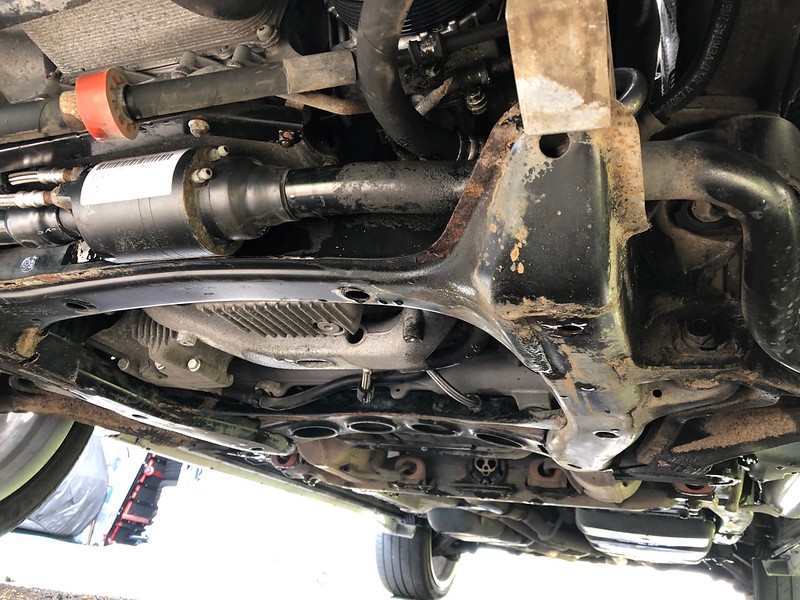
So, to finish up, no nasties found, just some surface rust which is kept at bay now. Could do with some new front brake pads in the coming months and I found that the exhaust valves are stuck open, I know most people have them permanently fixed open but I would like the feature to work, I disconnected the actuator arms but the flaps themselves are what is seized, I tried WD40 and a hammer but they're seized solid, so I plan to remove the exhaust tip and try and turn the flap itself from inside.
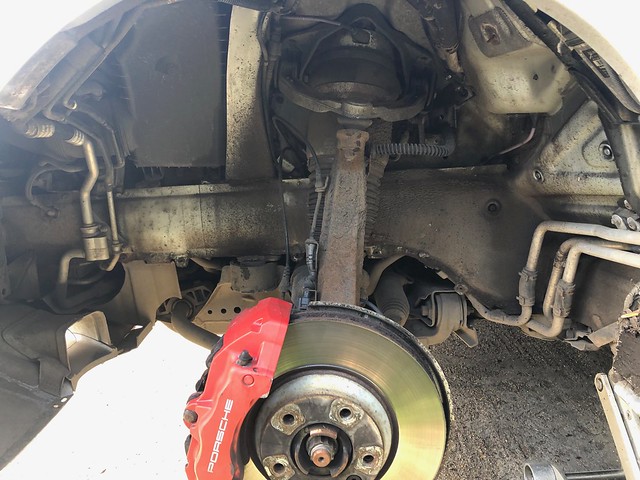
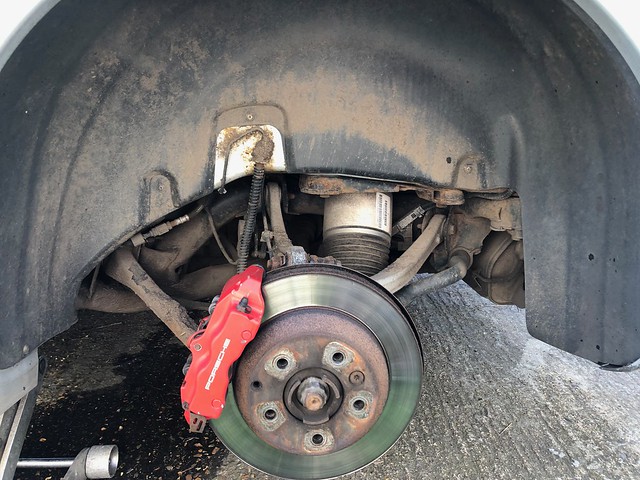
Looking better for brighter calipers and clean arches alone!
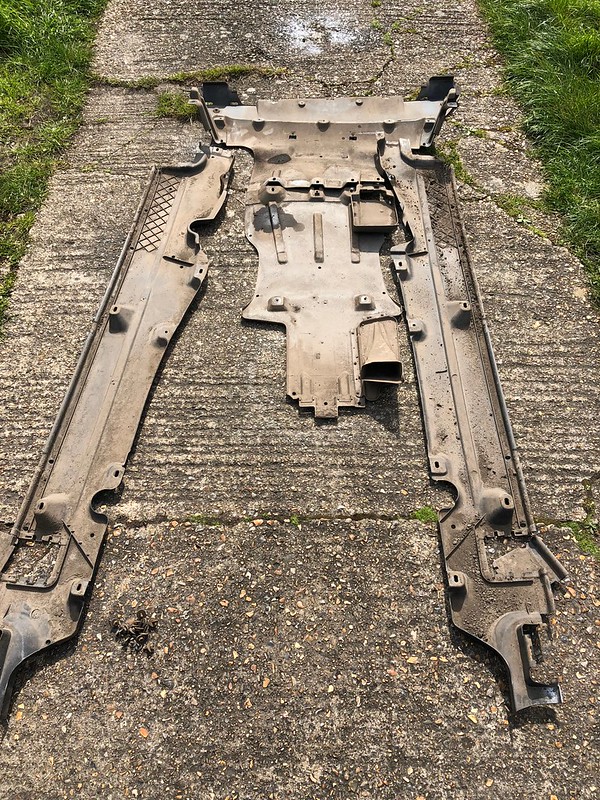
What's next, clean under trays (a bit brown) and poke under the belly of the car. Wetvac the carpets inside, I have a new pollen filter to fit, detail the engine bay and then polish the bodywork.
Only bits aside from front brake pads and front indicator lense I need are a pair of new tailgate spring things, it's a bit heavy and I think it needs a new belt tensioner, there is a whurring noise I can hear from inside and from the front of the engine, although it does seem louder in the car, its a whur sound which goes with the RPM of the engine, the belt could do with changing while I'm at that too. I haven't investigated this at all yet so it's an assumption, it definitely sounds belt/pulley bearing-ish! Hope so anyway..
Brilliant car, comfortable, has some poke, looks great and generally, really happy with it! I'll get some full on pics of everything as it has so many options!


")