jamieda
New member
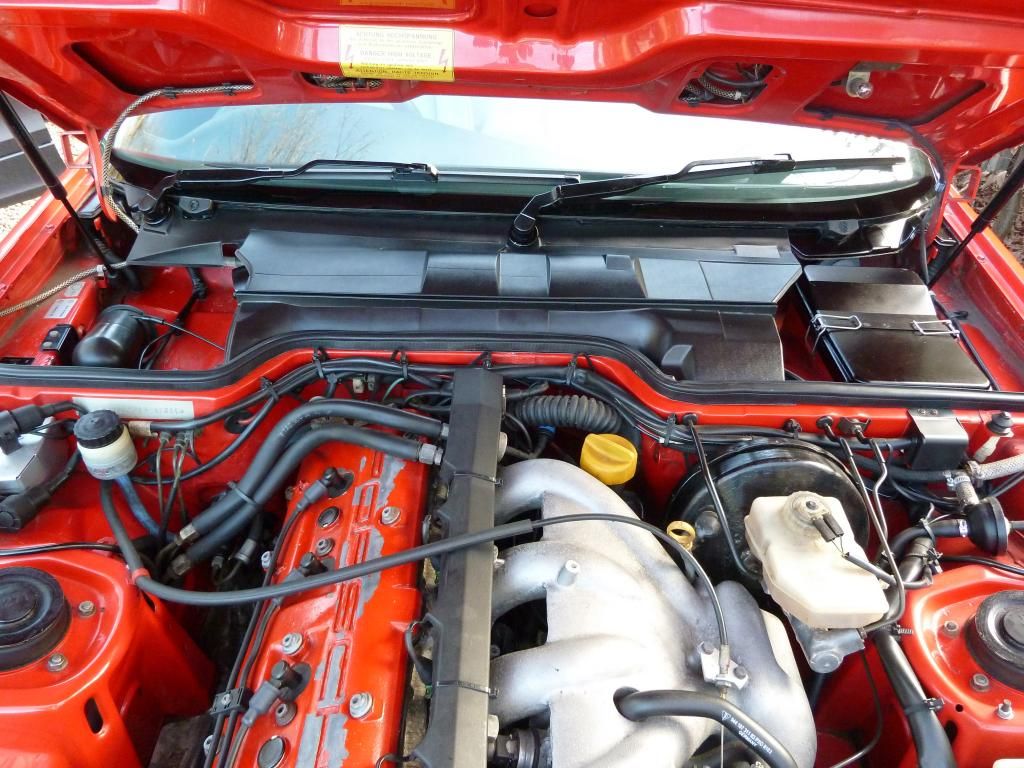
Todays job was fitting the new promix chip that the white bearded one left under the tree for me, i took photos along the way so thought i would share it with you all. I'm finding this all very exciting, I've never owned a car i could tinker with before, its quite satisfying.
Let me start by saying i thought this was going to be tricky. I was worried i would break something and the car wouldn't start once i was finished.
That wasn't the case, it was a really simple process if you plan on doing it and you feel unsure just take your time.
Time taken just over an Hour
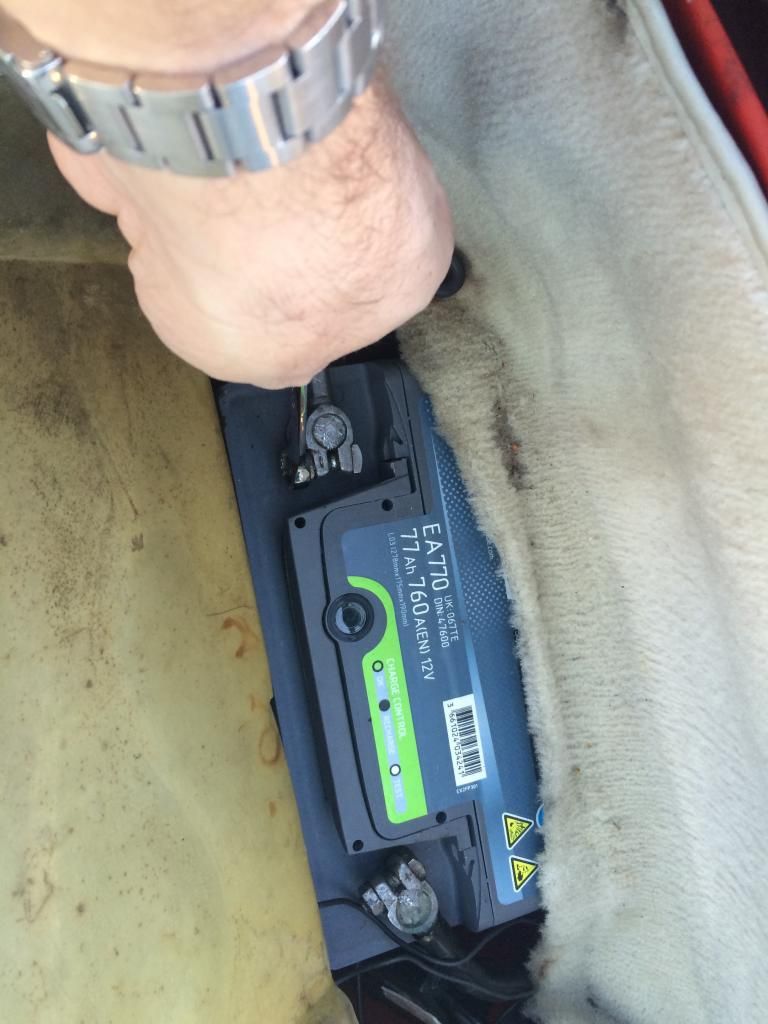
1. Remove the negative connection on the battery, I've read you need to leave this disconnected 30mins before starting the job, i had some other jobs to do so waited about 5mins.
 [/URL]
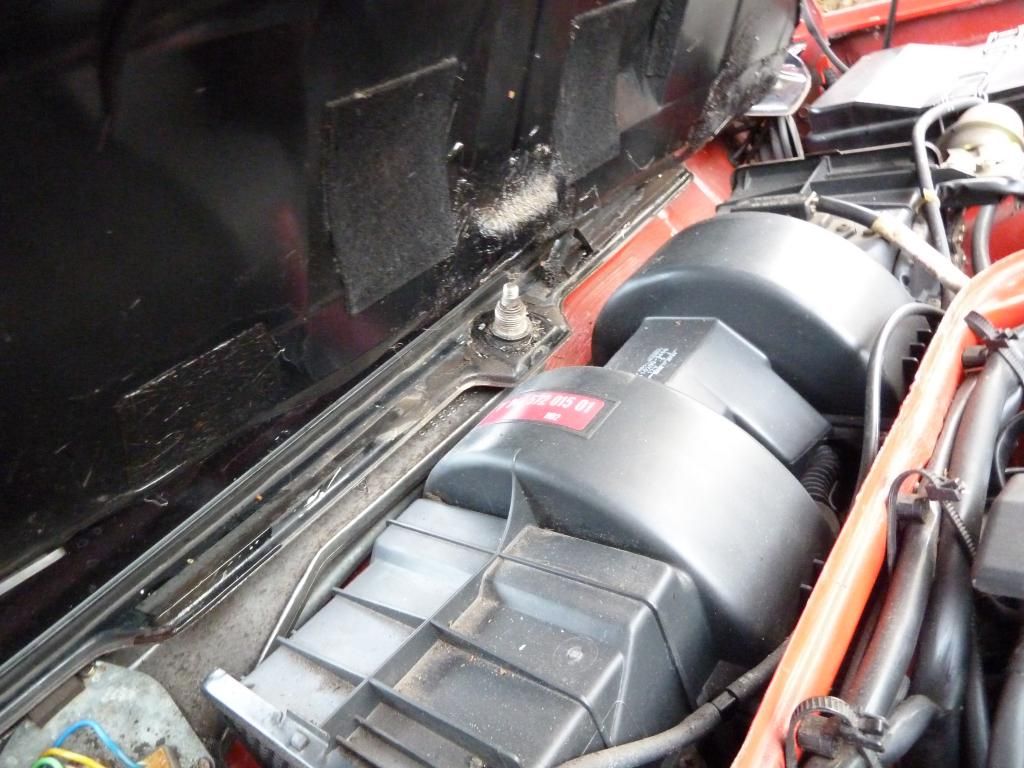
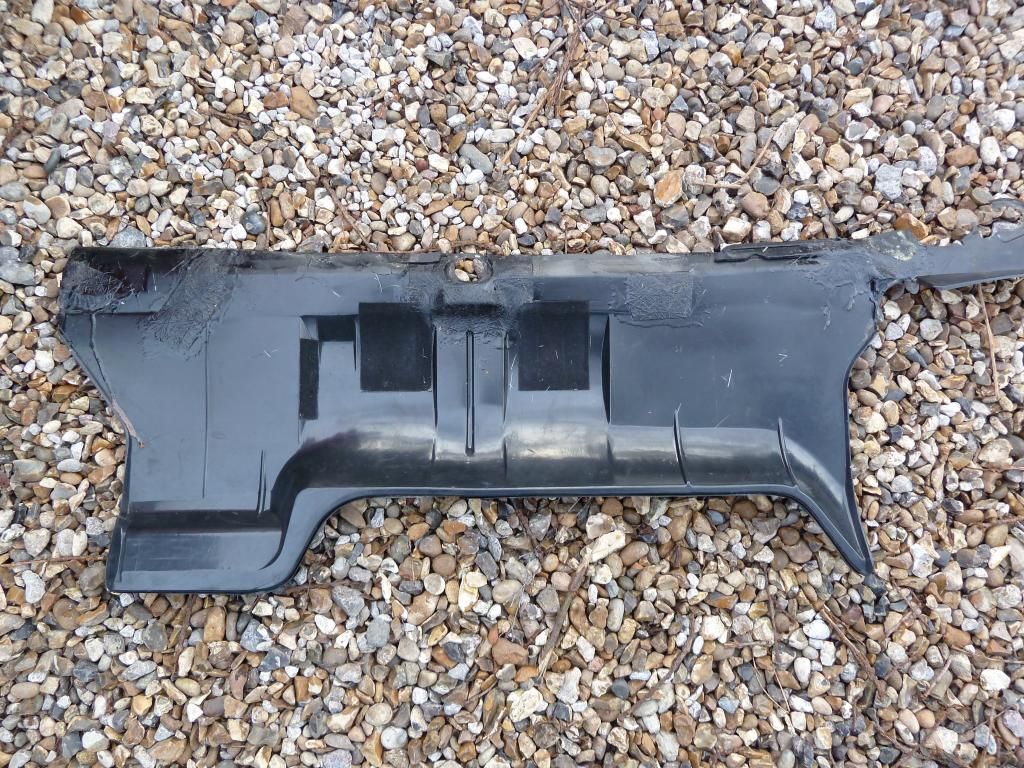
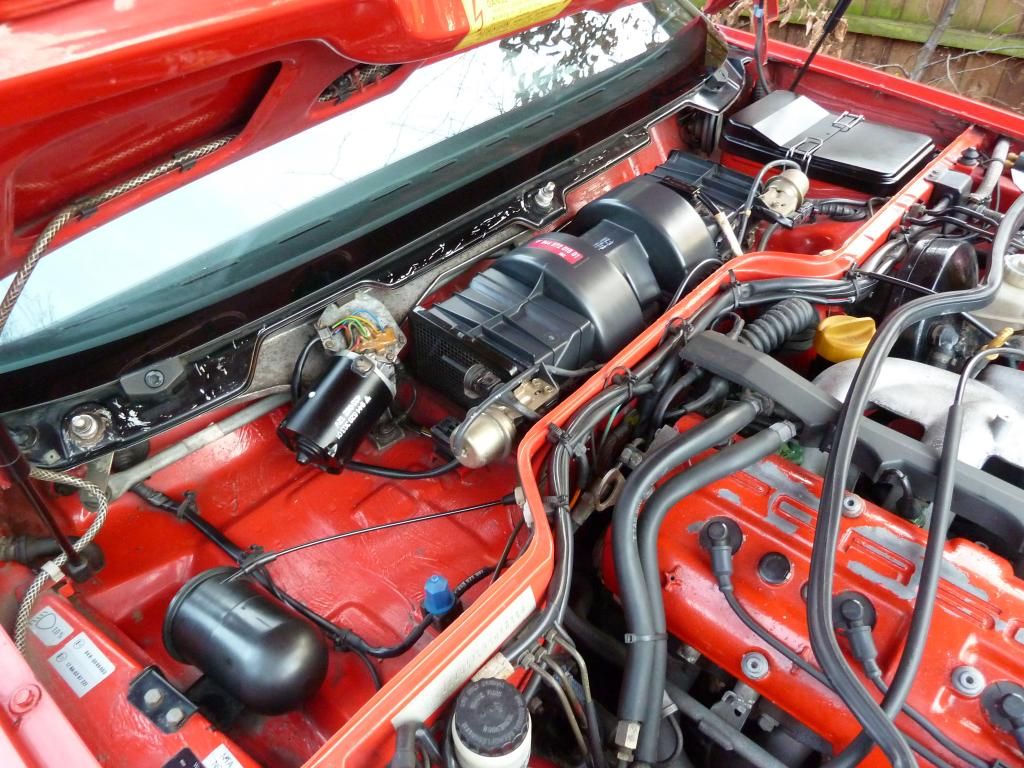
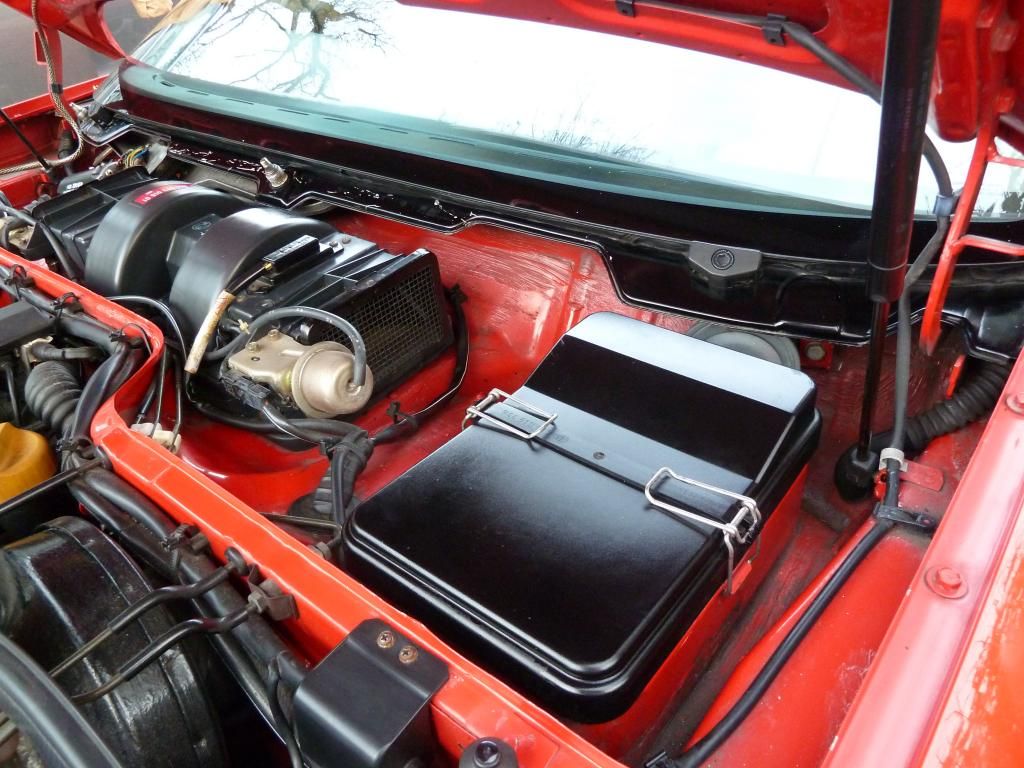
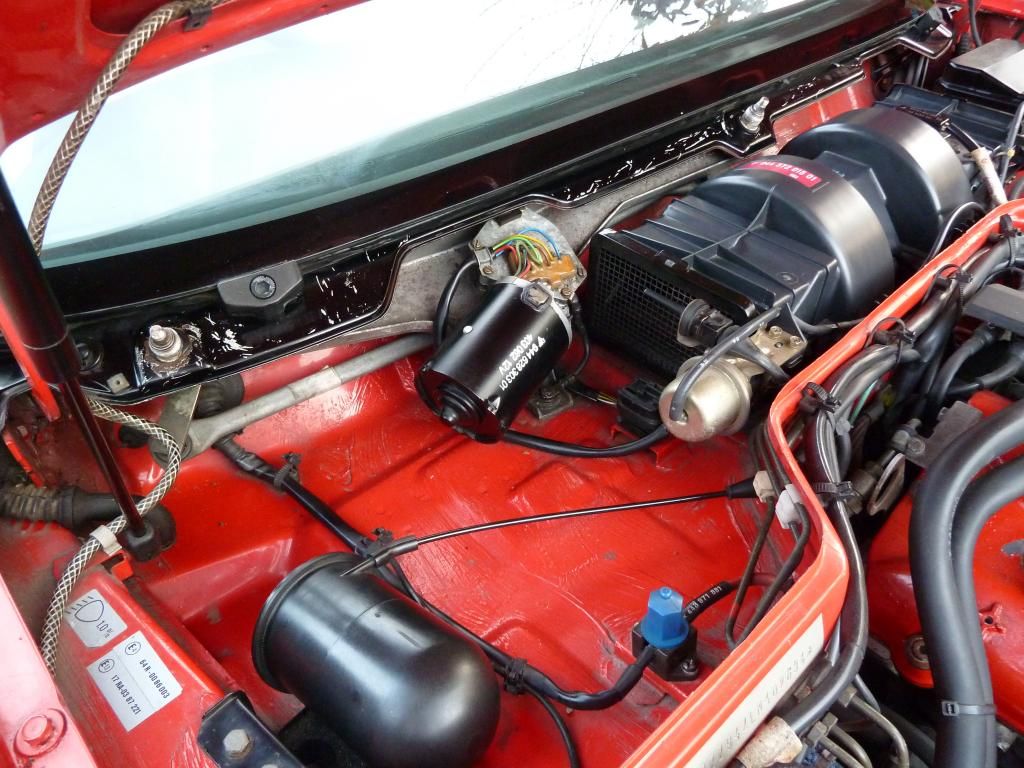
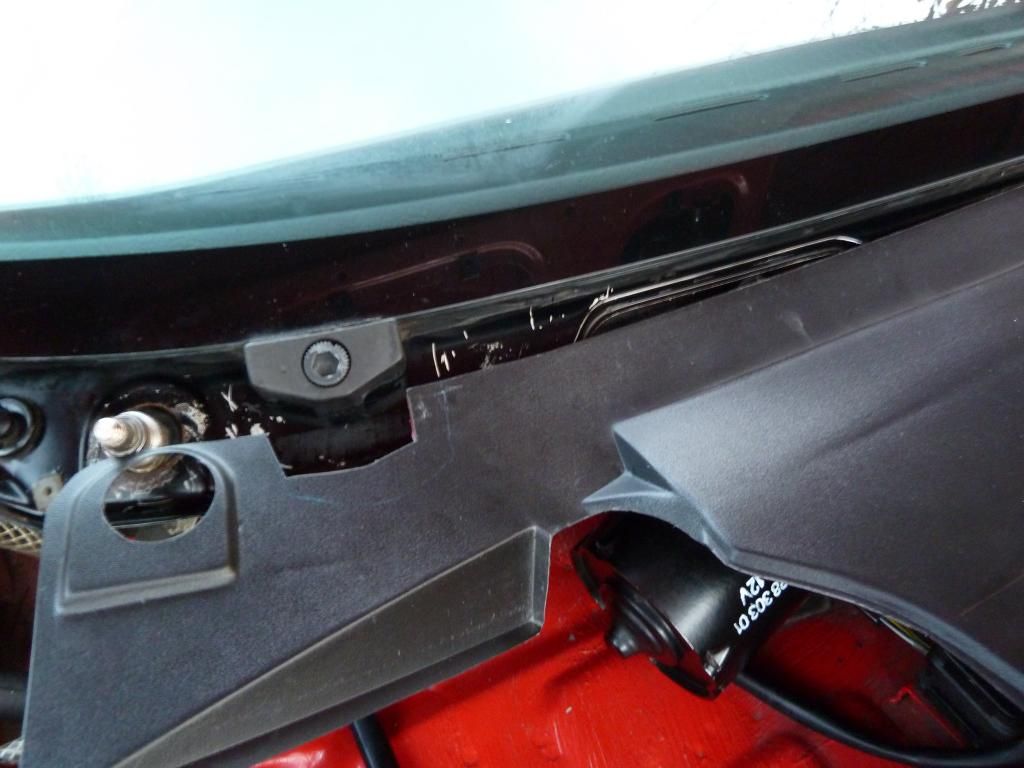
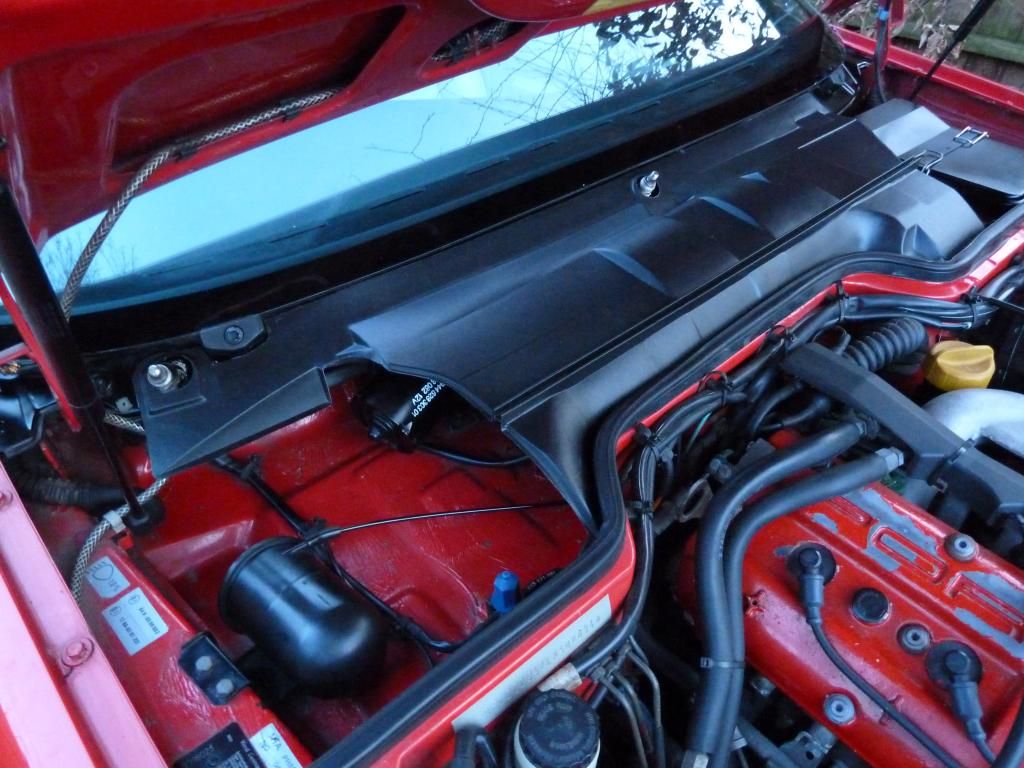
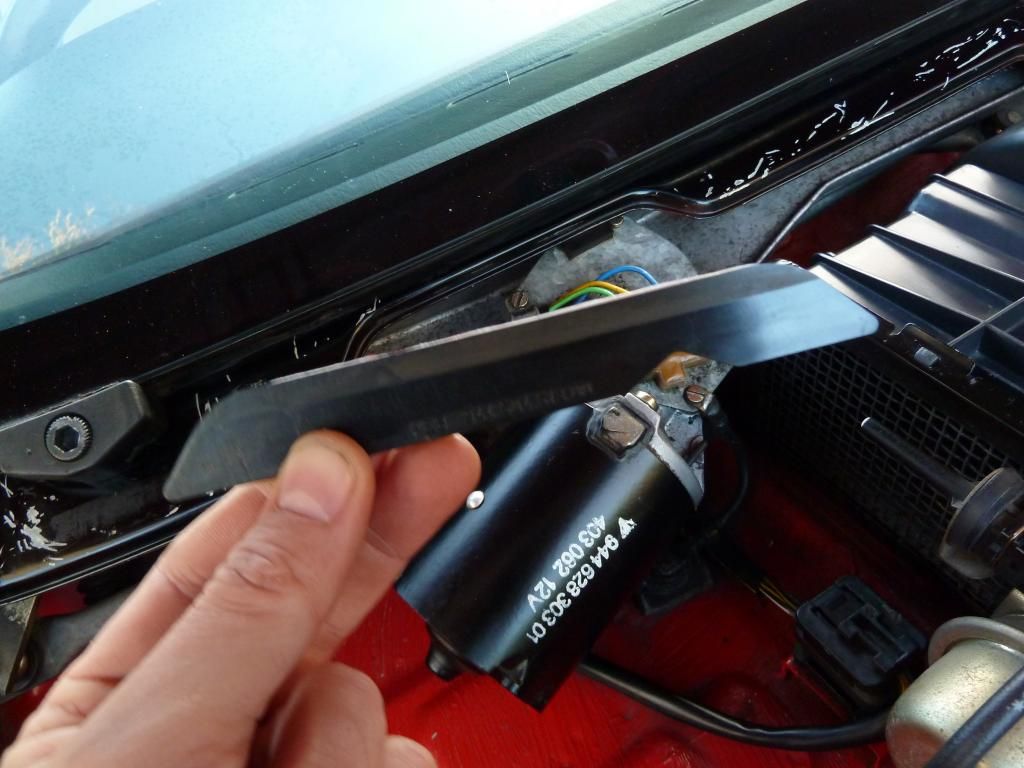
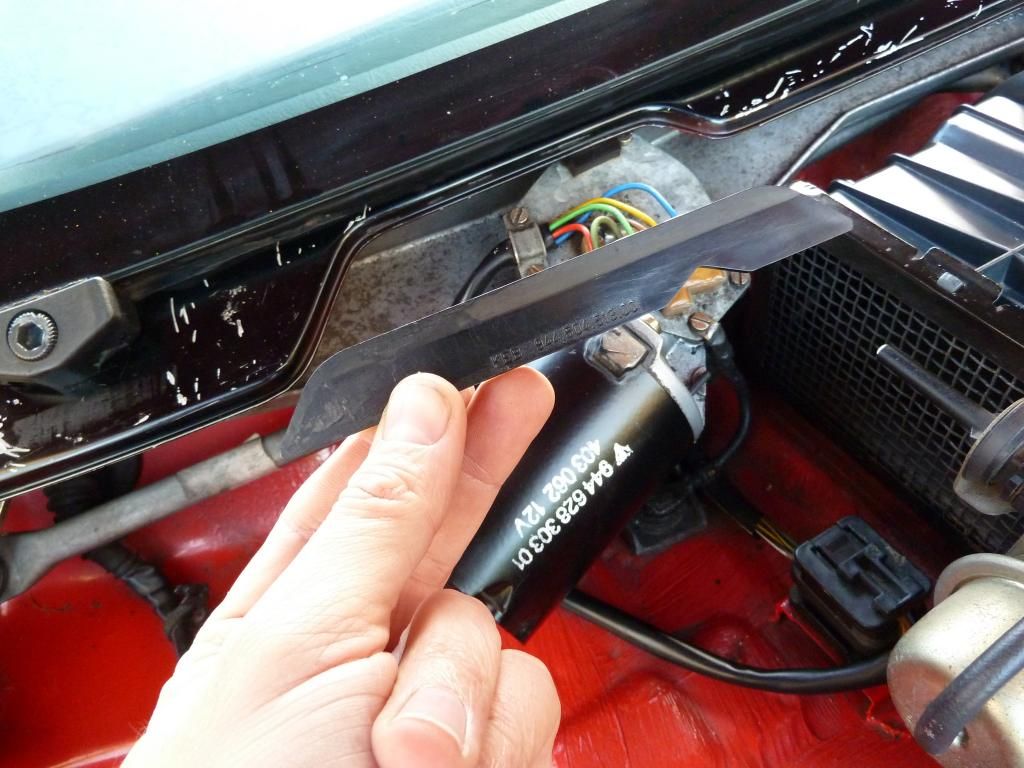
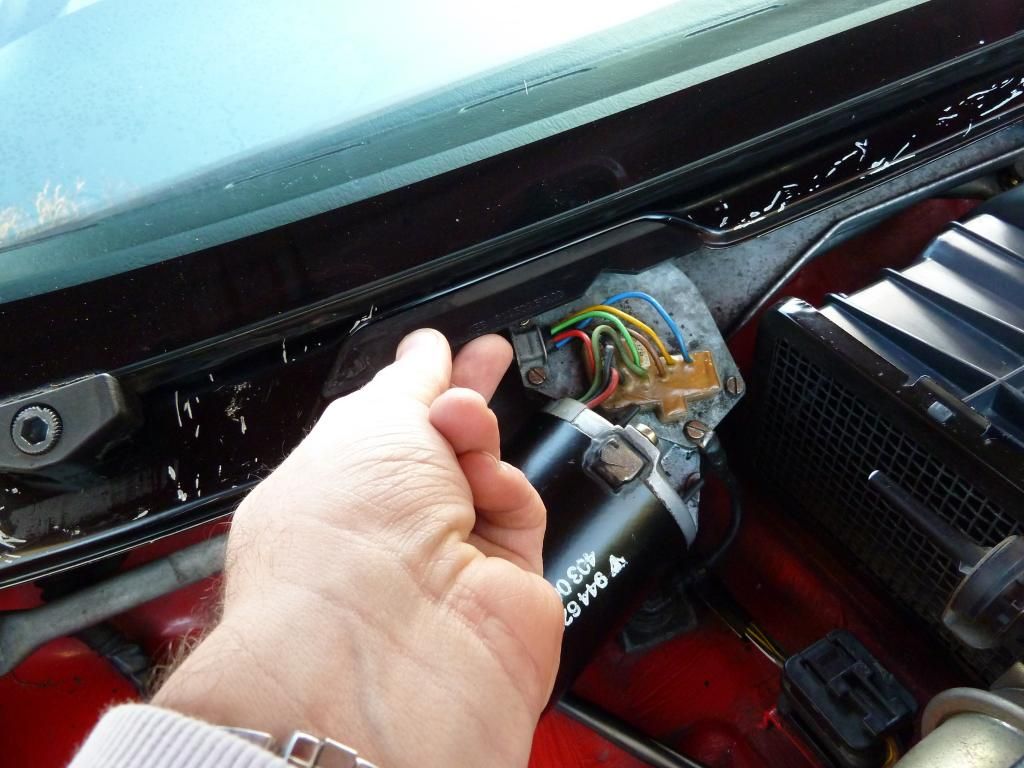
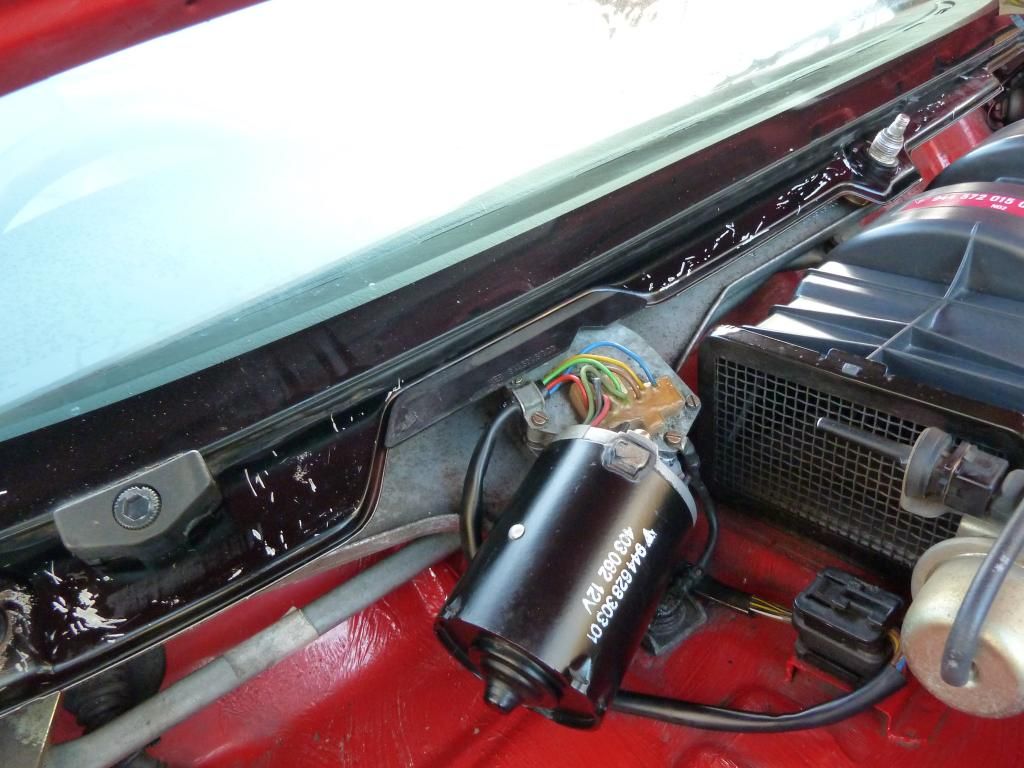
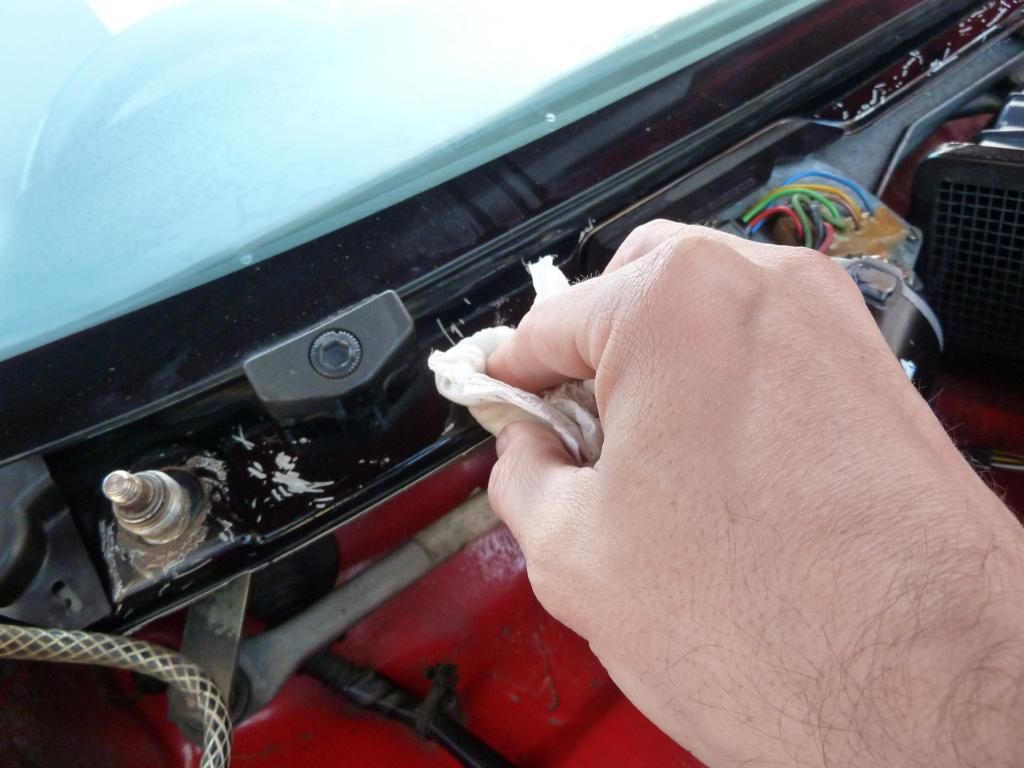
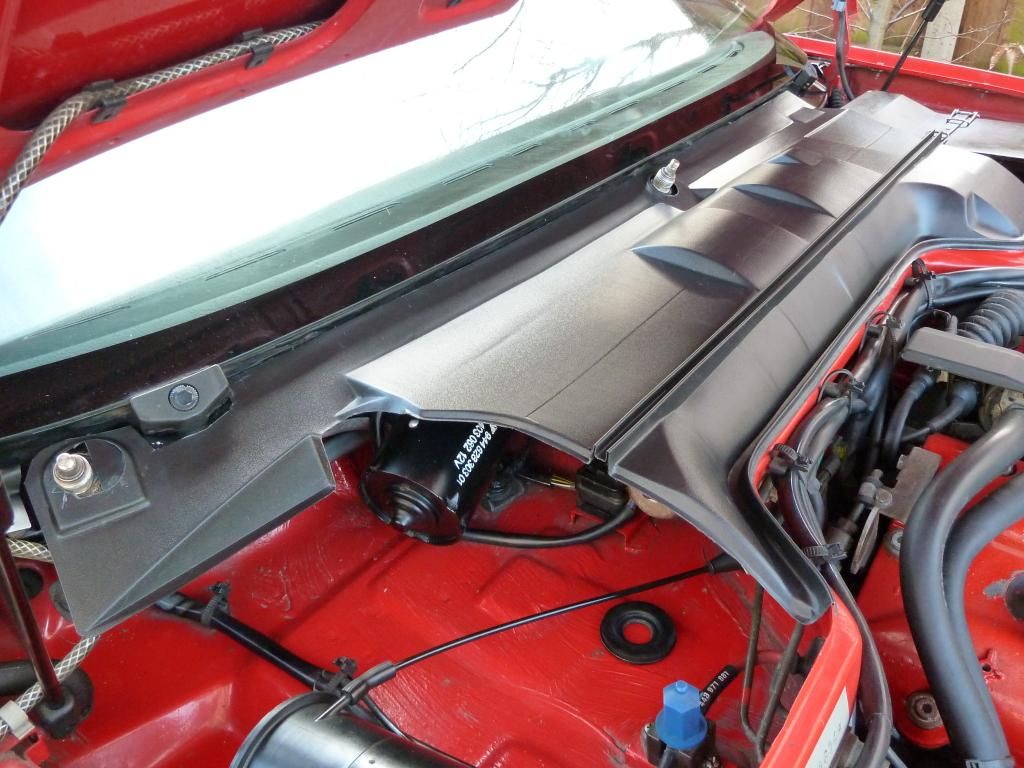
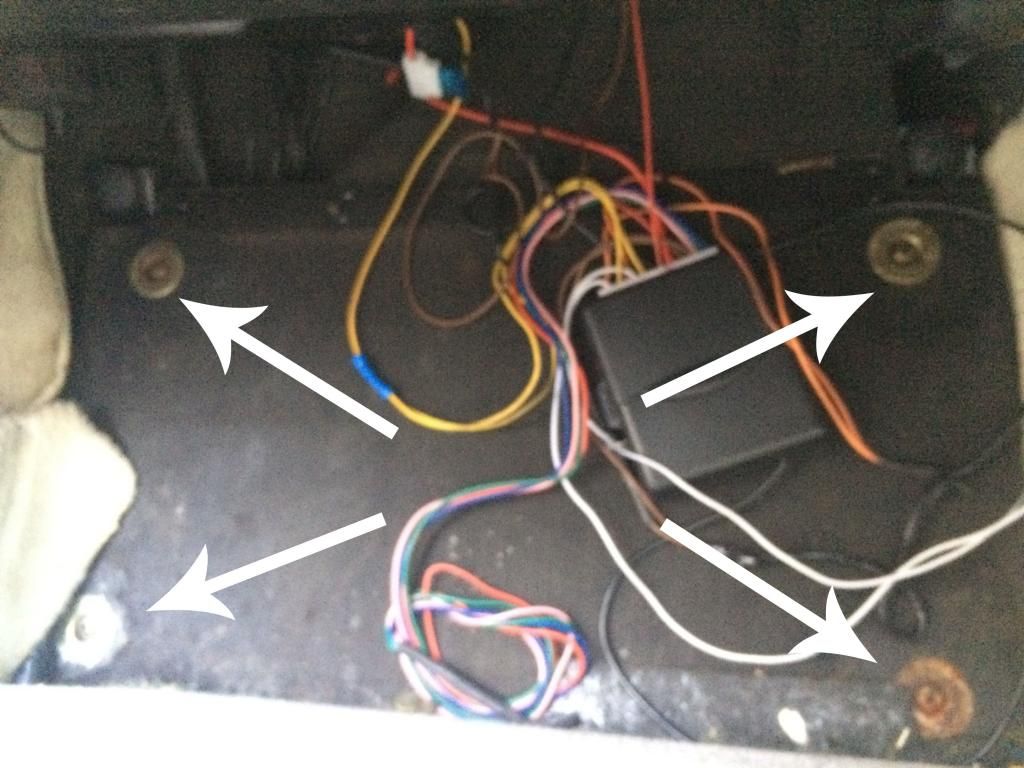
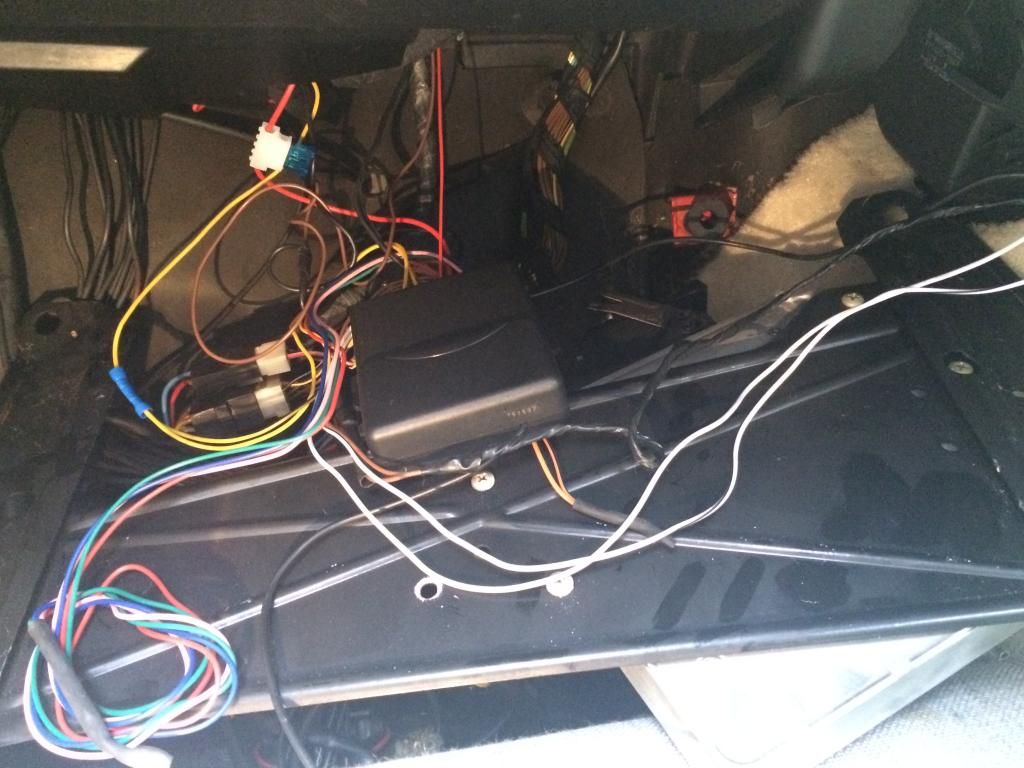
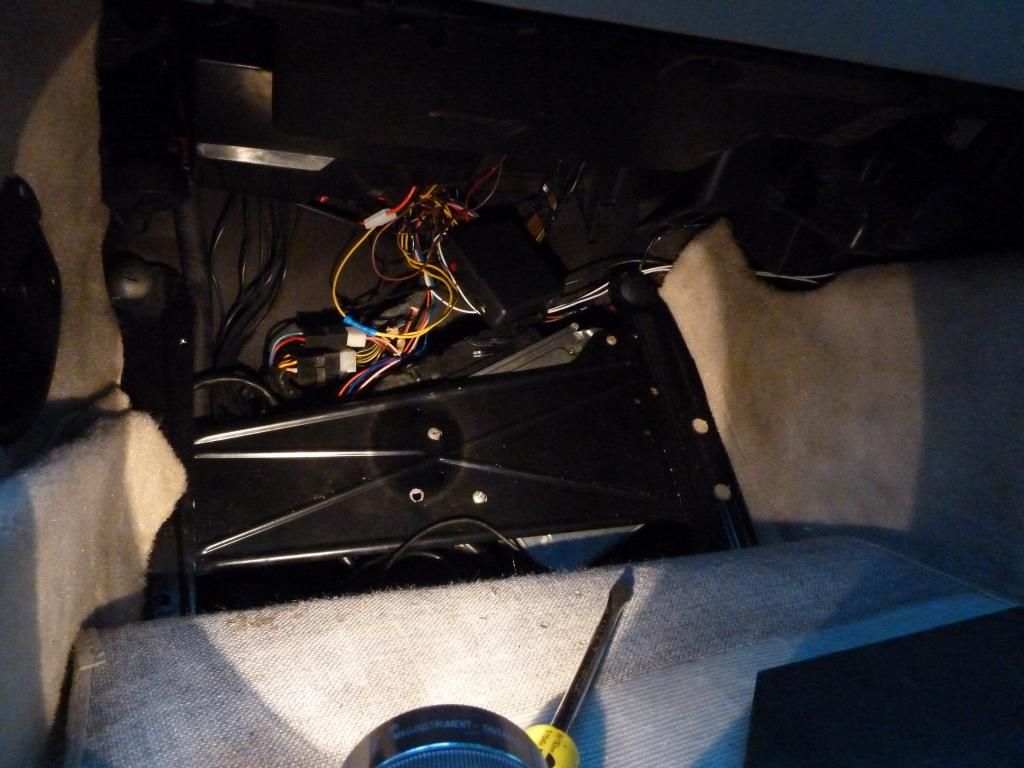
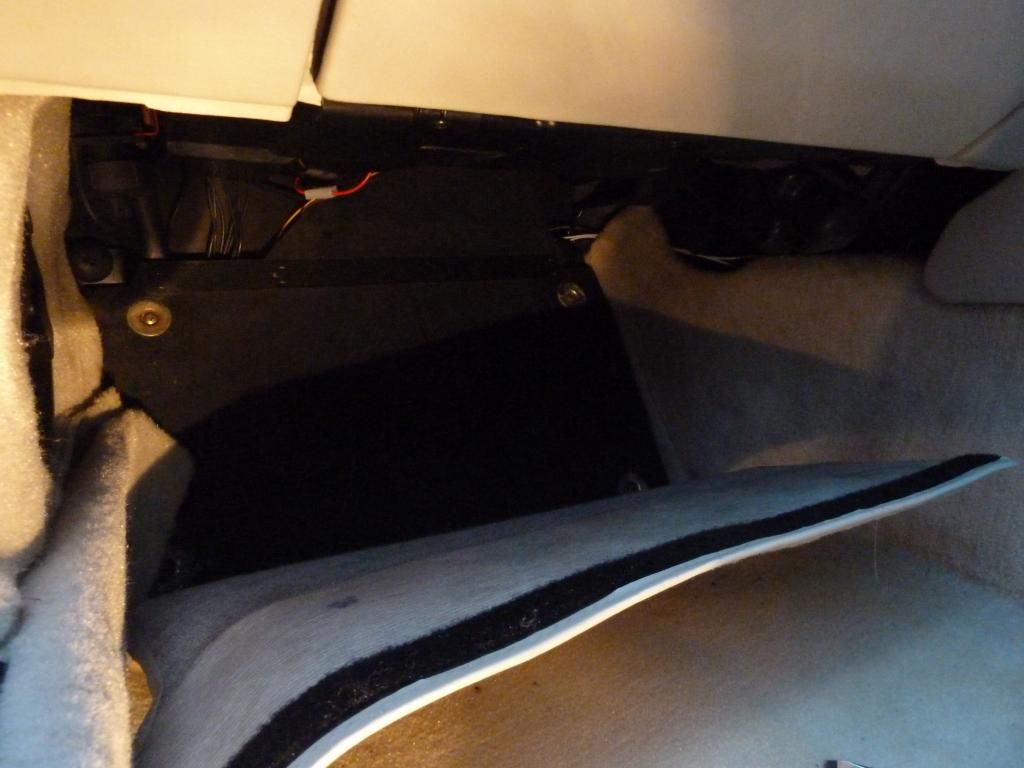
2. Pull back the carpet in the passenger foot well to reveal the cover, i found electrics all over the top of my cover, i hate to see mess like this so will tidy it under the cover when i put everything back together.
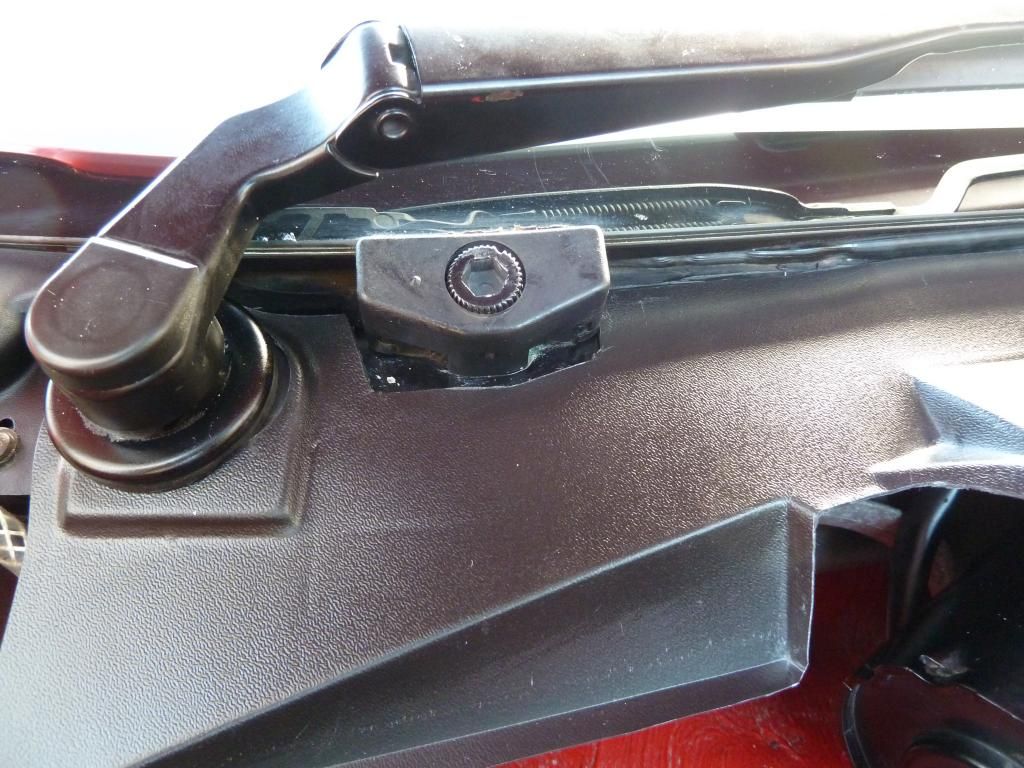
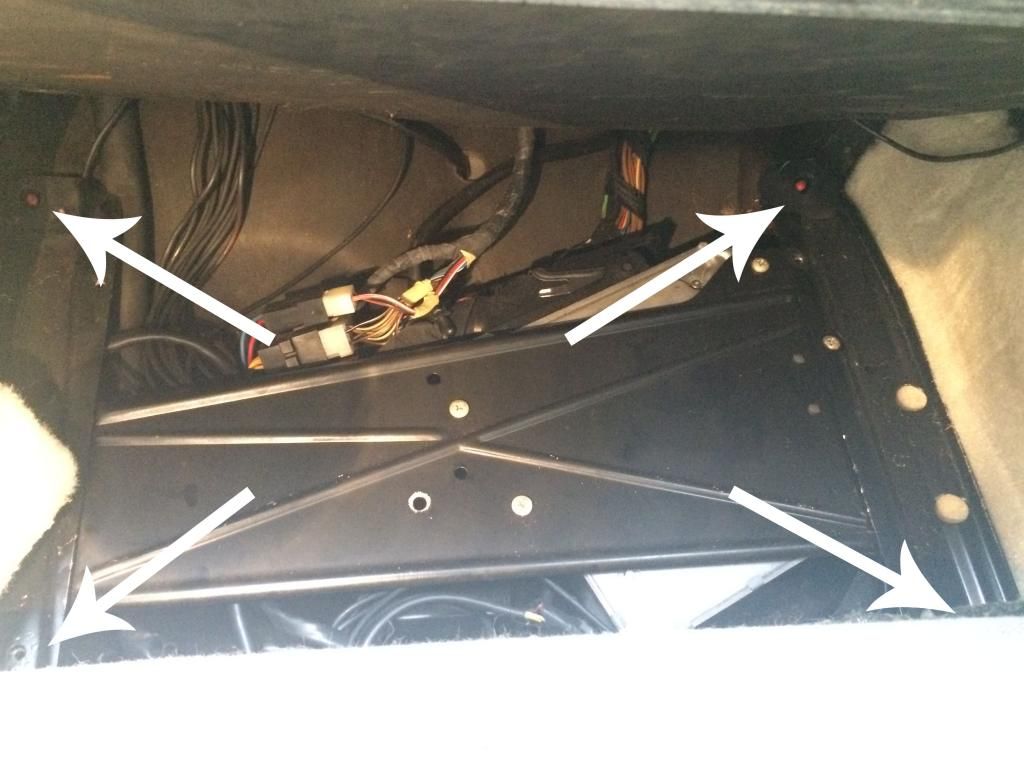
3. Undo the 4 screws in each corner, they screw into the brace that holds the DME control unit so no nuts to lose.
 [/URL]
 [/URL]
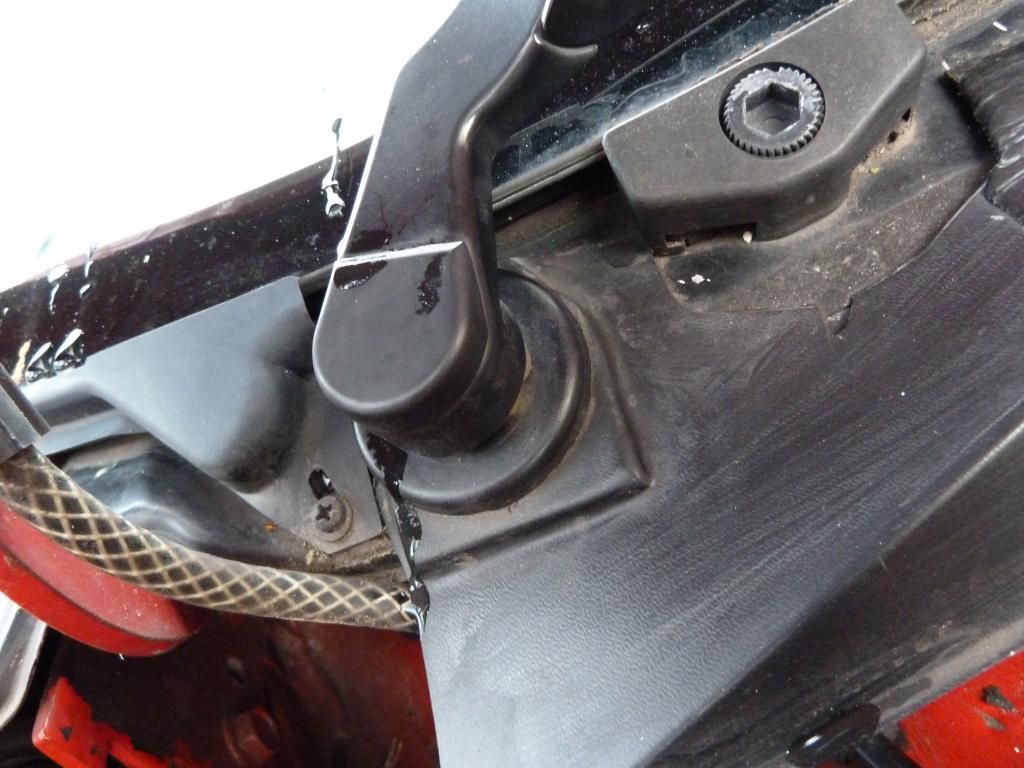
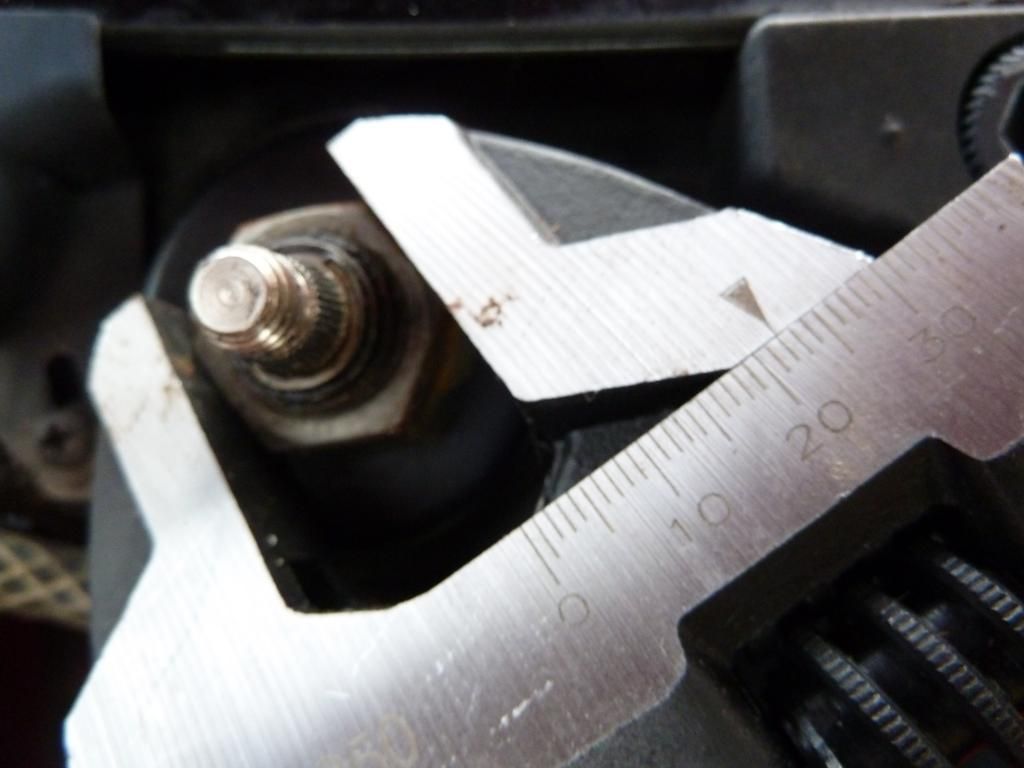
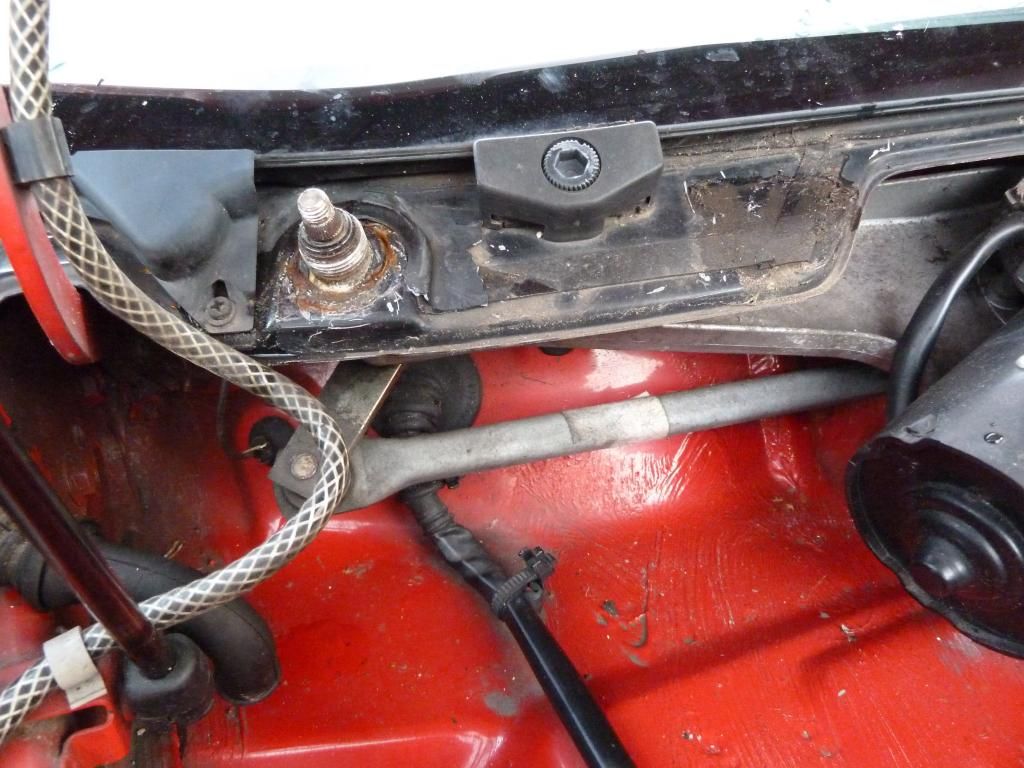
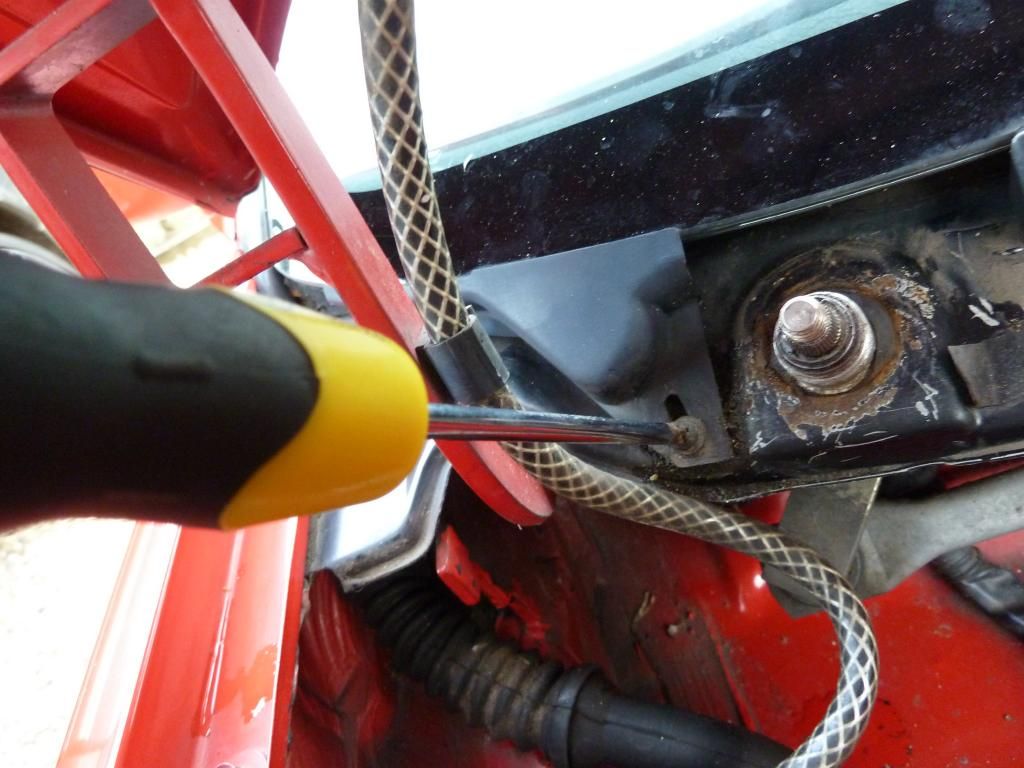
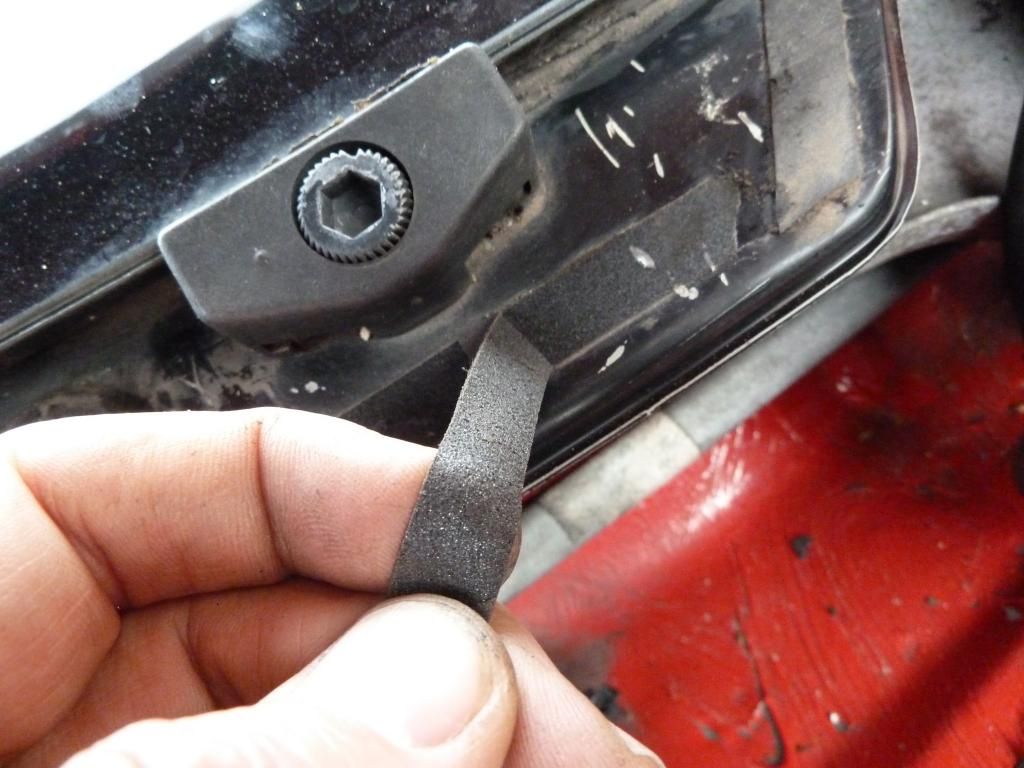
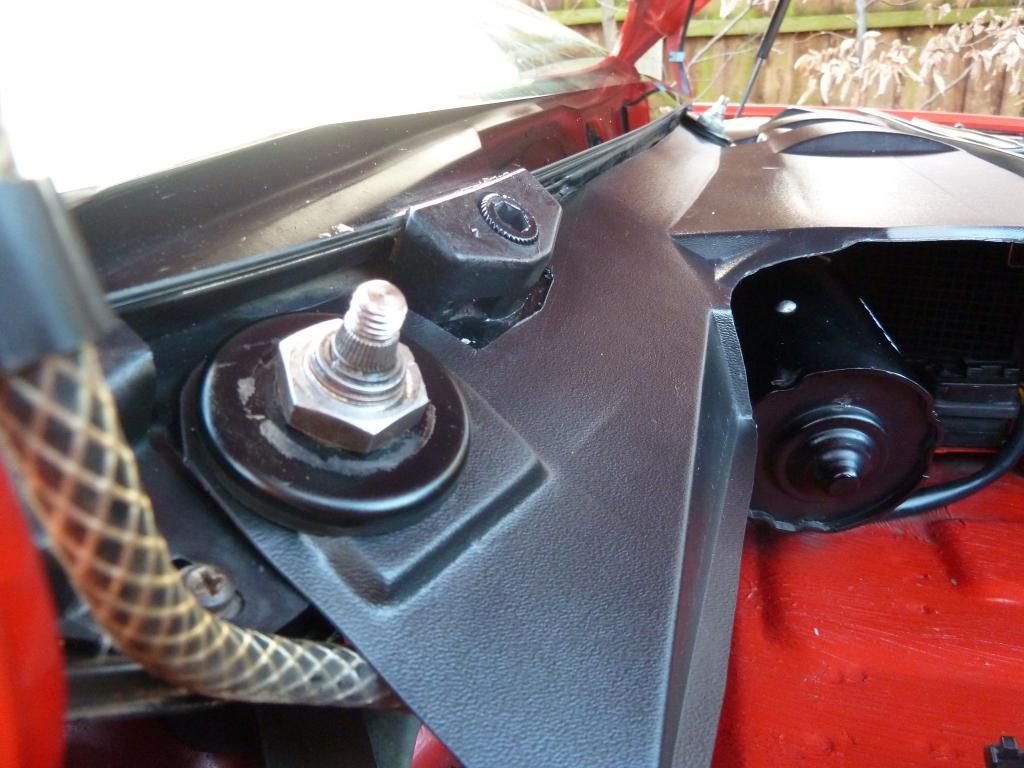
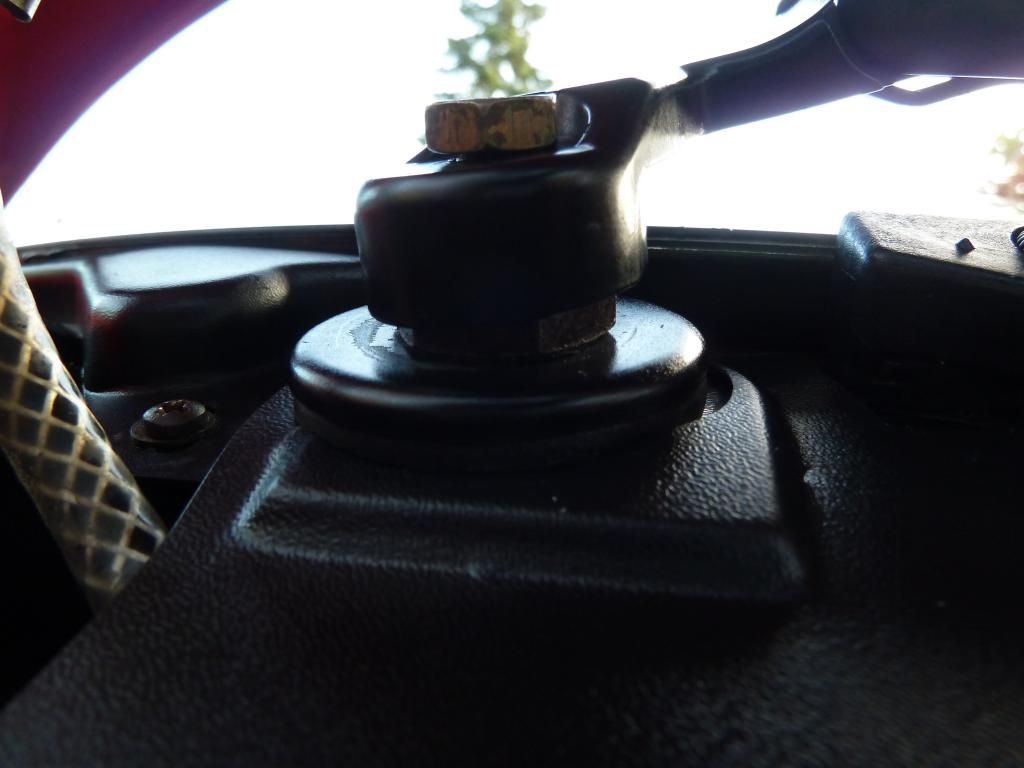
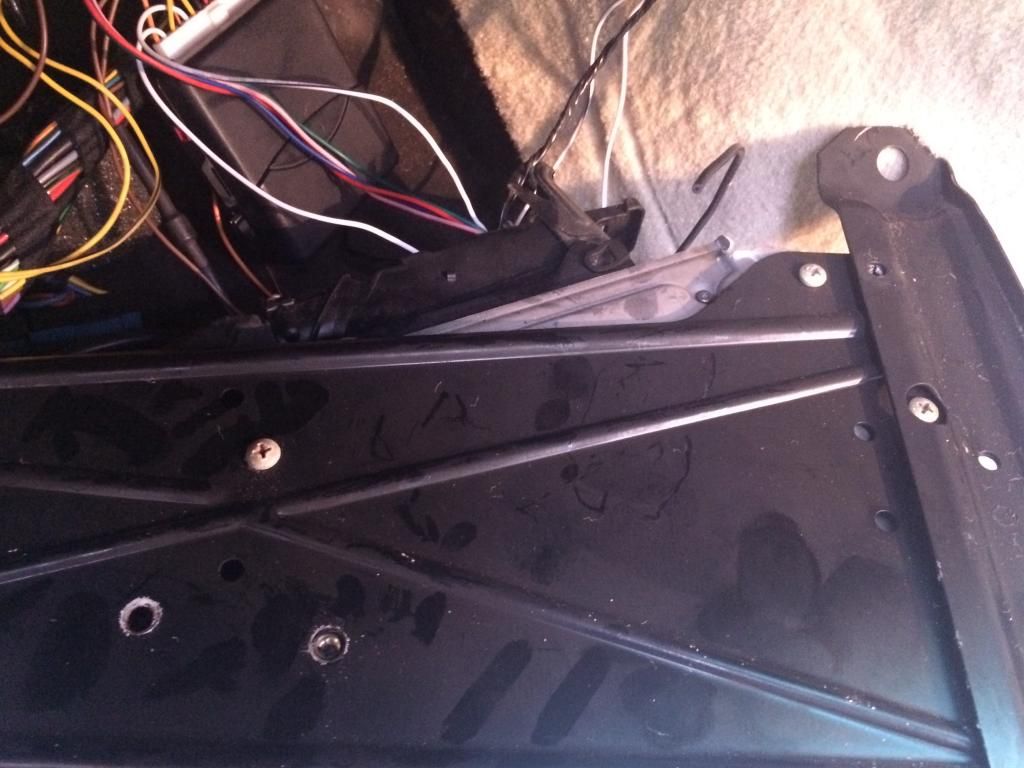
4. Unscrew the metal brace, again from all 4 corners, the top 2 are plastic screws, use a big flat head screwdriver. the bottom 2 are normal screws with washers, again this lot screws into the frame of the car so no nuts to lose.
 [/URL]
 [/URL]
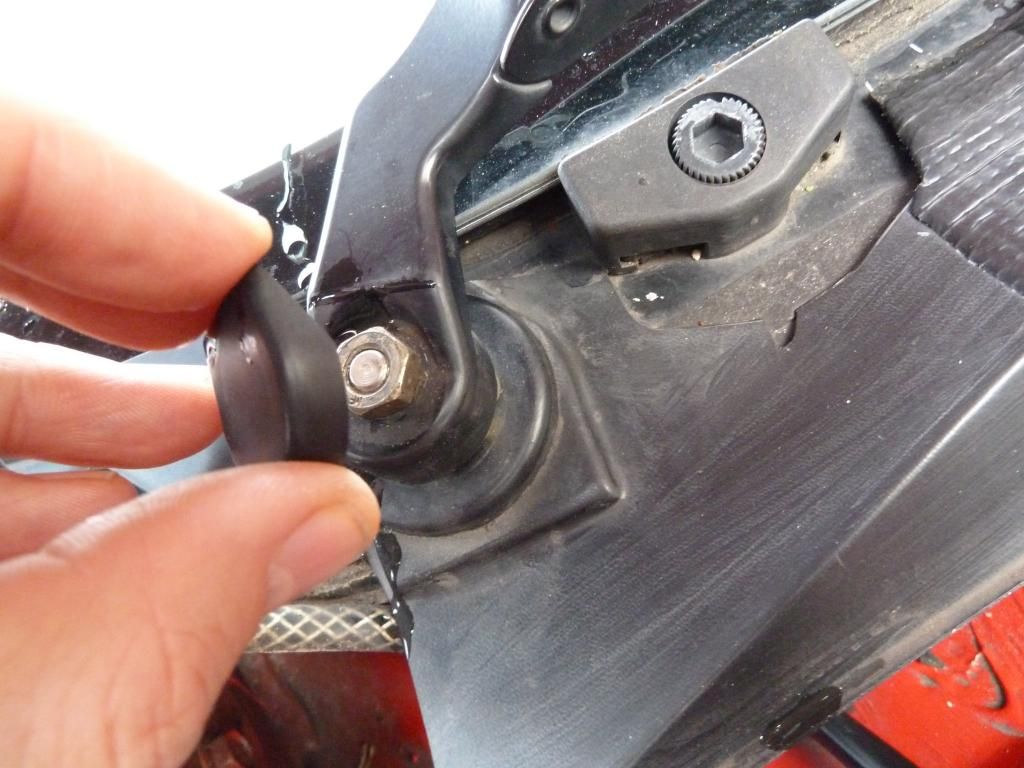
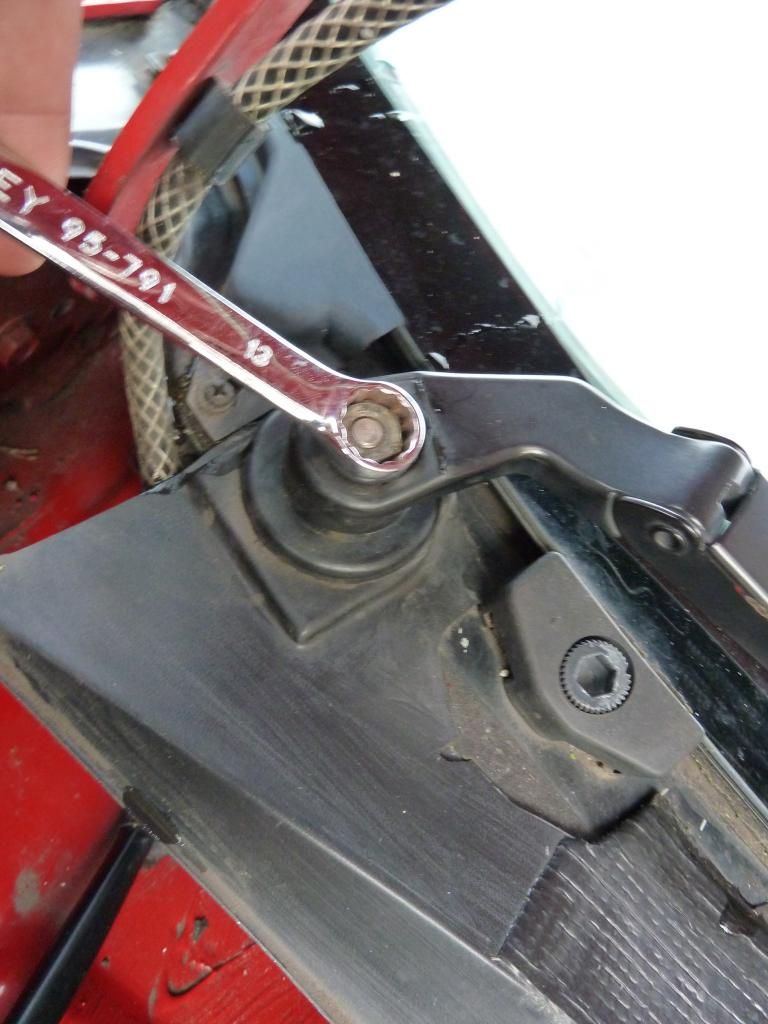
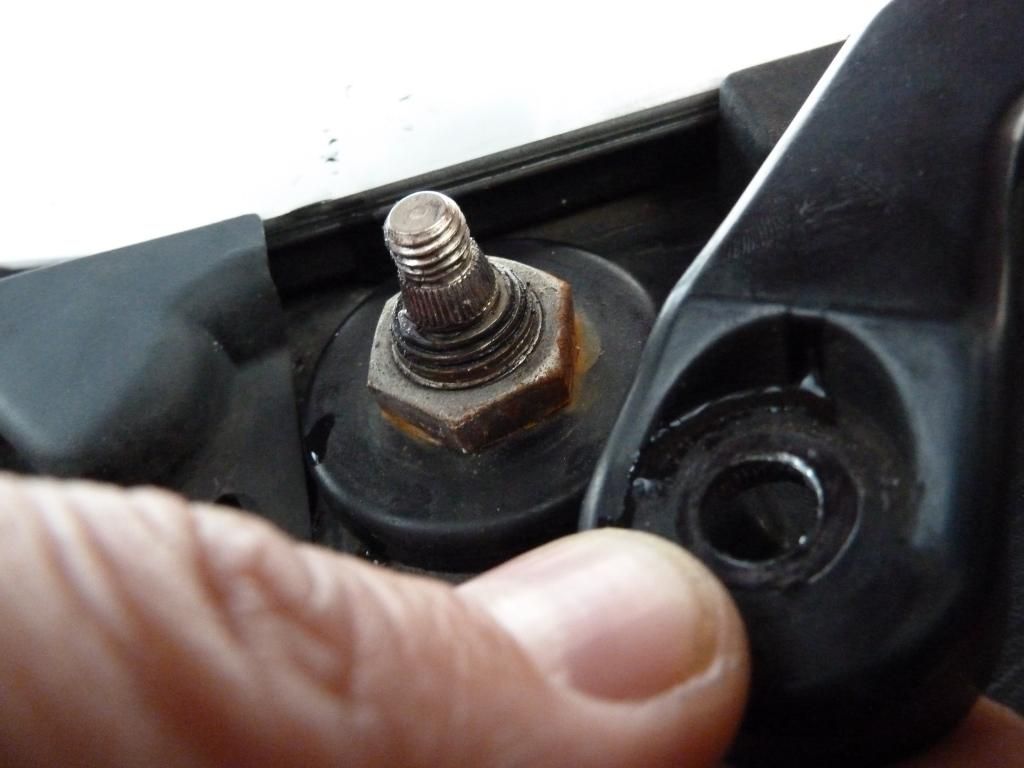
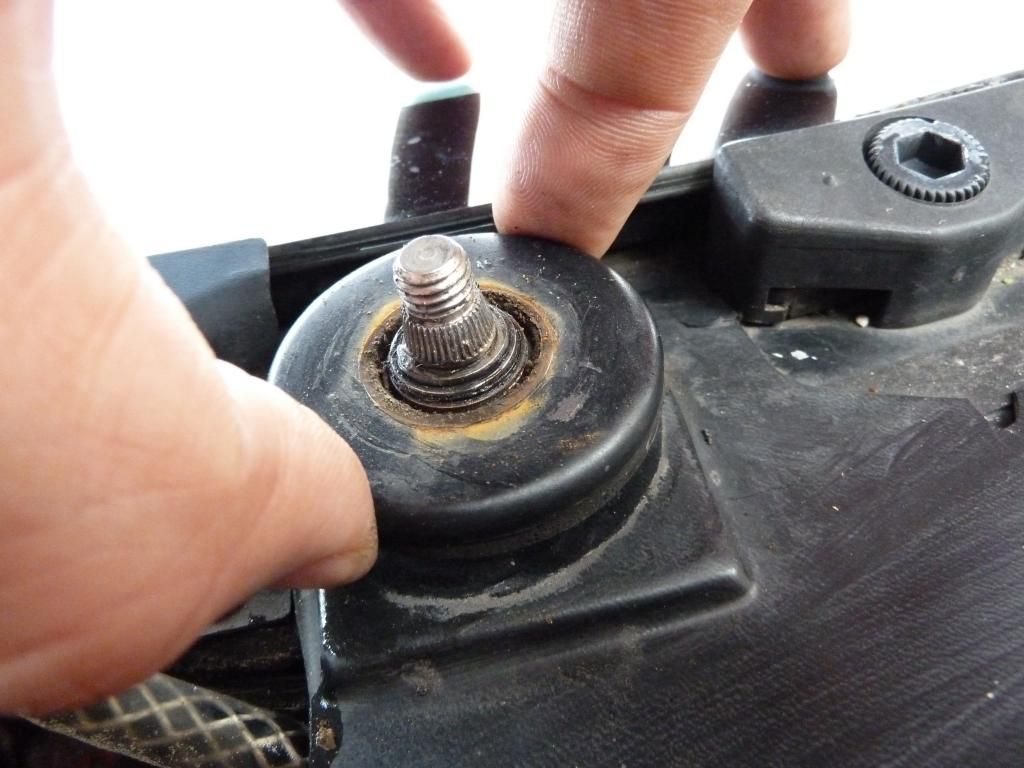
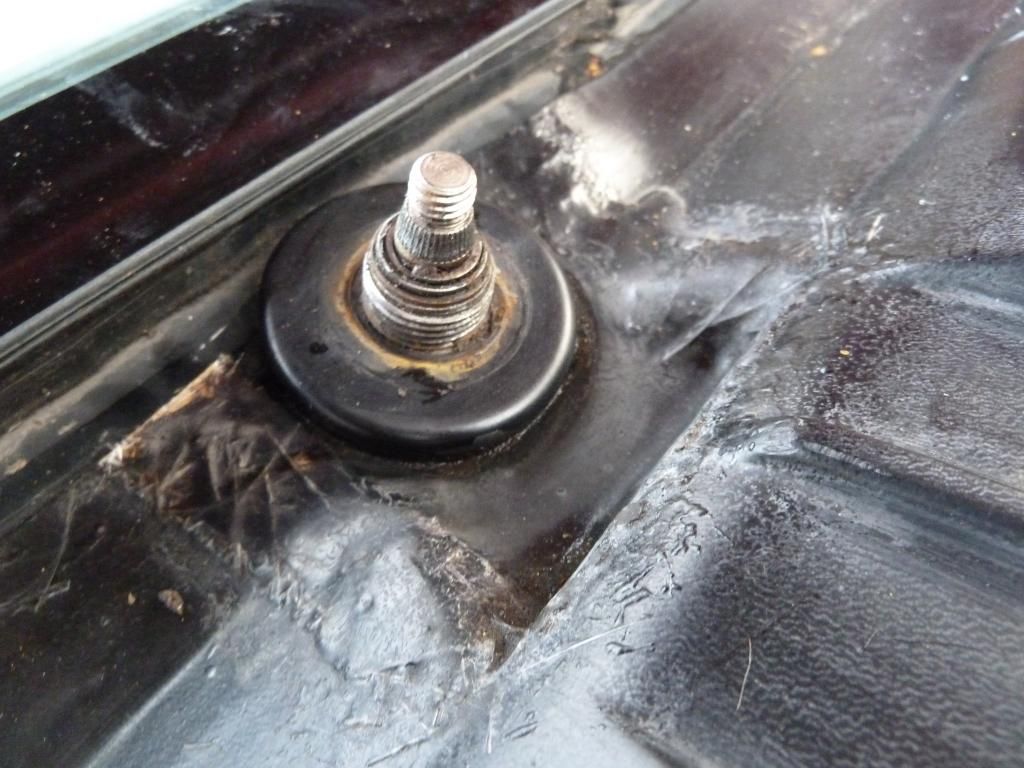
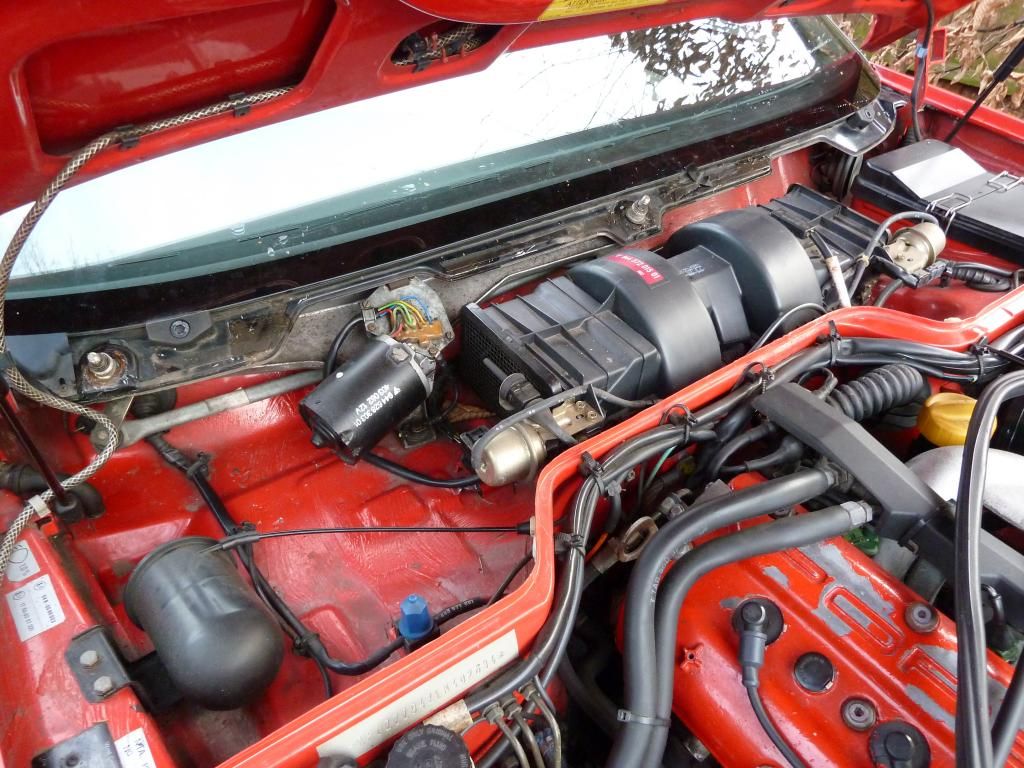
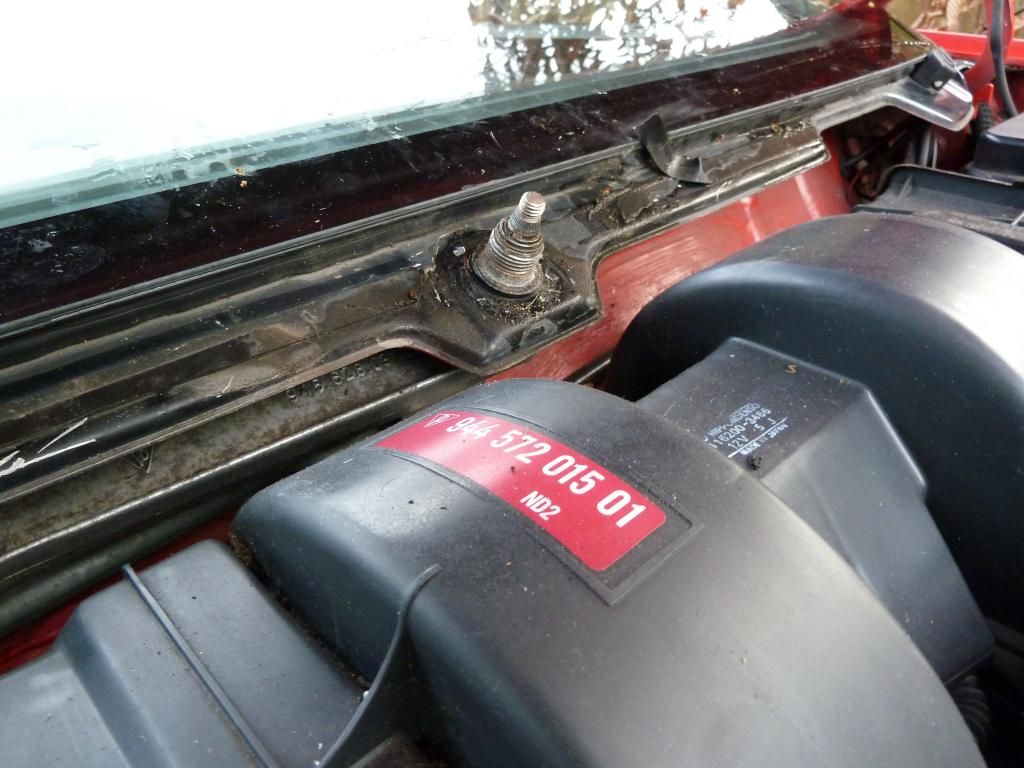
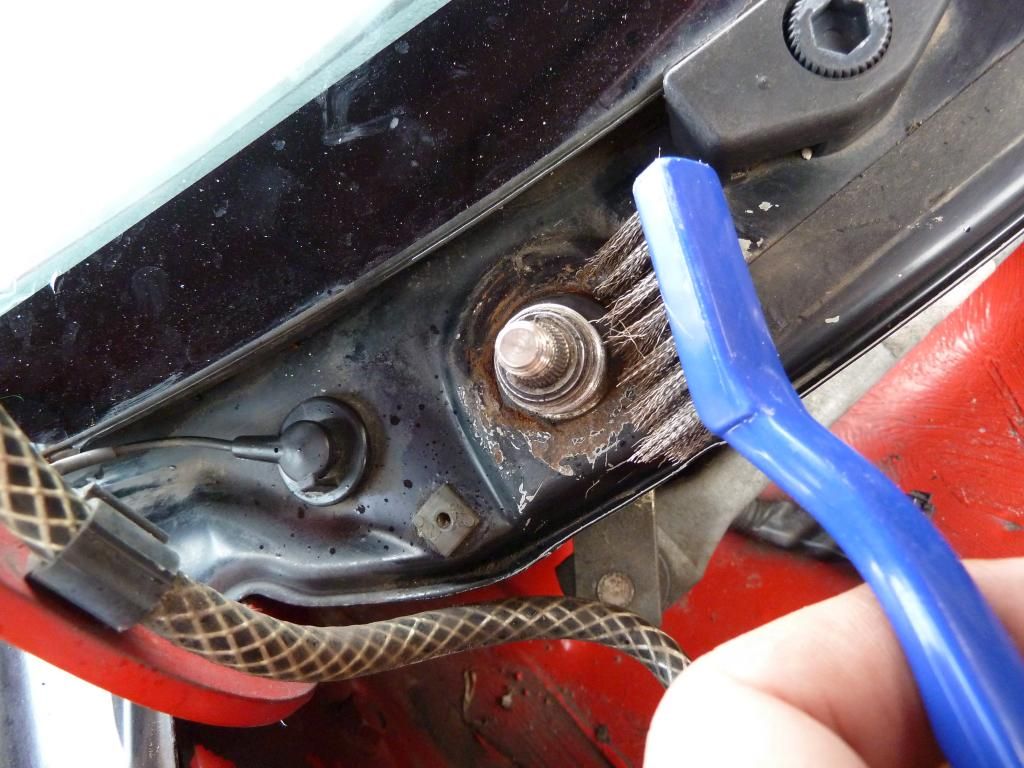
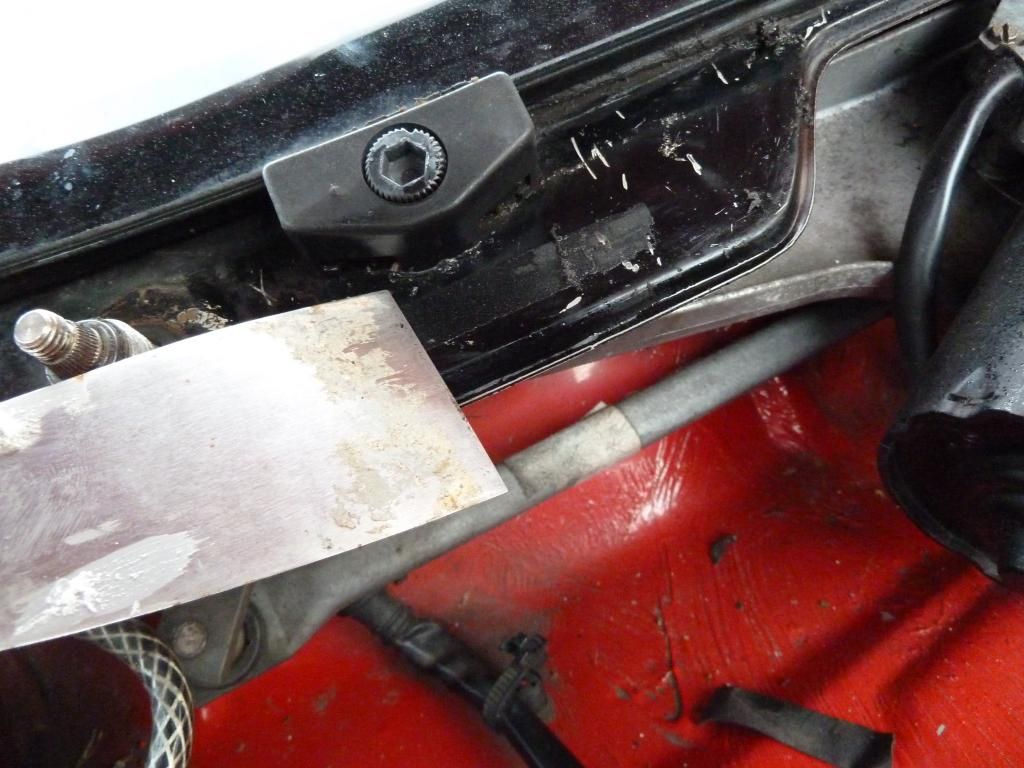
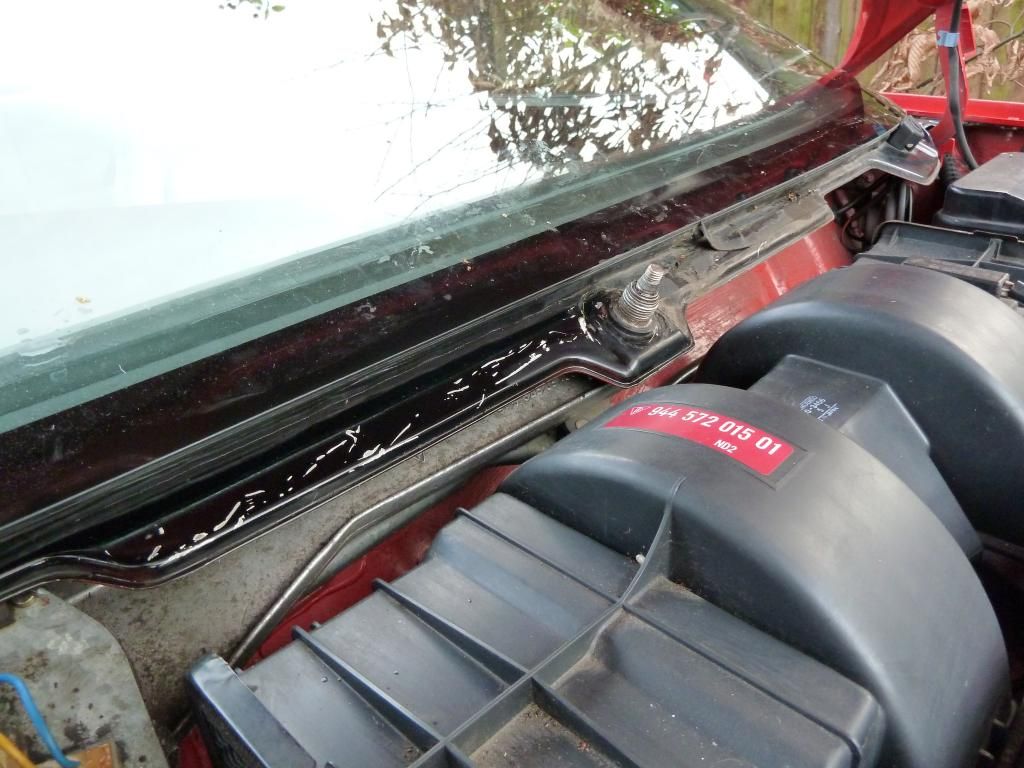
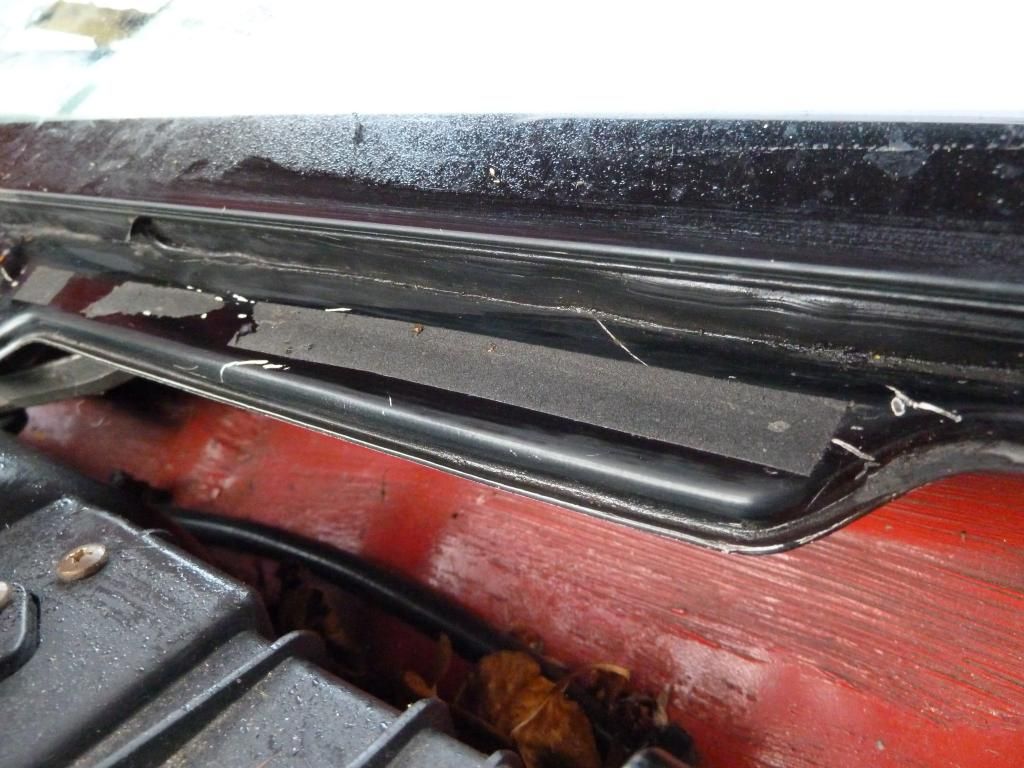
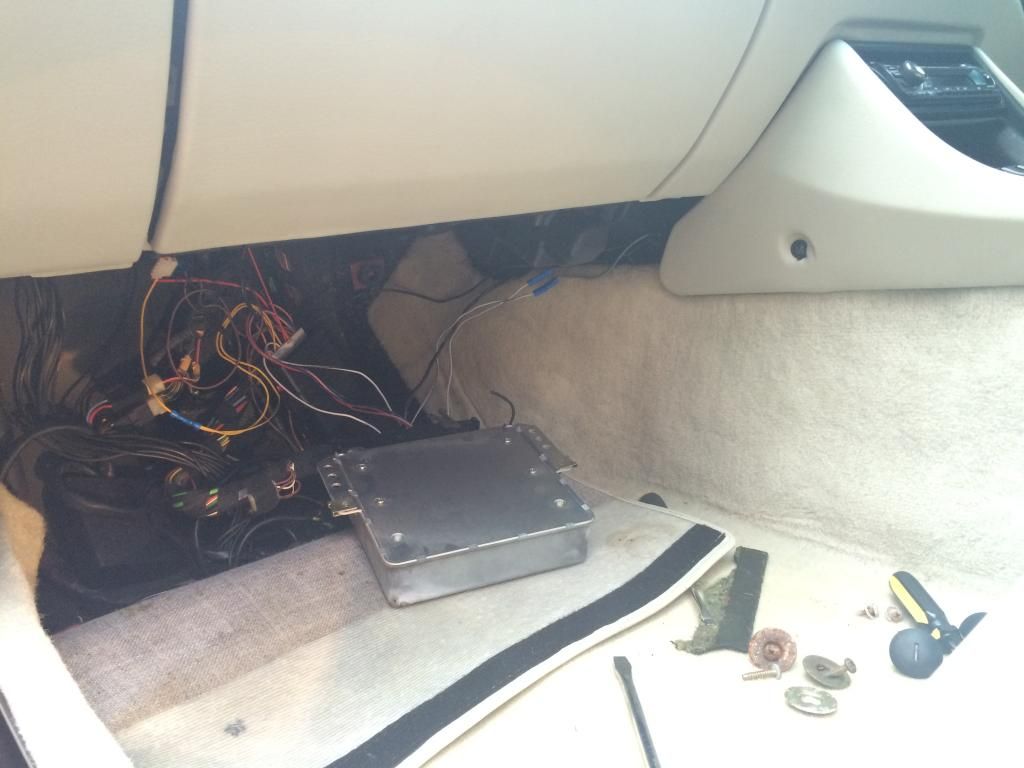
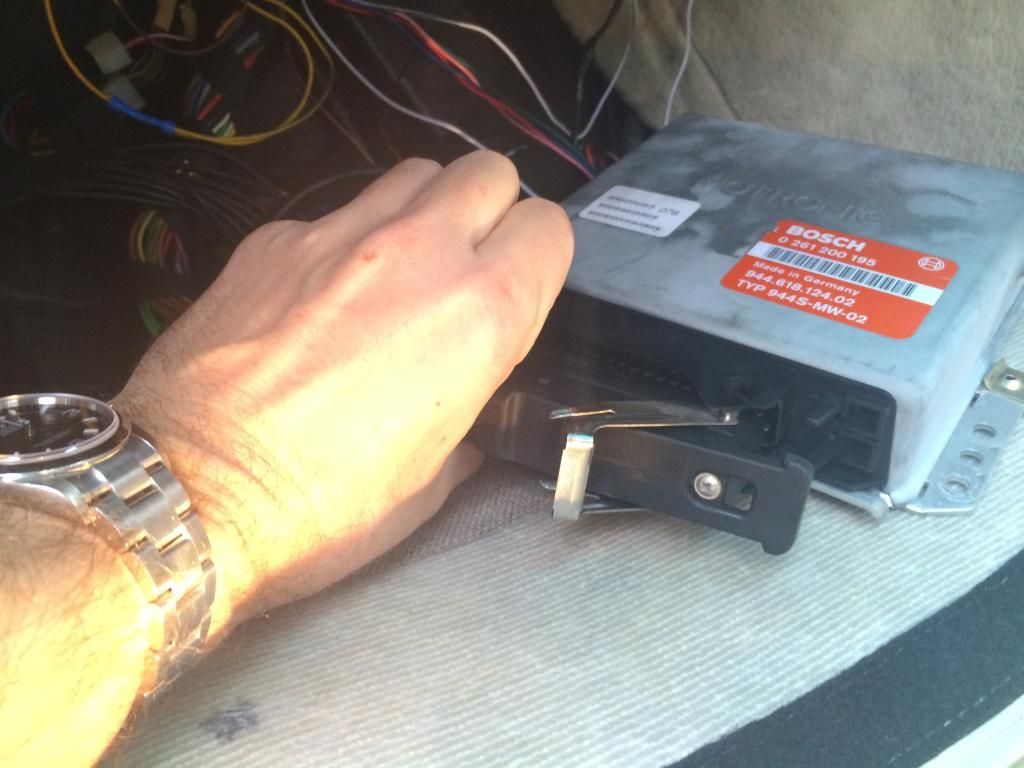
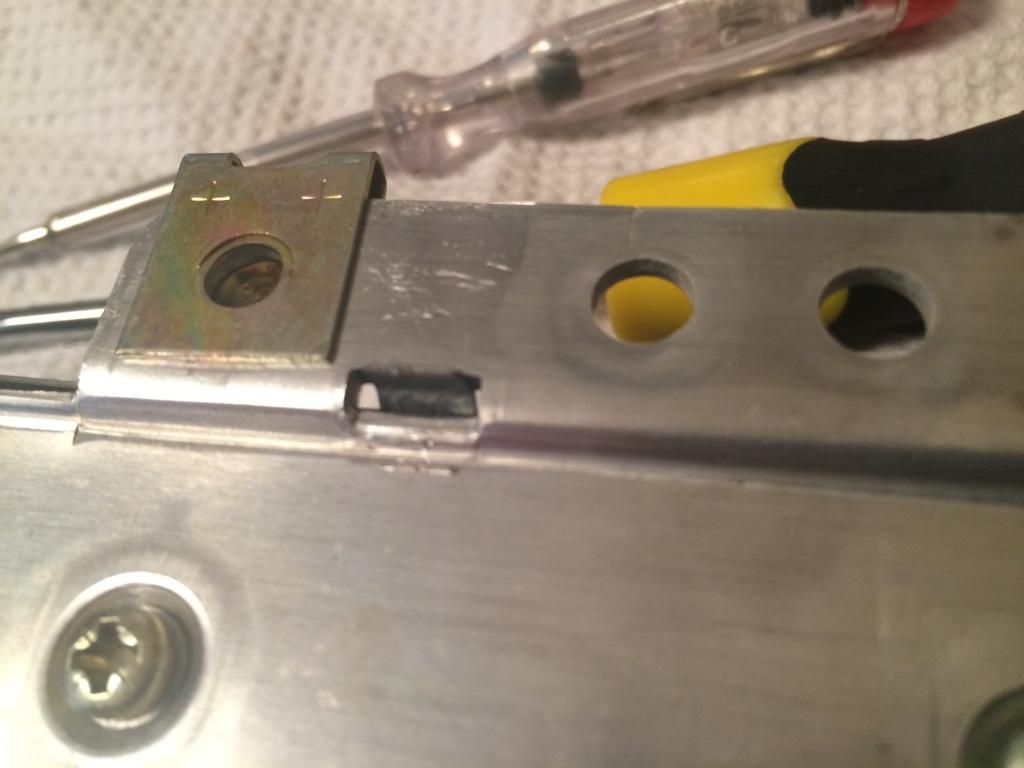
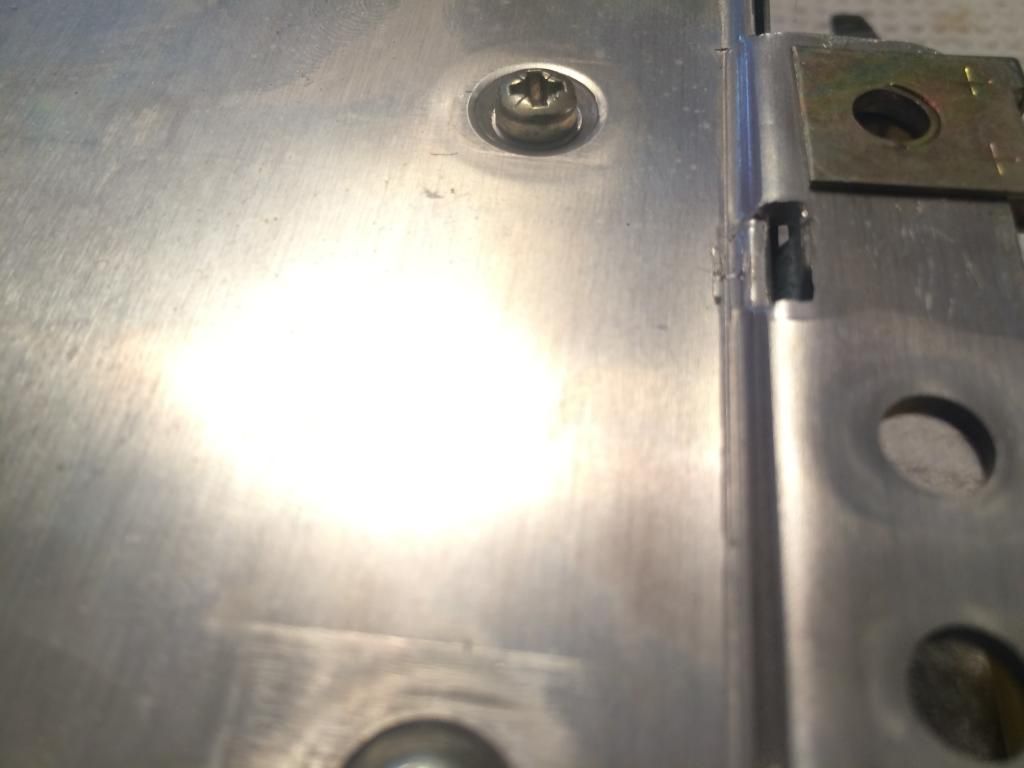
5. You can see the top of the silver DME poking out of the frame, this needs to be unscrewed from he frame to help remove the plug. 4 screws, the top 2 screws have squared nuts behind them so make sure you don't lose them when you unscrew the top screws (I did).
 [/URL]
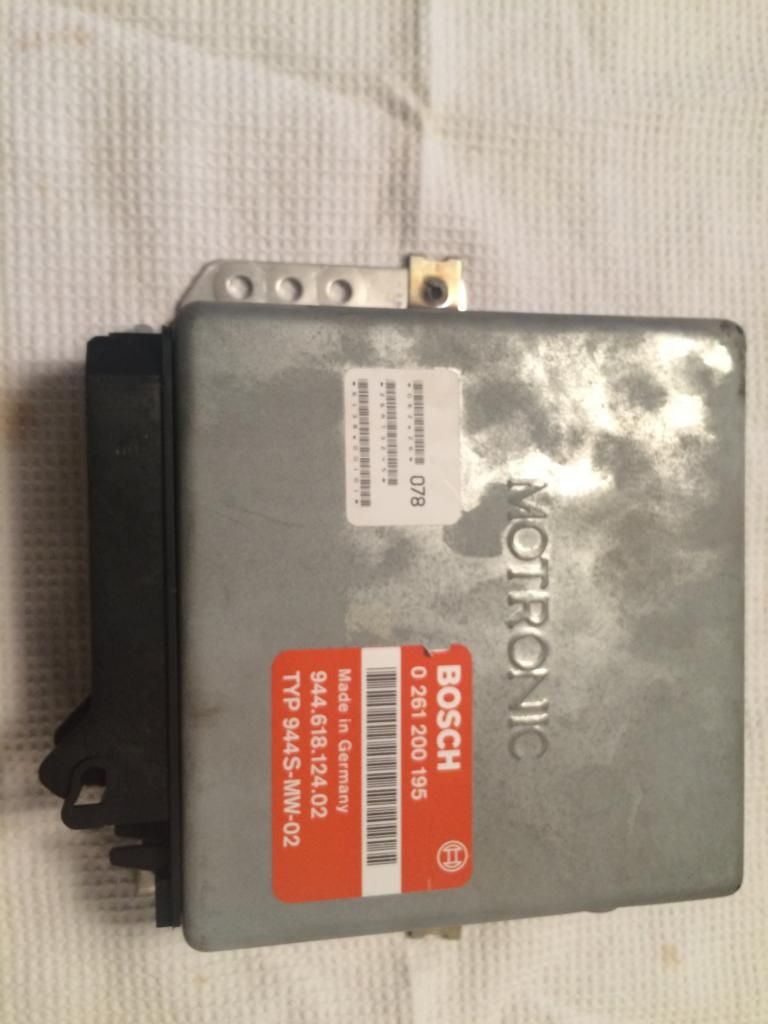
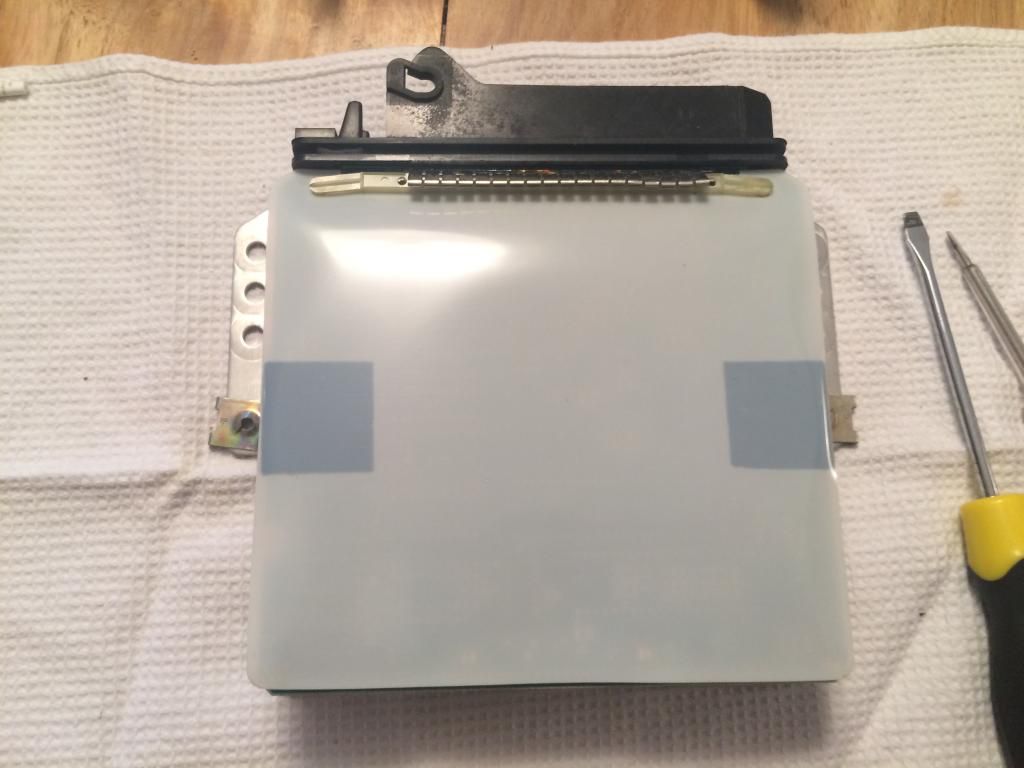
6. One released DME unit ready to unplug and re-chip
 [/URL]
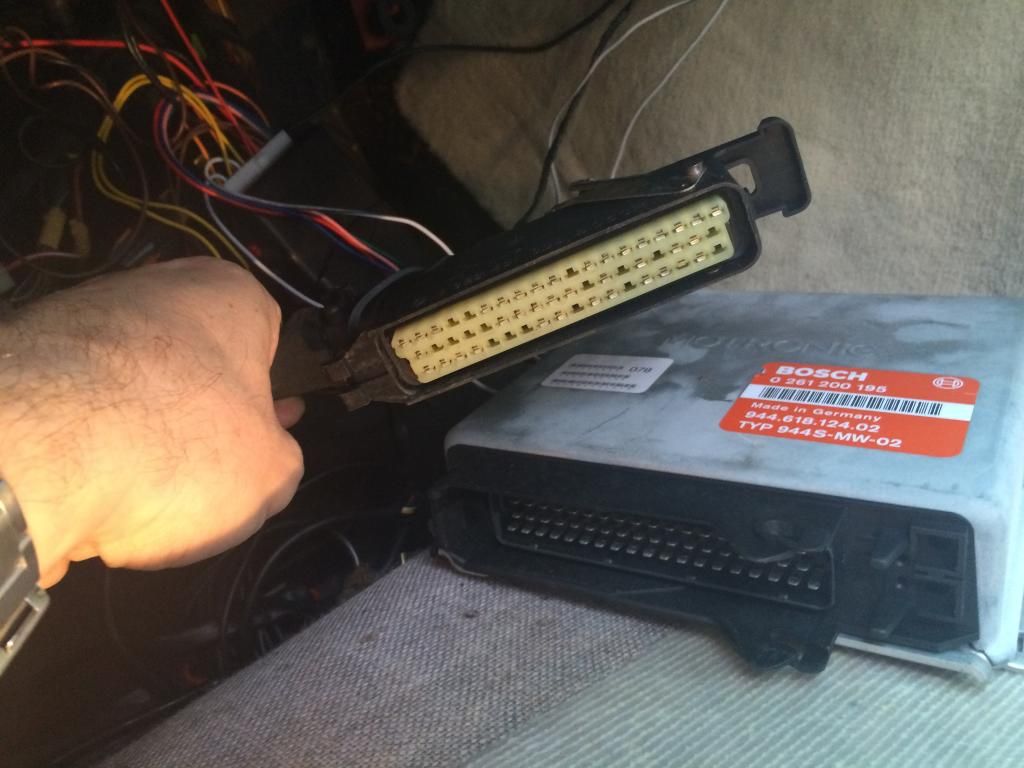
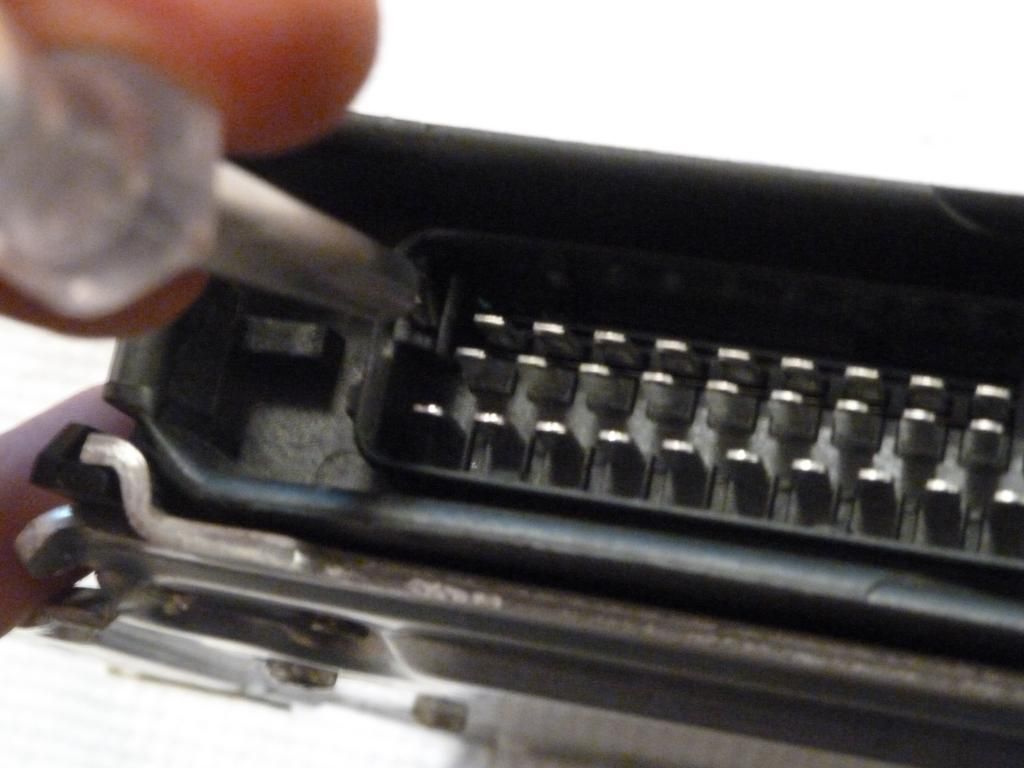
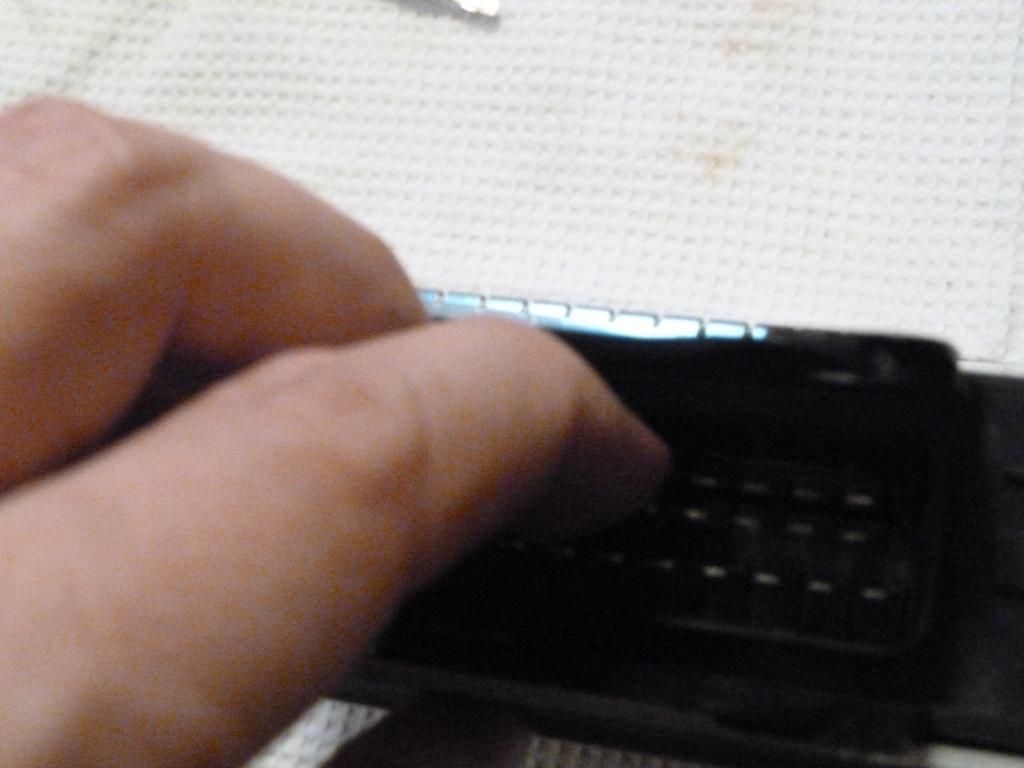
7. Pull the silver clip up to allow the plug to be removed.
 [/URL]
 [/URL]
 [/URL]
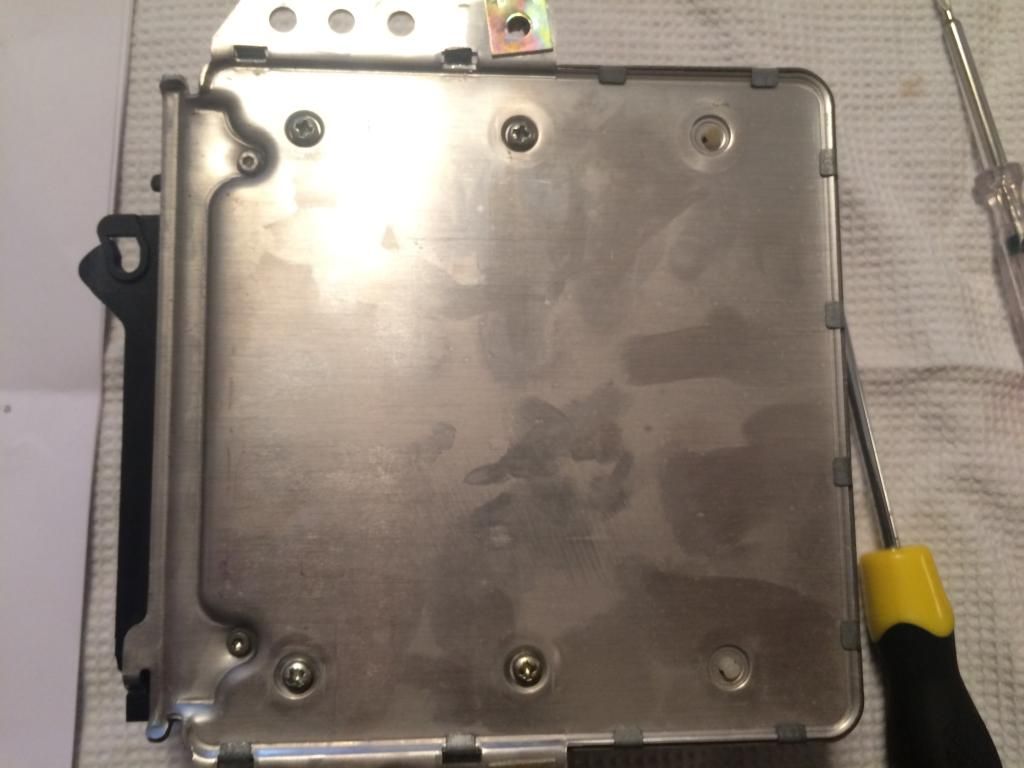
8. On the underside of the unit there are 12 tabs that need to be raised, this allows the unit cover to be release.
 [/URL]
 [/URL]
 [/URL]
 [/URL]
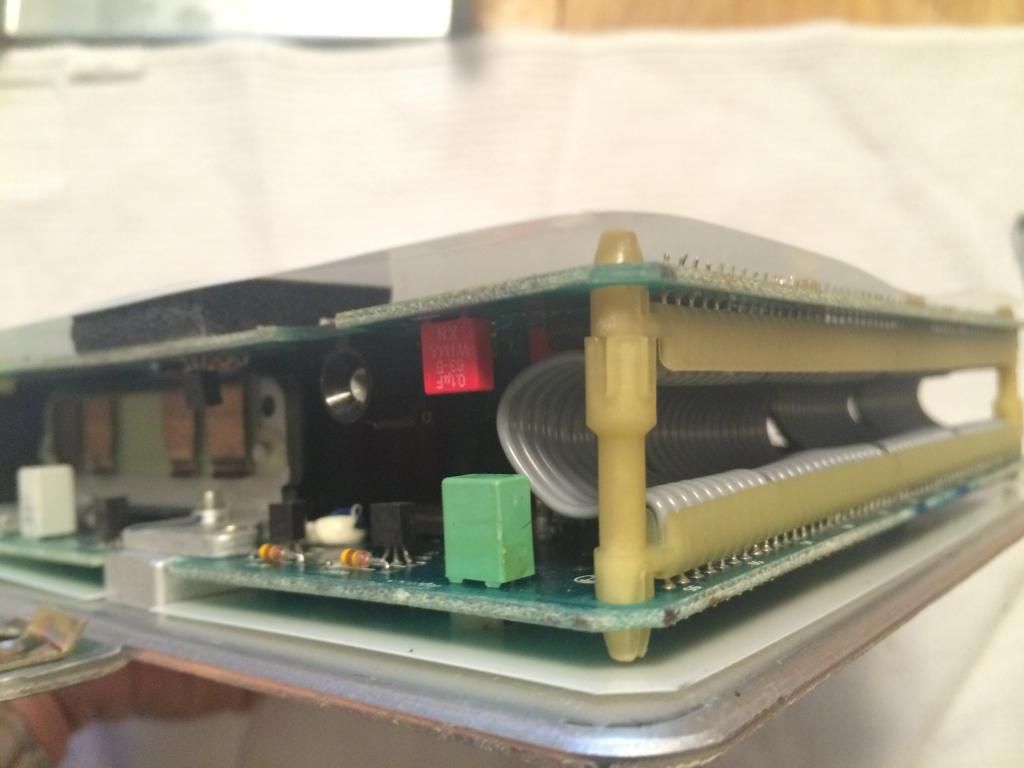
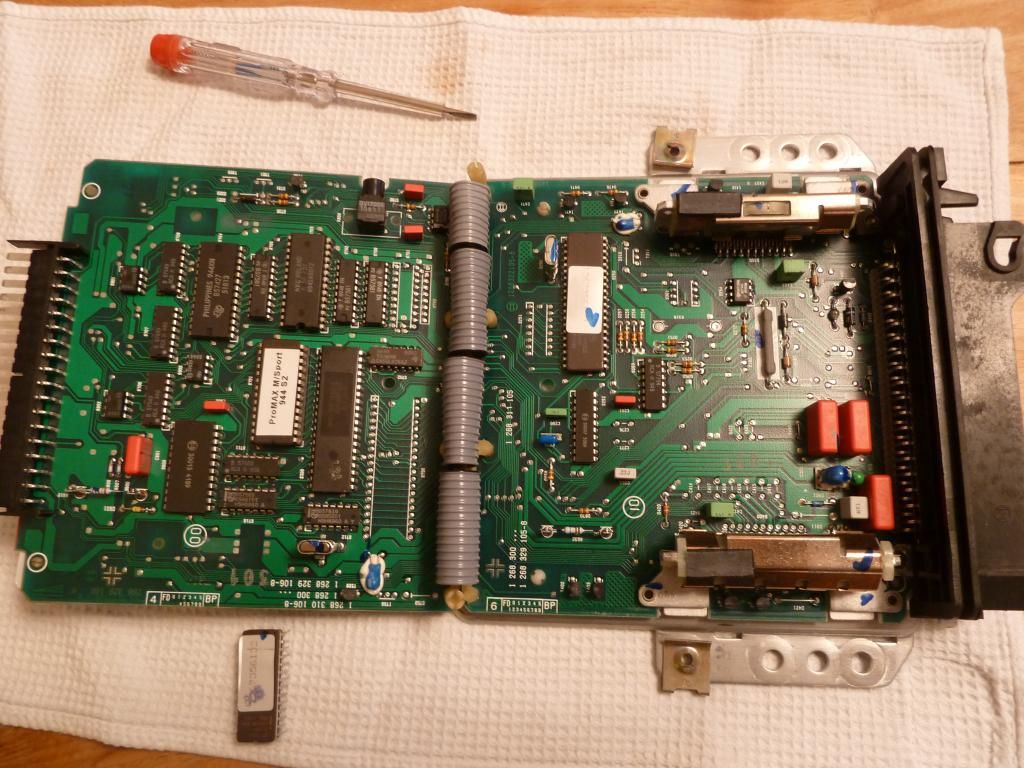
9. The two circuit boards are held together at the ribbon end by two plastic posts.
The posts are two separate pieces that slot together,
You need to place a screwdriver into one of the gaps and twist softly, at the same time carfully pull the boards apart.
 [/URL]
10. Using a small screw driver, prise open the release clips at the connector pin end (one at each end)
 [/URL]
11. Push down and in on the top row of connectors this should release the top circuit board.
 [/URL]
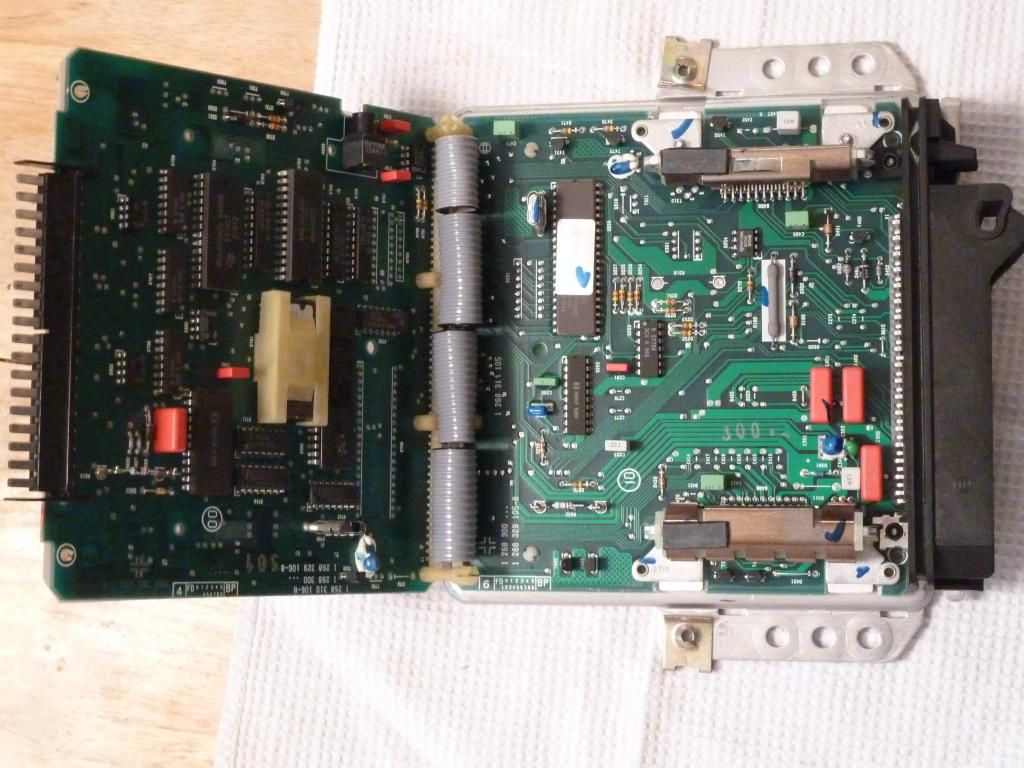
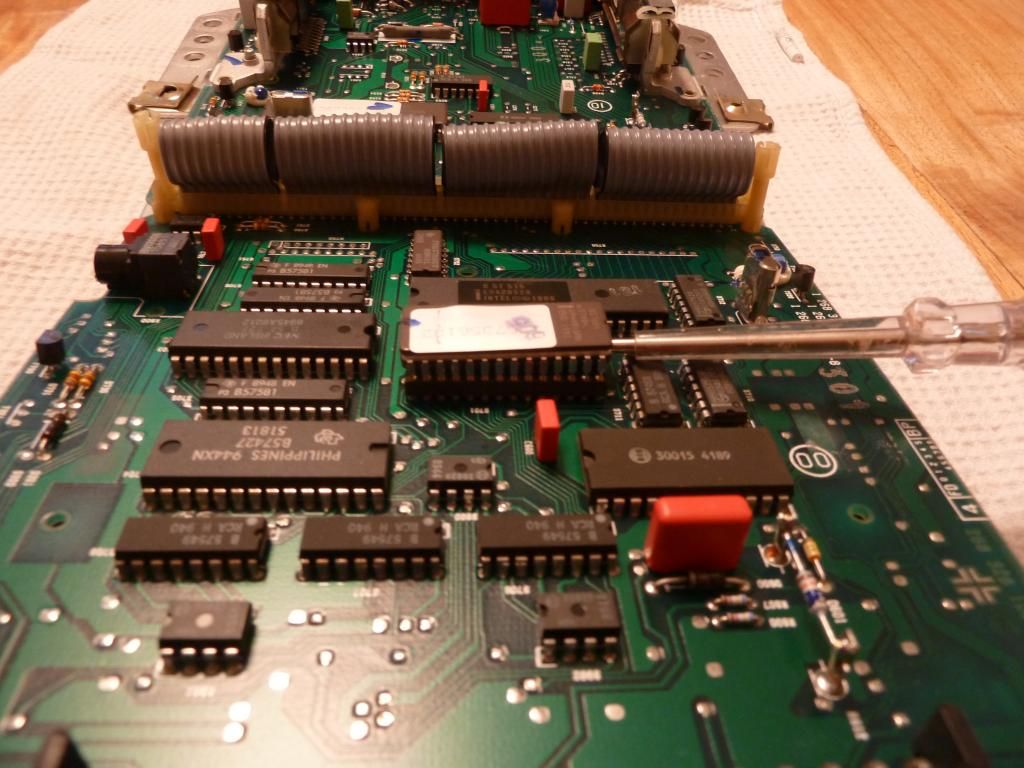
12. Open the circuit boards to reveal the Porsche 944 S2 Brain! scary stuff, i caught my finger on one if the delicate bits on the board and bent it a bit when i was doing this.............The Chip is under the Cream plastic cover on the left of the pic, remove the cover by pulling up, its held on by two small wedge clips.
 [/URL]
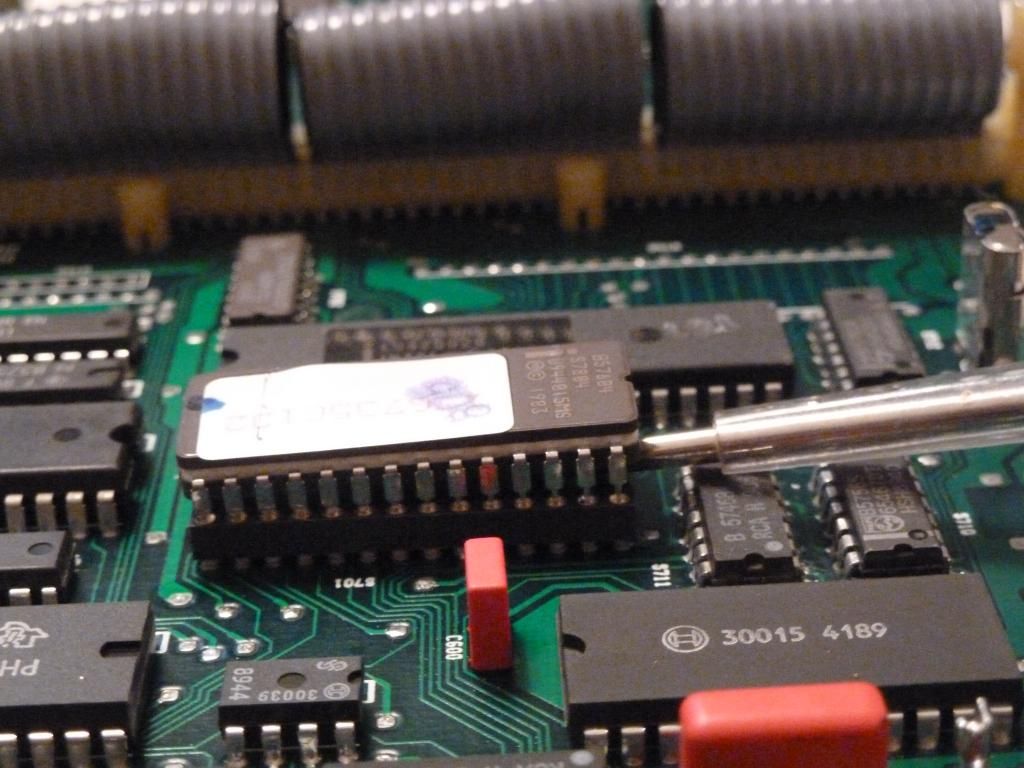
13. Slot a small flat head screw driver under the chip and twist ever so gently, you will feel the chip start to come out of the connectors, move the screwdriver to the other side and do the same. repeat this process raising the chip a little at a time until it pulls out with ease. I didn't repeat this enough and bent some of the connectors on the chip.......
 [/URL]
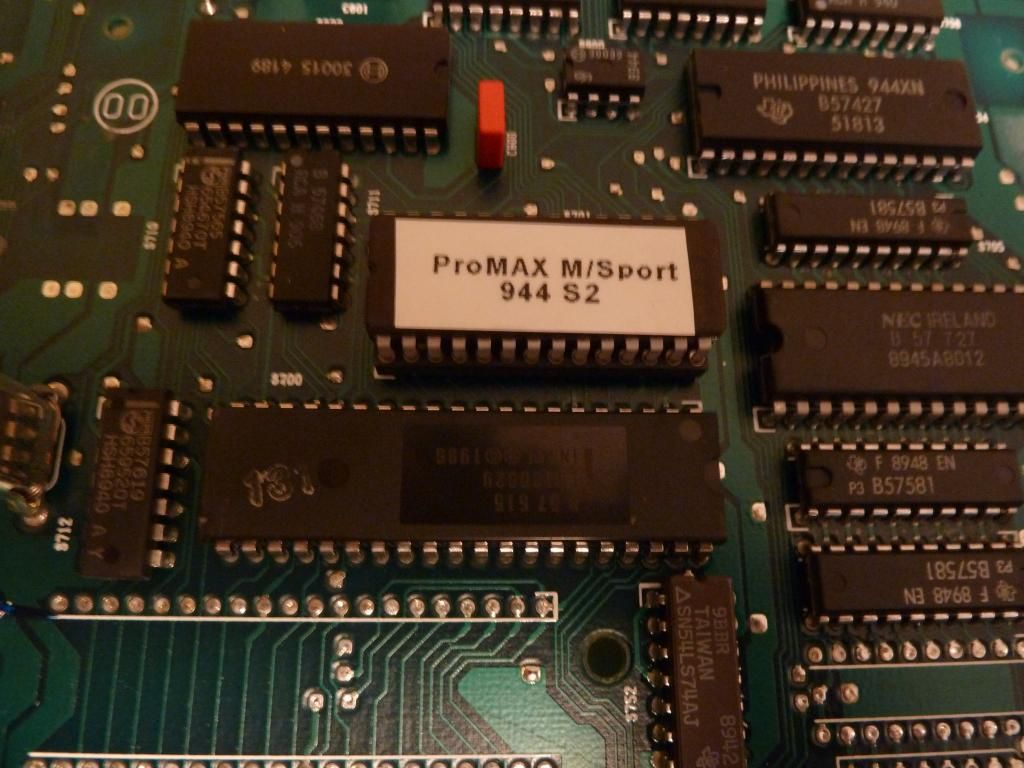
NOTE - take note of the indent on the right hand side of the chip, this is for alignment, the new chip MUST be fitted with the indent at the same side as the removed chip
 [/URL]
 [/URL]
14. Insert new chip, it should slot straight in, if not you may need to bend the connectors a tiny bit to make it fit.
 [/URL]
 [/URL]
16. Put it all back together.
 [/URL]
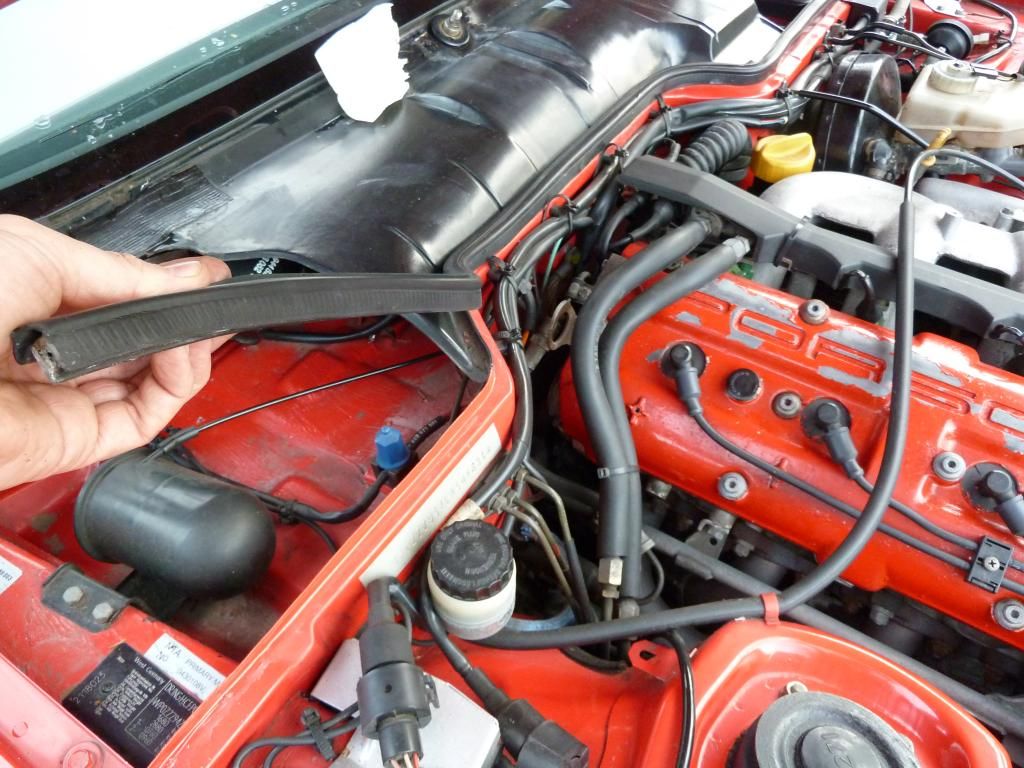
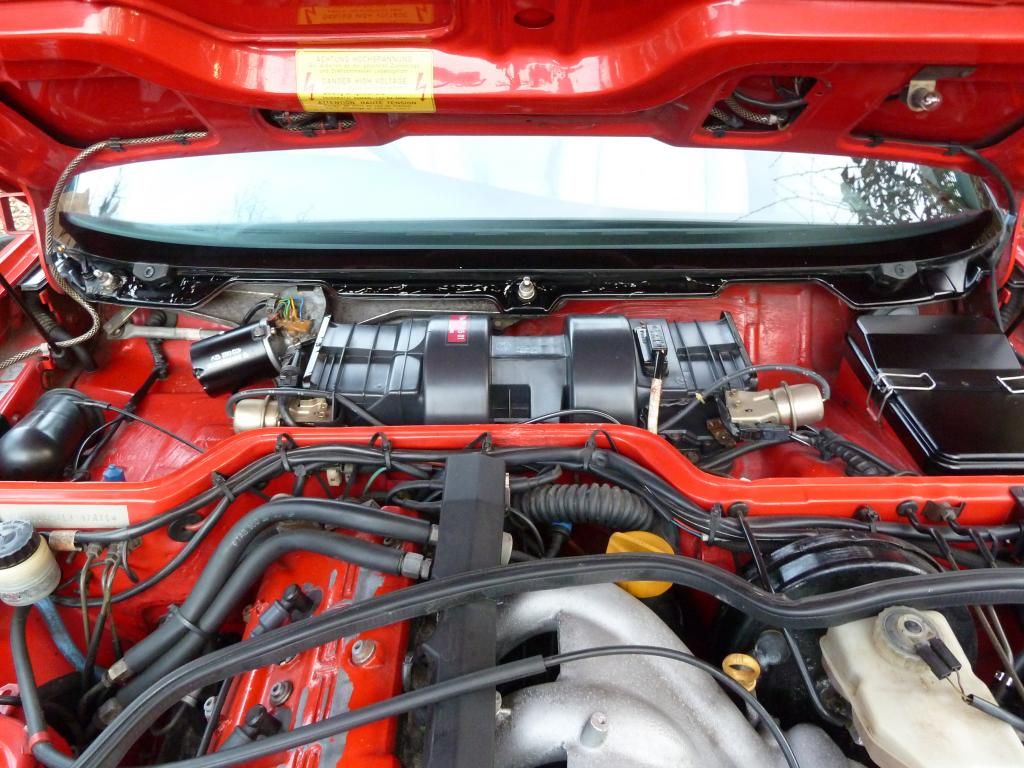
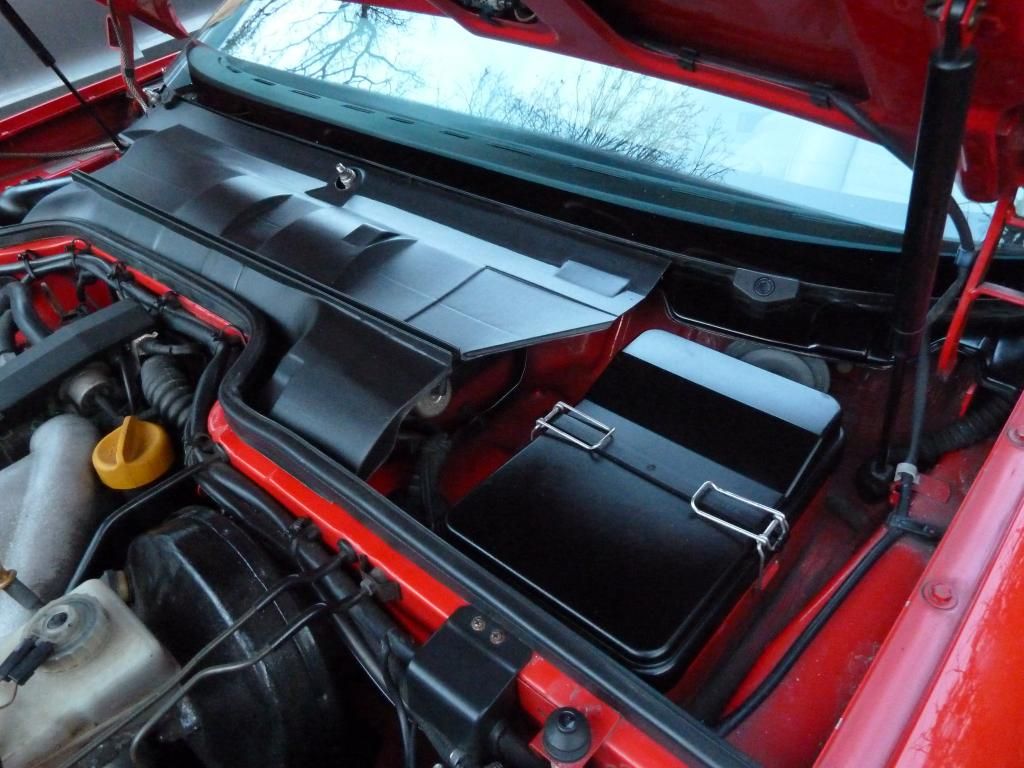
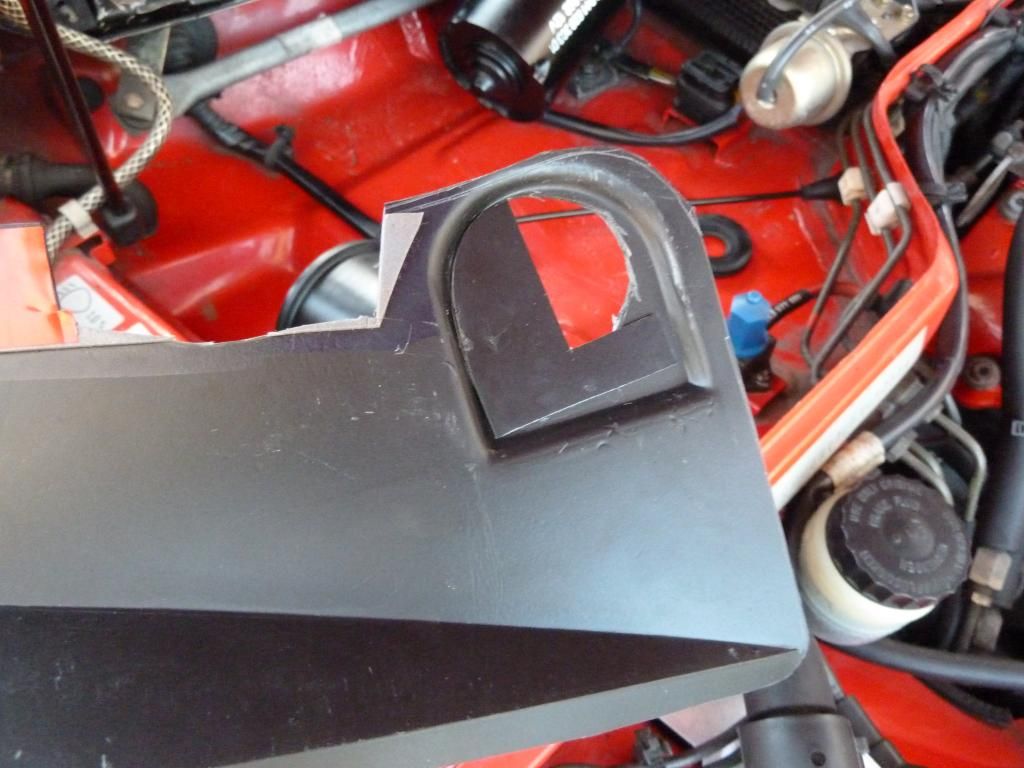
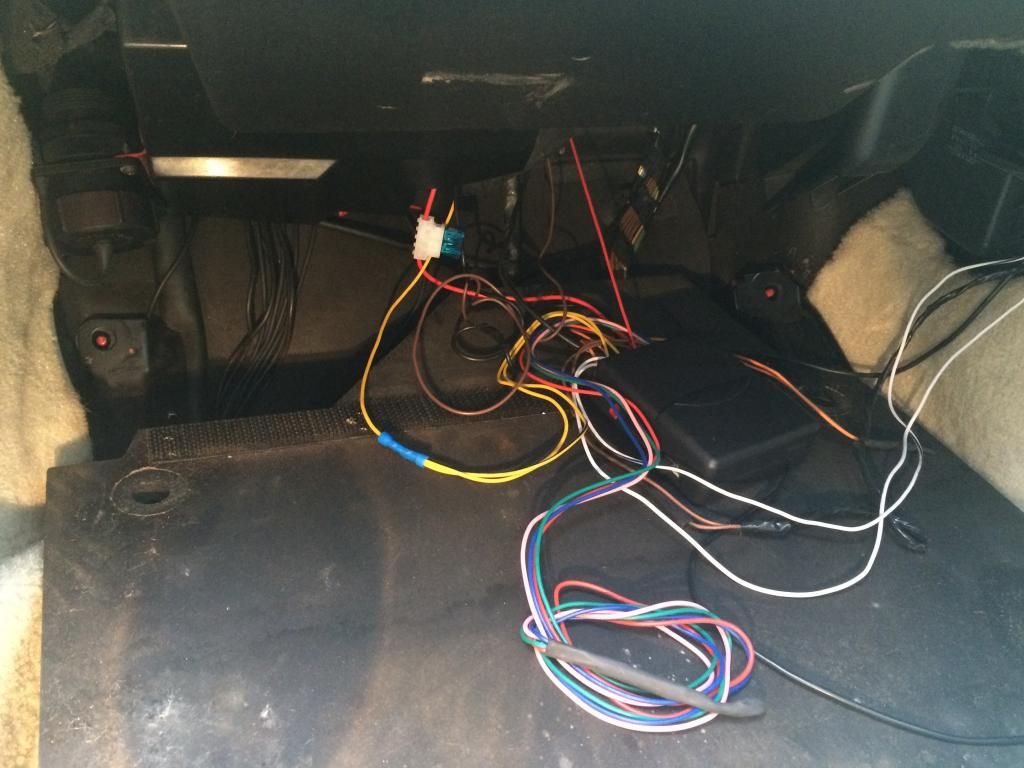
17. Much cleaner with the wiring tucked behind the cover.
 [/URL]
When i started the car there was a lot of white smoke coming from the exhaust, this has never happened before. the car was also idling at 1000 rpm when perviously it always idled at 800rpm. Great plumes of white smoke coming from the exhaust every time i blipped the throttle.
I took the car for a drive, the smoke disappeared and the car now idles at 800 again ;-) PHEW!
It was raining heavily when i went out so didn't want to push the car to much but i can say it really does feel different. So different in fact i'm happy to stick my neck out and say its the difference between a 20 year old car and a 5 year old car. Its so smooth now, the power delivery is constant and smooth and it has more power in the lower rev range.
No immediate power increase noticed, i will try again tomorrow in the dry but the change in the car is phenomenal and thats enough for me, as we all know you can't really squeeze much out of these 3.0 NS engines and i'm not looking to, i just want the car to work the best it can.
Once i have the Cat bypass fitted i will have the whole Promax power upgrade kit installed, Chip, Bypass and K&N air filter, it already has the K&N air filter, I've ordered a cleaning pack so will give it a good clean out and oil when that arrives).
I will go for a more spirited drive tomorrow and report back.
Let me start by saying i thought this was going to be tricky. I was worried i would break something and the car wouldn't start once i was finished.
That wasn't the case, it was a really simple process if you plan on doing it and you feel unsure just take your time.
Time taken just over an Hour
1. Remove the negative connection on the battery, I've read you need to leave this disconnected 30mins before starting the job, i had some other jobs to do so waited about 5mins.
2. Pull back the carpet in the passenger foot well to reveal the cover, i found electrics all over the top of my cover, i hate to see mess like this so will tidy it under the cover when i put everything back together.
3. Undo the 4 screws in each corner, they screw into the brace that holds the DME control unit so no nuts to lose.
4. Unscrew the metal brace, again from all 4 corners, the top 2 are plastic screws, use a big flat head screwdriver. the bottom 2 are normal screws with washers, again this lot screws into the frame of the car so no nuts to lose.
5. You can see the top of the silver DME poking out of the frame, this needs to be unscrewed from he frame to help remove the plug. 4 screws, the top 2 screws have squared nuts behind them so make sure you don't lose them when you unscrew the top screws (I did).
6. One released DME unit ready to unplug and re-chip
7. Pull the silver clip up to allow the plug to be removed.
8. On the underside of the unit there are 12 tabs that need to be raised, this allows the unit cover to be release.
9. The two circuit boards are held together at the ribbon end by two plastic posts.
The posts are two separate pieces that slot together,
You need to place a screwdriver into one of the gaps and twist softly, at the same time carfully pull the boards apart.
10. Using a small screw driver, prise open the release clips at the connector pin end (one at each end)
11. Push down and in on the top row of connectors this should release the top circuit board.
12. Open the circuit boards to reveal the Porsche 944 S2 Brain! scary stuff, i caught my finger on one if the delicate bits on the board and bent it a bit when i was doing this.............The Chip is under the Cream plastic cover on the left of the pic, remove the cover by pulling up, its held on by two small wedge clips.
13. Slot a small flat head screw driver under the chip and twist ever so gently, you will feel the chip start to come out of the connectors, move the screwdriver to the other side and do the same. repeat this process raising the chip a little at a time until it pulls out with ease. I didn't repeat this enough and bent some of the connectors on the chip.......
NOTE - take note of the indent on the right hand side of the chip, this is for alignment, the new chip MUST be fitted with the indent at the same side as the removed chip
14. Insert new chip, it should slot straight in, if not you may need to bend the connectors a tiny bit to make it fit.
16. Put it all back together.
17. Much cleaner with the wiring tucked behind the cover.
When i started the car there was a lot of white smoke coming from the exhaust, this has never happened before. the car was also idling at 1000 rpm when perviously it always idled at 800rpm. Great plumes of white smoke coming from the exhaust every time i blipped the throttle.
I took the car for a drive, the smoke disappeared and the car now idles at 800 again ;-) PHEW!
It was raining heavily when i went out so didn't want to push the car to much but i can say it really does feel different. So different in fact i'm happy to stick my neck out and say its the difference between a 20 year old car and a 5 year old car. Its so smooth now, the power delivery is constant and smooth and it has more power in the lower rev range.
No immediate power increase noticed, i will try again tomorrow in the dry but the change in the car is phenomenal and thats enough for me, as we all know you can't really squeeze much out of these 3.0 NS engines and i'm not looking to, i just want the car to work the best it can.
Once i have the Cat bypass fitted i will have the whole Promax power upgrade kit installed, Chip, Bypass and K&N air filter, it already has the K&N air filter, I've ordered a cleaning pack so will give it a good clean out and oil when that arrives).
I will go for a more spirited drive tomorrow and report back.
")