
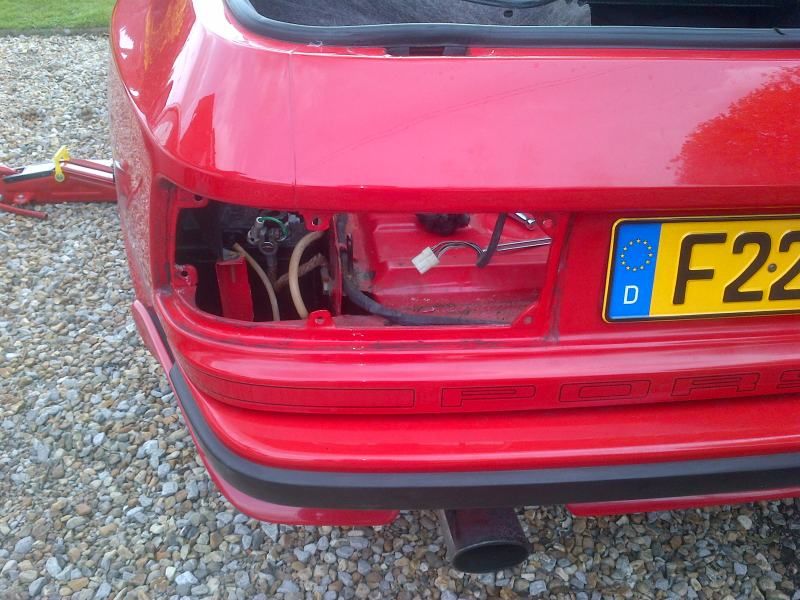
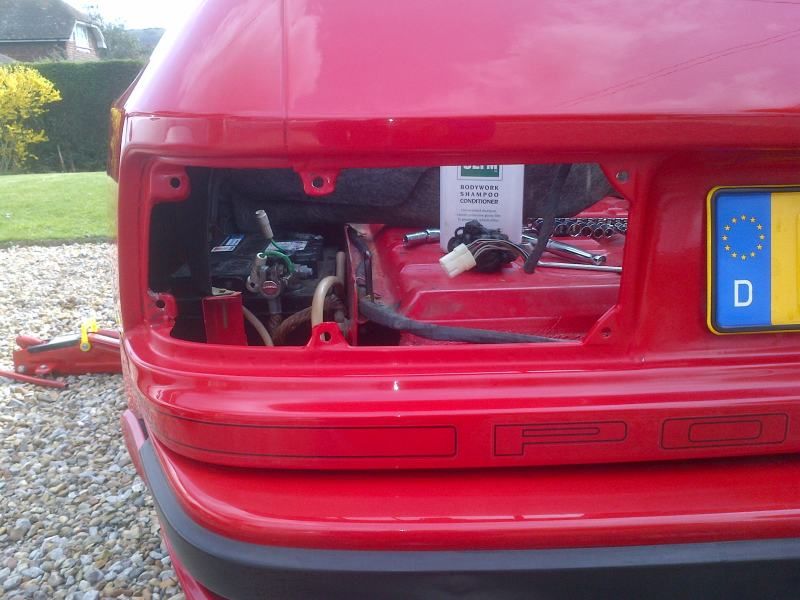
Did my tail lights this weekend. The original seal had failed completely on both sides, causing water to leak into the boot, trickle into the two wells either side and corrode the rear quarters.
Getting the lights out was straightforward, there is a thumbscrew to take the piece with the bulbs out and then six 8mm nuts to hold the lights in. The lights then have to be yanked off, gently prying from the inside with a plastic scraper and cutting through the seal. Takes a fair bit of persuasion to get them out! The original seal had dried up in places (hence the leak) but for the most part was still tacky and sticks like crazy.
Then cleaned up the remains of the seal (and 23 years of dirt, old polish etc.).
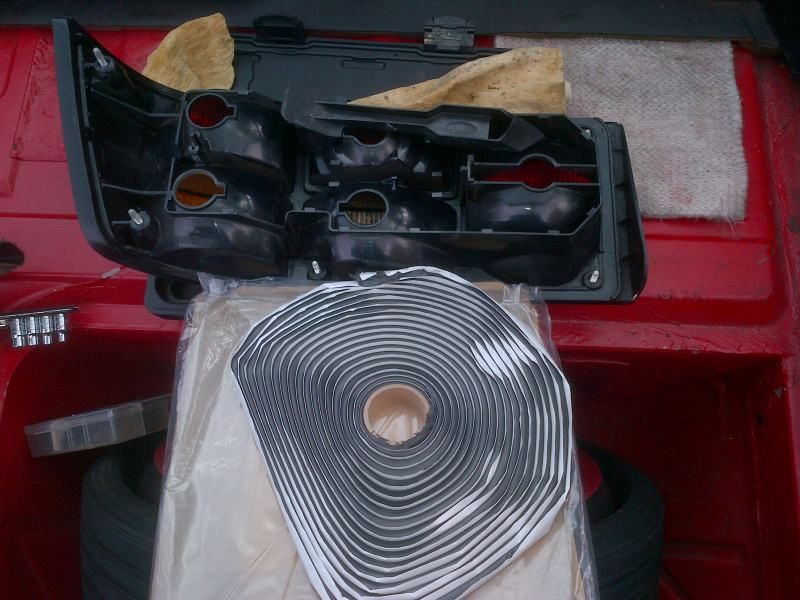
This is the sealant I used, it's a black butyl panel seal that comes in a reel with paper backing. I'm pretty sure it's the same as the original stuff... it stays permanently tacky so sticks to surfaces but doesn't glue things permanently. Also pictured above the light is a cheap plastic tool from B&Q designed for removing bathroom sealant. Was ideal for scraping off the remnants of seal.
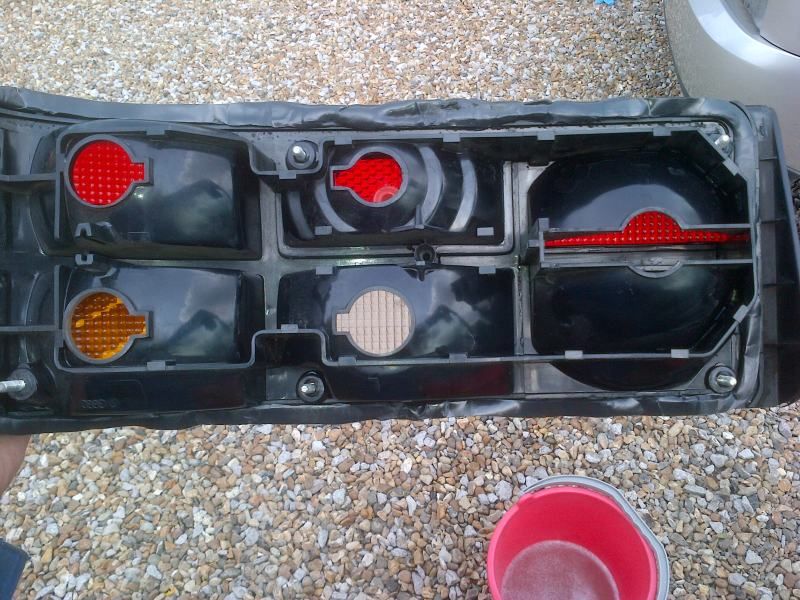
Here is the light ready to go in. The butyl seal is actually quite nice to work with, much nicer than silicone... it sticks to anything (fingers included) but can be peeled off cleanly. The picture shows one thickness applied all the way around, I actually had to use a double thickness at the top edge to get a good seal.
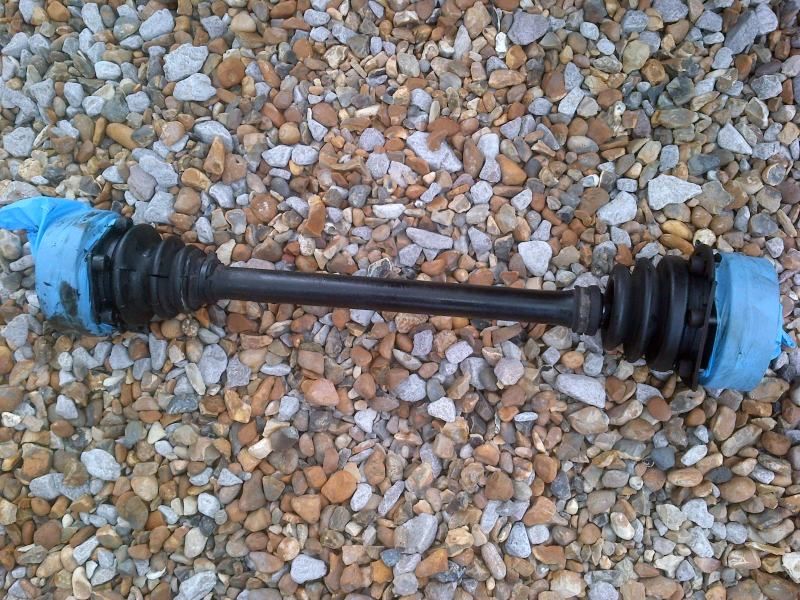
We all know what a 944 tail light should look like, so my next pic is the offside driveshaft I also removed because the CV boots are completely shot! Expect a thread with pictures of inside the joints shortly... I was pleasantly surprised how much grease was still inside, but there is some play in the joint, about a degree I would say, more on one side than the other.
Getting the lights out was straightforward, there is a thumbscrew to take the piece with the bulbs out and then six 8mm nuts to hold the lights in. The lights then have to be yanked off, gently prying from the inside with a plastic scraper and cutting through the seal. Takes a fair bit of persuasion to get them out! The original seal had dried up in places (hence the leak) but for the most part was still tacky and sticks like crazy.
Then cleaned up the remains of the seal (and 23 years of dirt, old polish etc.).
This is the sealant I used, it's a black butyl panel seal that comes in a reel with paper backing. I'm pretty sure it's the same as the original stuff... it stays permanently tacky so sticks to surfaces but doesn't glue things permanently. Also pictured above the light is a cheap plastic tool from B&Q designed for removing bathroom sealant. Was ideal for scraping off the remnants of seal.
Here is the light ready to go in. The butyl seal is actually quite nice to work with, much nicer than silicone... it sticks to anything (fingers included) but can be peeled off cleanly. The picture shows one thickness applied all the way around, I actually had to use a double thickness at the top edge to get a good seal.
We all know what a 944 tail light should look like, so my next pic is the offside driveshaft I also removed because the CV boots are completely shot! Expect a thread with pictures of inside the joints shortly... I was pleasantly surprised how much grease was still inside, but there is some play in the joint, about a degree I would say, more on one side than the other.
") ]
]


