With today’s smartphones seemingly having more and more cameras built into them and the manufacturers promising “professional” images, you’d be forgiven for thinking you don’t need to bother with an actual camera in order to get yourself some high-quality shots.
But, if you’re fond of the look of your car (who buys a car they don’t like the look of?) and fancy taking some nice snaps, here are some of my tips.
First things first... One of the main reasons for switching over to a proper camera and leaving your phone in your pocket is the control they give you. Being able to control the brightness of an image or choosing which part of it is in focus, for example, means you’ve got the capability to make things look how you wish and not just accept ‘Auto’. This starts us off with the choice of which exposure mode to use.
1. Aperture
.jpg)
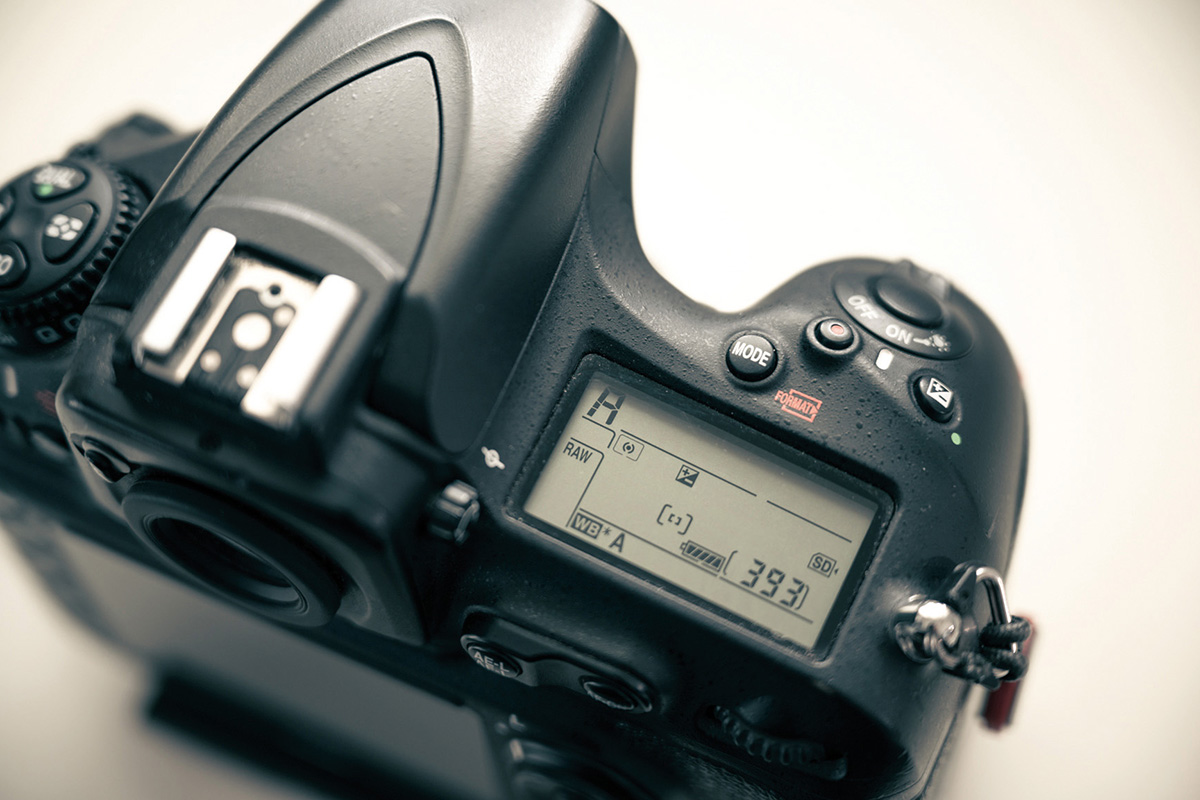
For the most part, you’ll want to use the ‘aperture priority’ setting. This is ‘A’ on some cameras, while others will have ‘Av’. In this mode, you’re telling the camera which size of aperture (the size of the hole letting light into the lens) to use.
As a rule, the smaller the size of the hole, the more of the shot that is in focus and, the larger it is, the smaller the size of the focus area. Just to make things confusing, the smaller the aperture, the higher the ‘f’ number is and vice versa – so an aperture of f/1.8 is much bigger than f/22.
Generally, to have enough depth of field (focus), f/8 is ideal to get the whole car sharp and in focus. Using a large aperture, such as f/1.8, leads the viewer’s eye to the smaller area that is in focus.
.jpg)
Once you’ve got your head around this, the camera will do the rest of the work for you… simple! Well, not completely. While you’ll have control over how much of the image is in focus, you will still be at the mercy of the camera’s choice of exposure (brightness) and this is when exposure compensation comes into play.
2. Exposure compensation
.jpg)
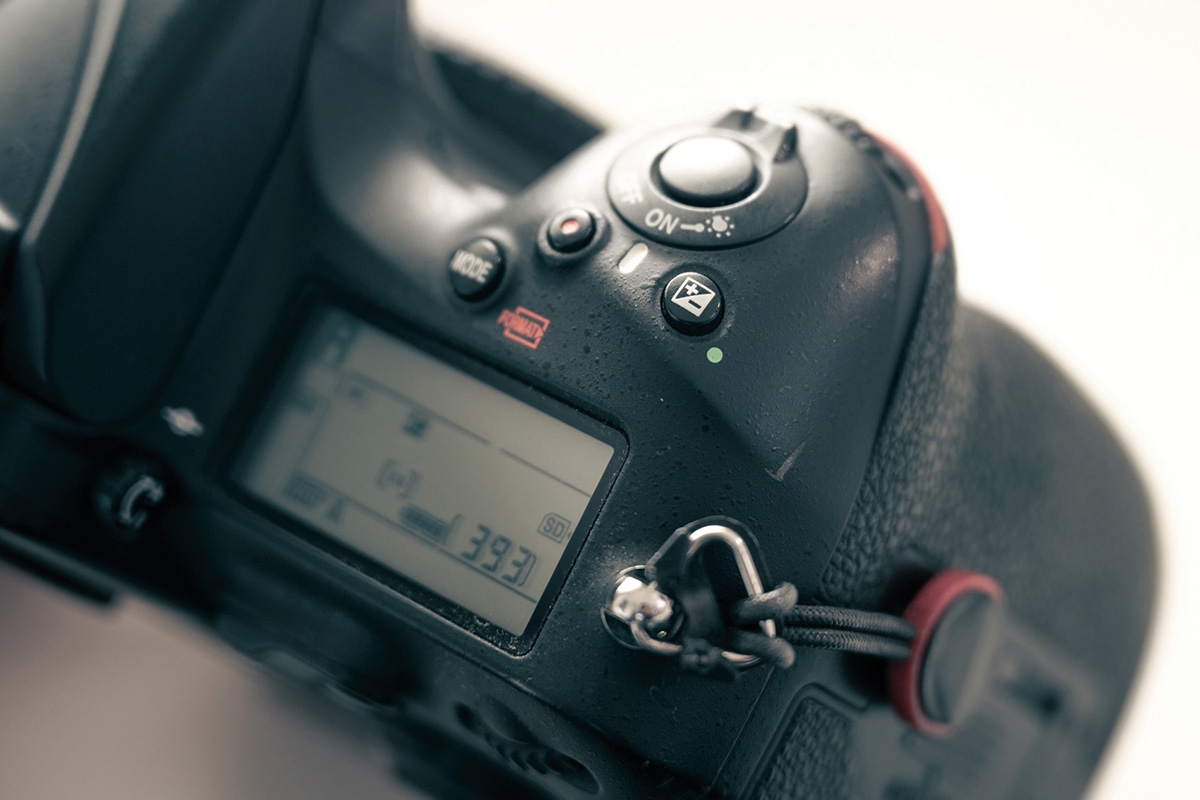
Exposure compensation is super simple to use. By pressing the + button and turning a dial on the body, you’re either adding or reducing the exposure. When you get the hang of this, you’ll have control over how bright or dark the scene is. Start by taking a shot at the camera’s chosen exposure, then another using the compensation to increase or reduce it. After a short while, you’ll learn how your camera predicts a scene and how much compensation you’ll need.Being able to override the camera’s exposure choices is especially important with different colours of cars. Imagine a scene with a black car taking up most of the frame; the camera will read this as the shot being too dark and automatically try to brighten the image. The opposite is true for a bright white car.
Next up is shutter speeds. It will usually be the shutter speed that the camera is changing in order to make the scene brighter or darker. You need to be careful to not have too much of a slow shutter speed because this can introduce camera shake, at which point you’ll start to need a tripod. You could also adjust the ISO setting to a higher number, but this will create ‘noise’ in the image if it’s too high.The shutter speed can be used to create dramatic effects and give motion and life to your images. By leaving the camera’s sensor or film exposed to light for longer periods of time, you can intentionally create blur to portray motion.
3. Motion panning
_1.jpg)
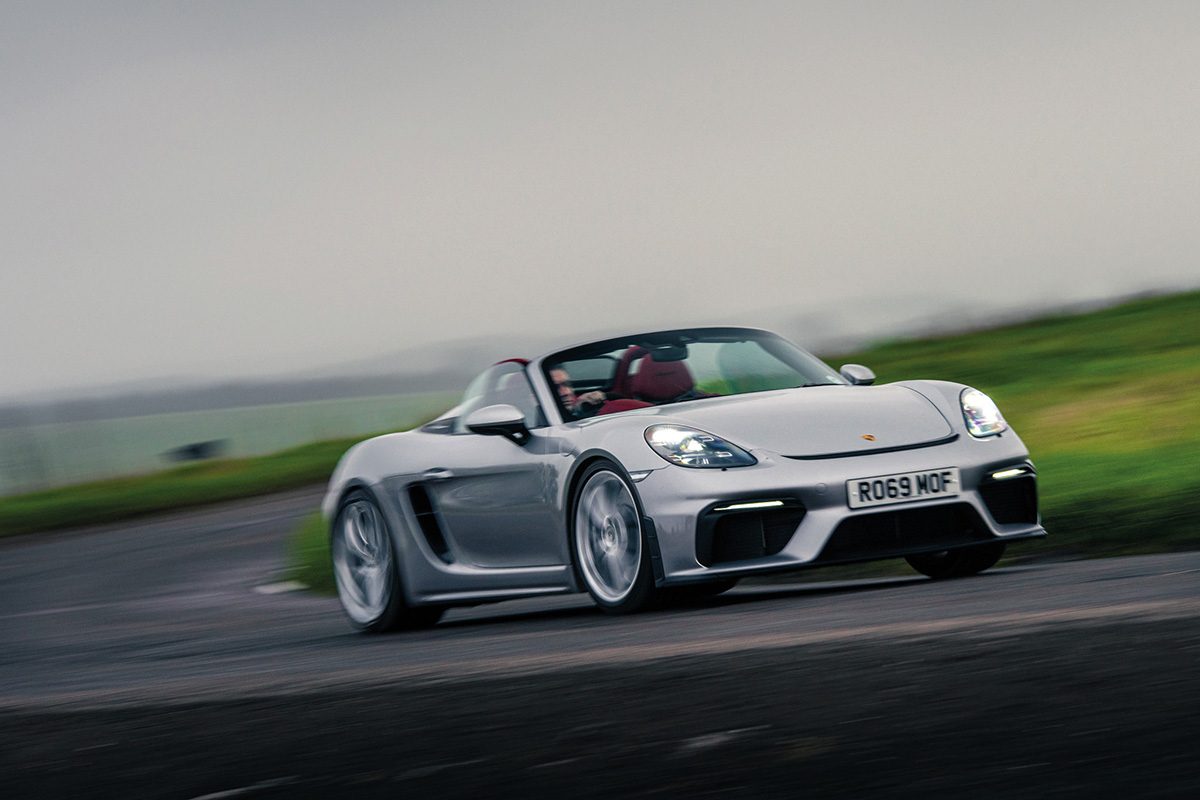
This shot of a Boxster Spyder was taken in 1/40th of a second while the car was travelling at about 40mph. This matching of shutter speed to the vehicle speed is a good guide to start with for capturing the motion of a car. It’s slow enough to blur the floor and background, but quick enough to ensure that some or all of the car itself will be sharp.
It was also taken while standing beside the road as the car came round the bend, and it’s very easy to practise this technique. To make sure your shutter speed will stay at what you need, you’ll want to switch your camera to ‘shutter priority’ mode (usually indicated by an ‘S’). In this mode, the exposure compensation will have the same effect of controlling the exposure.
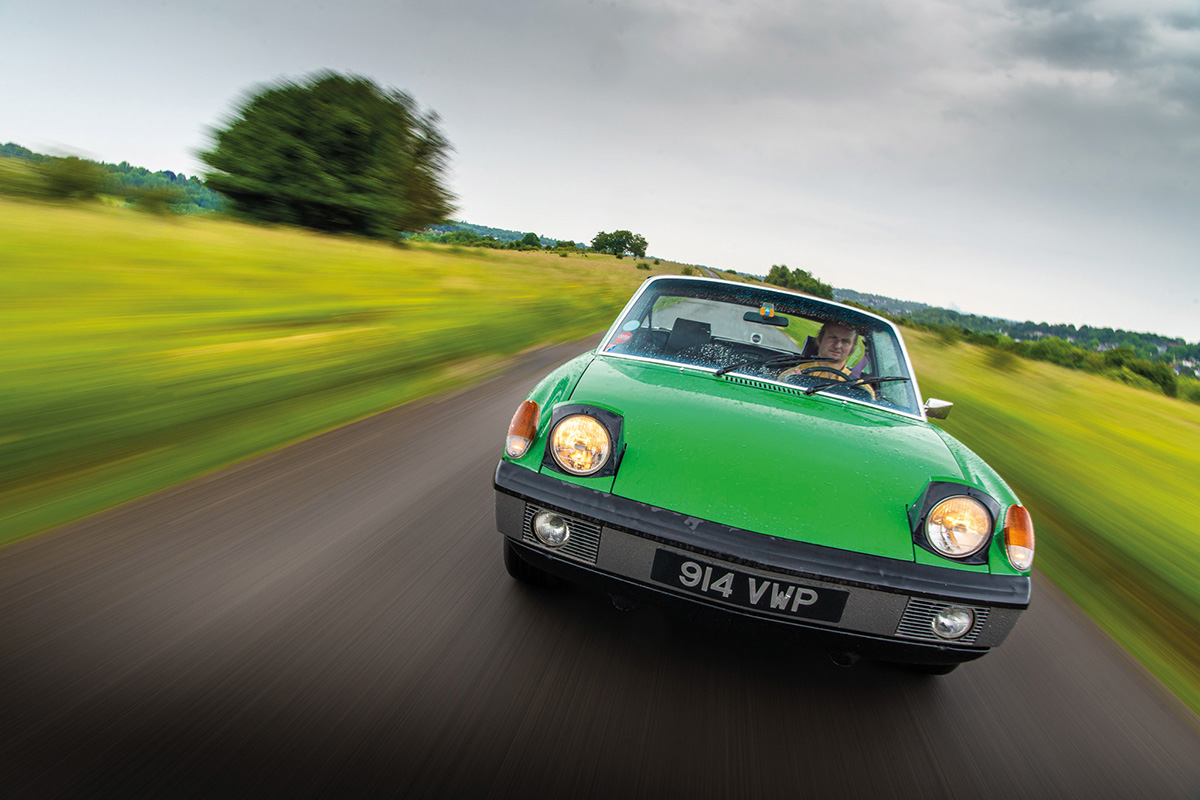
4. Car-to-car tracking
.jpg)
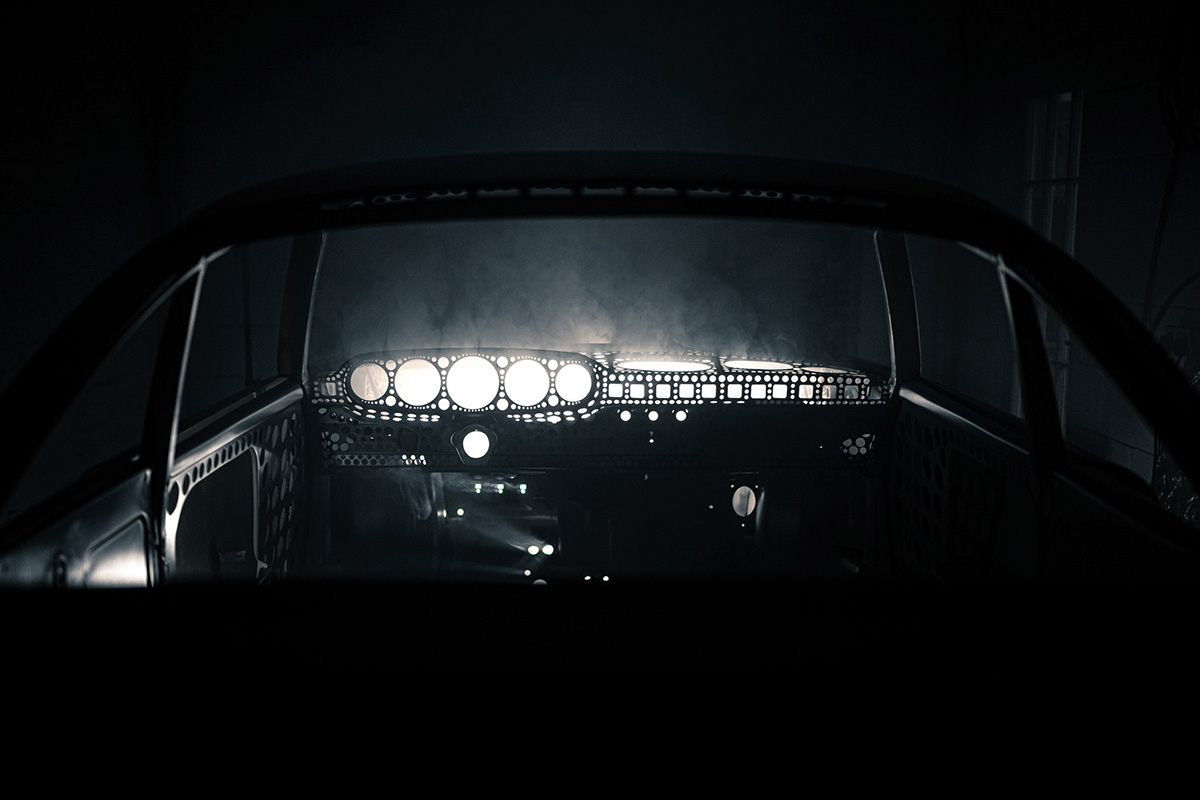
Using the same principles, this image of the 914 was captured while it was following a tracking car with the speeds matching each other to get the car sharp and the background blurry. Shots like this take some practice, though. You’ll want to take a lot of images because most of them won’t be any good!
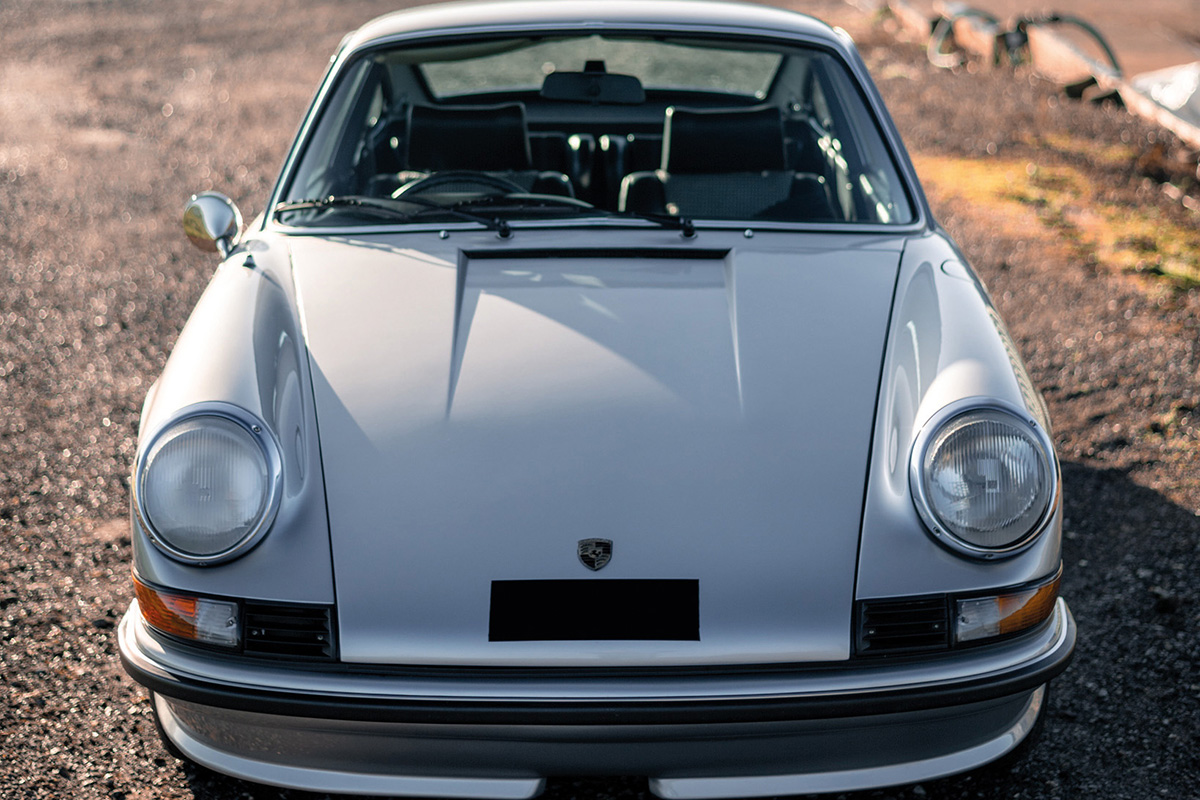
5. Light
Let’s talk about light. After all, that is what photography is all about.
-1.jpg)
The type of light that’s available and how you use it will make a massive difference. When the sun is lower in the sky, such as at sunrise or sunset, you get nice long shadows and the use of light and shadows is what shows shape in an object. Car designers spend hours working on the shape of a vehicle and it comes down to the photographer to show these shapes. Careful positioning of the car in the light and where you position yourself to take the shot can have surprising results. If it doesn’t look impressive, move either the car or yourself!
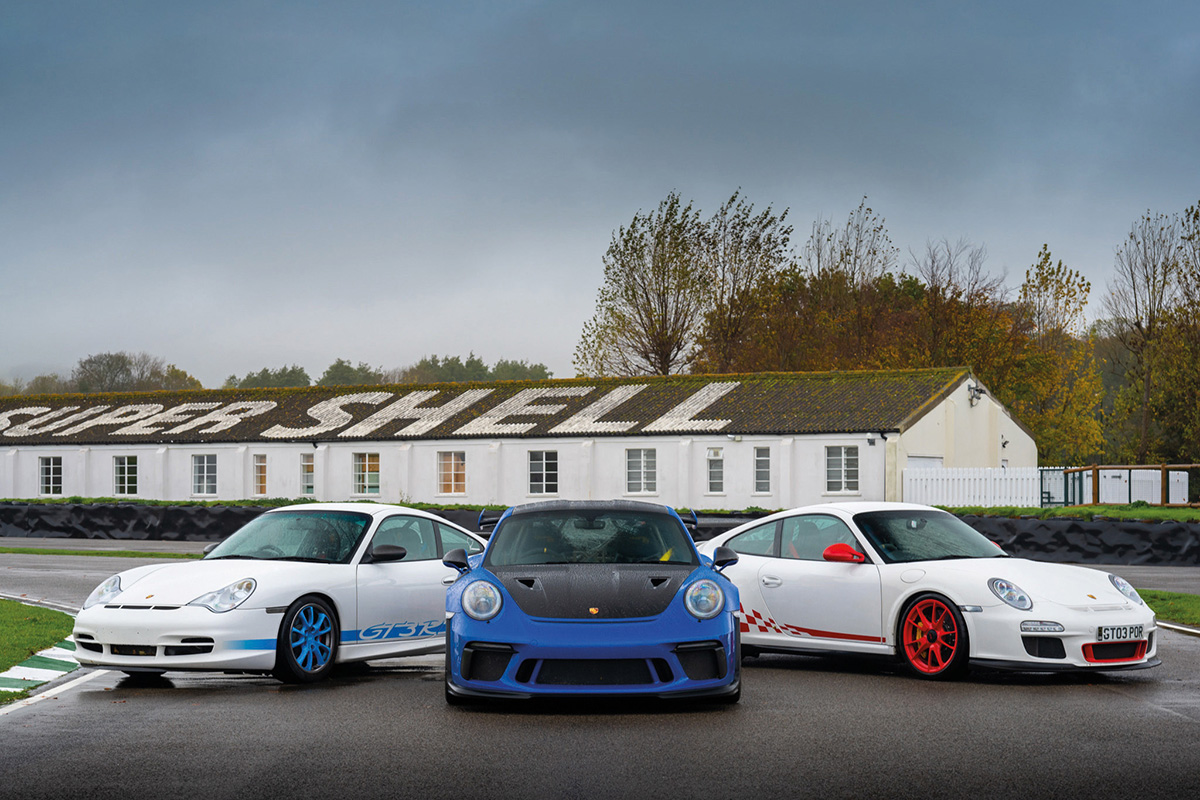
6. Overcast daylight
.jpg)
Obviously, living in Great Britain means you’re not always going to be blessed with bright sunlight. However, that’s not always a bad thing. A grey overcast day has the effect of softening the light and reducing the difference between the bright and dark areas, making the job of photographing cars easier. When it’s cloudy, you’re less likely to over- or under-expose an area of the image which makes getting things right first time much easier.
7. Circular polarising filters
-1.jpg)
Cars are essentially big rolling mirrors. They reflect light, so being able to control the reflections is key. One of the secrets to doing this is using circular polarising filters. These screw onto the end of your lens and cut out light that is being reflected from either the top or the side of the car. You control which direction is being cut out by spinning the filter. One of the most common ways these filters are used is to remove the unsightly reflection coming off windscreens and they work in the same way as a pair of polarised sunglasses.