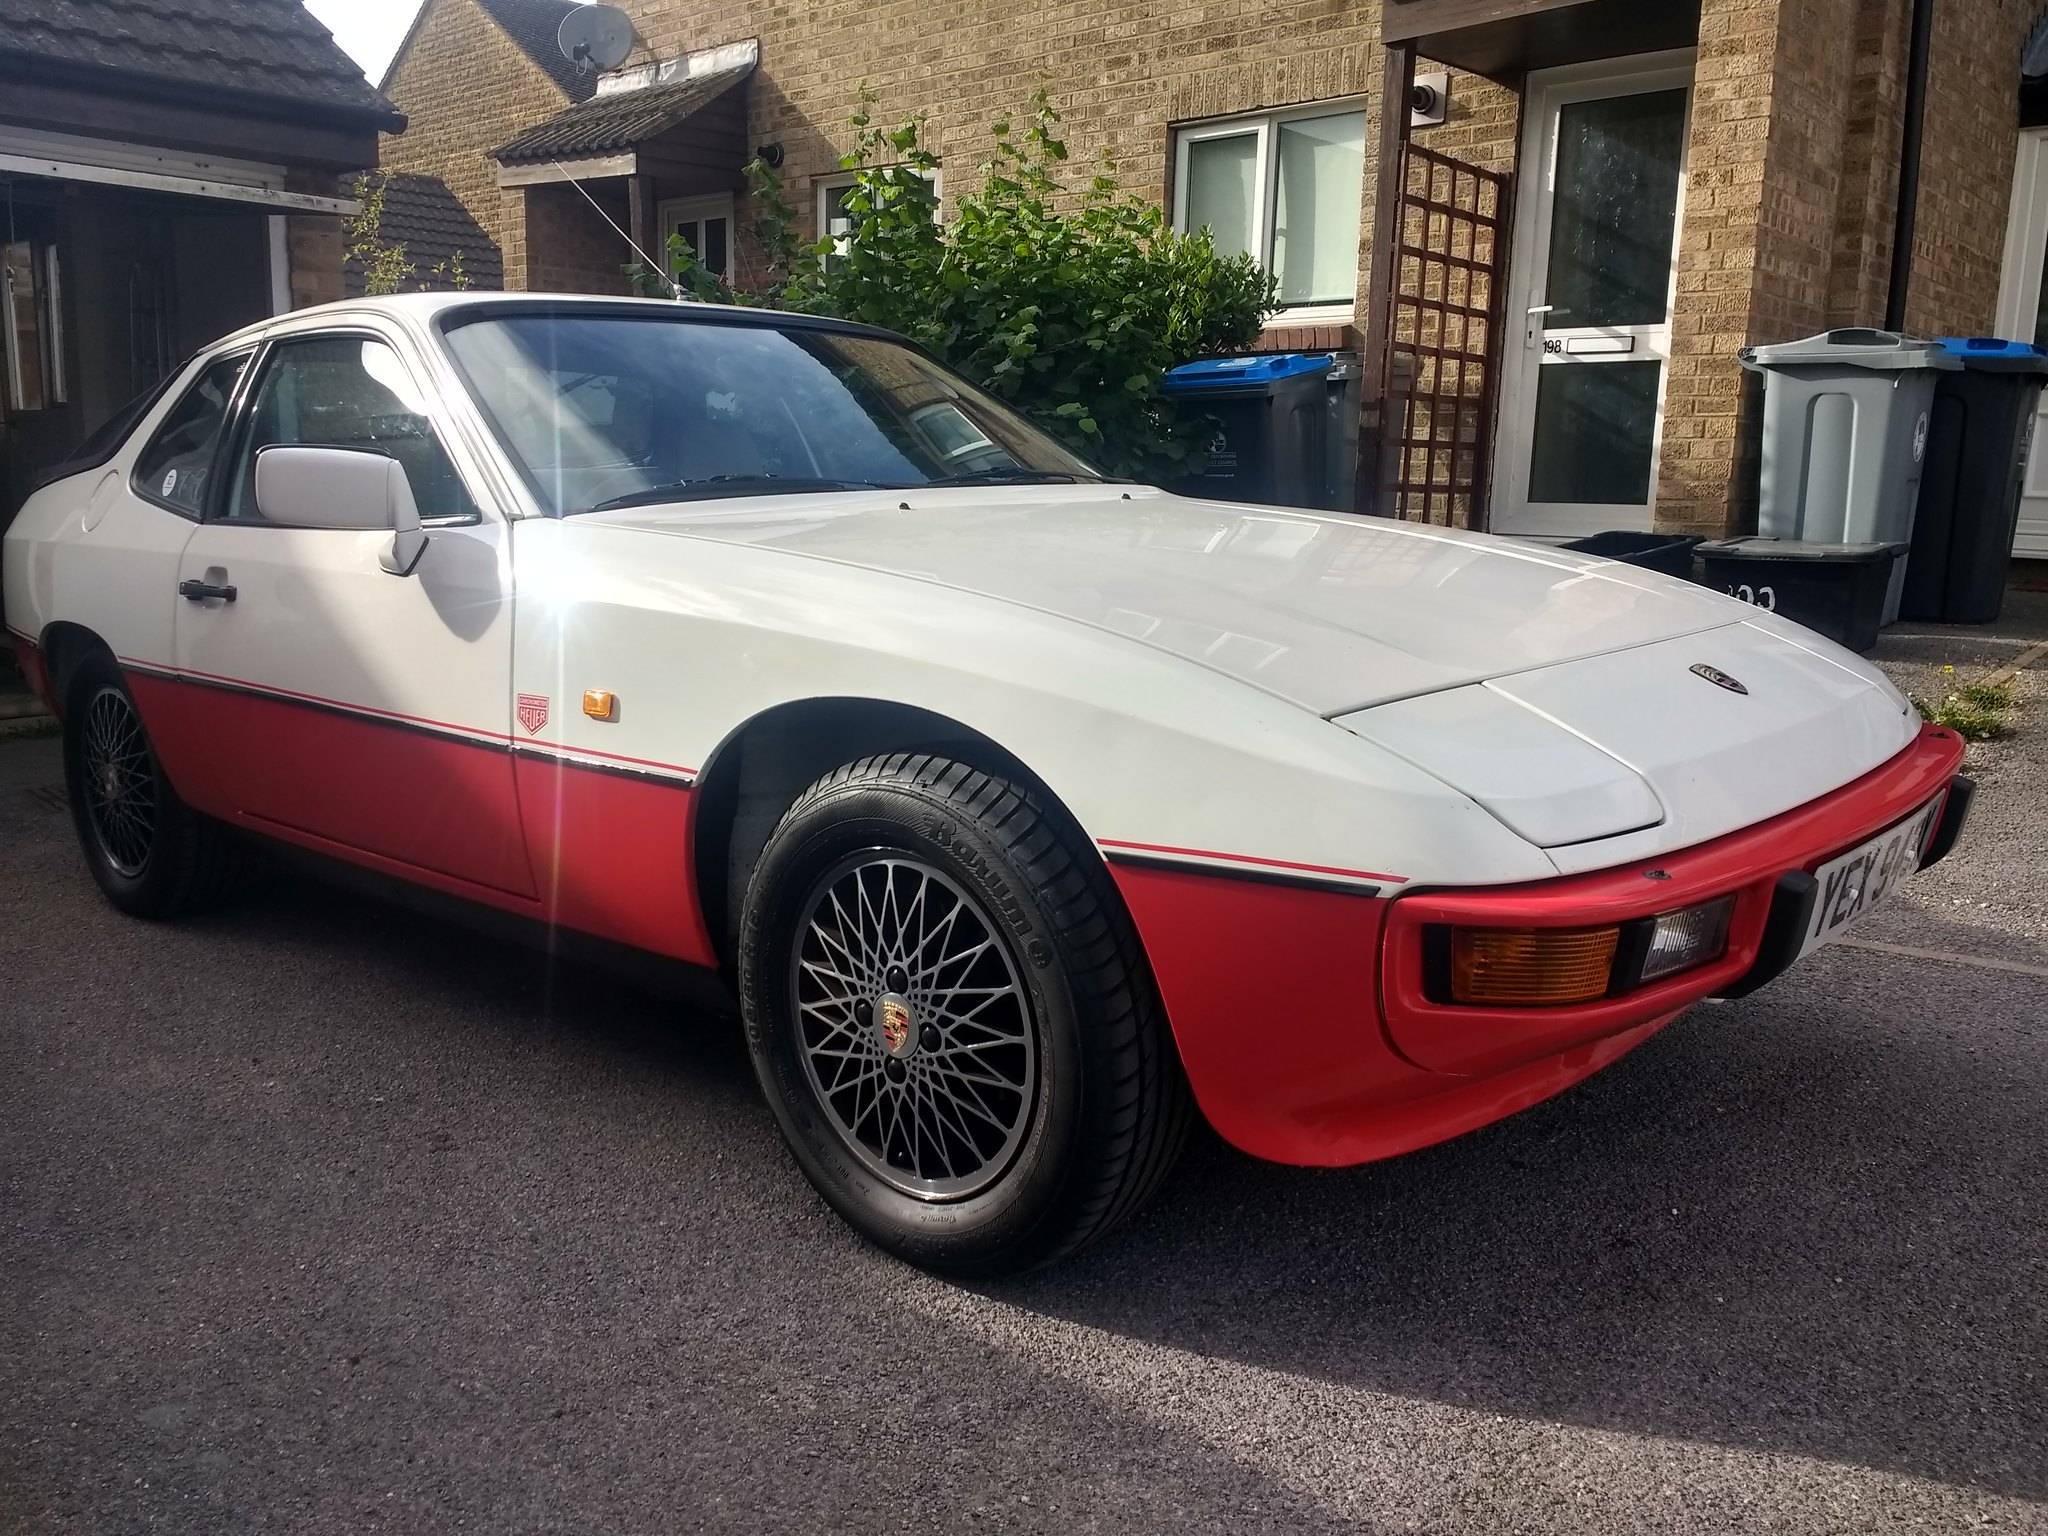
Morning,
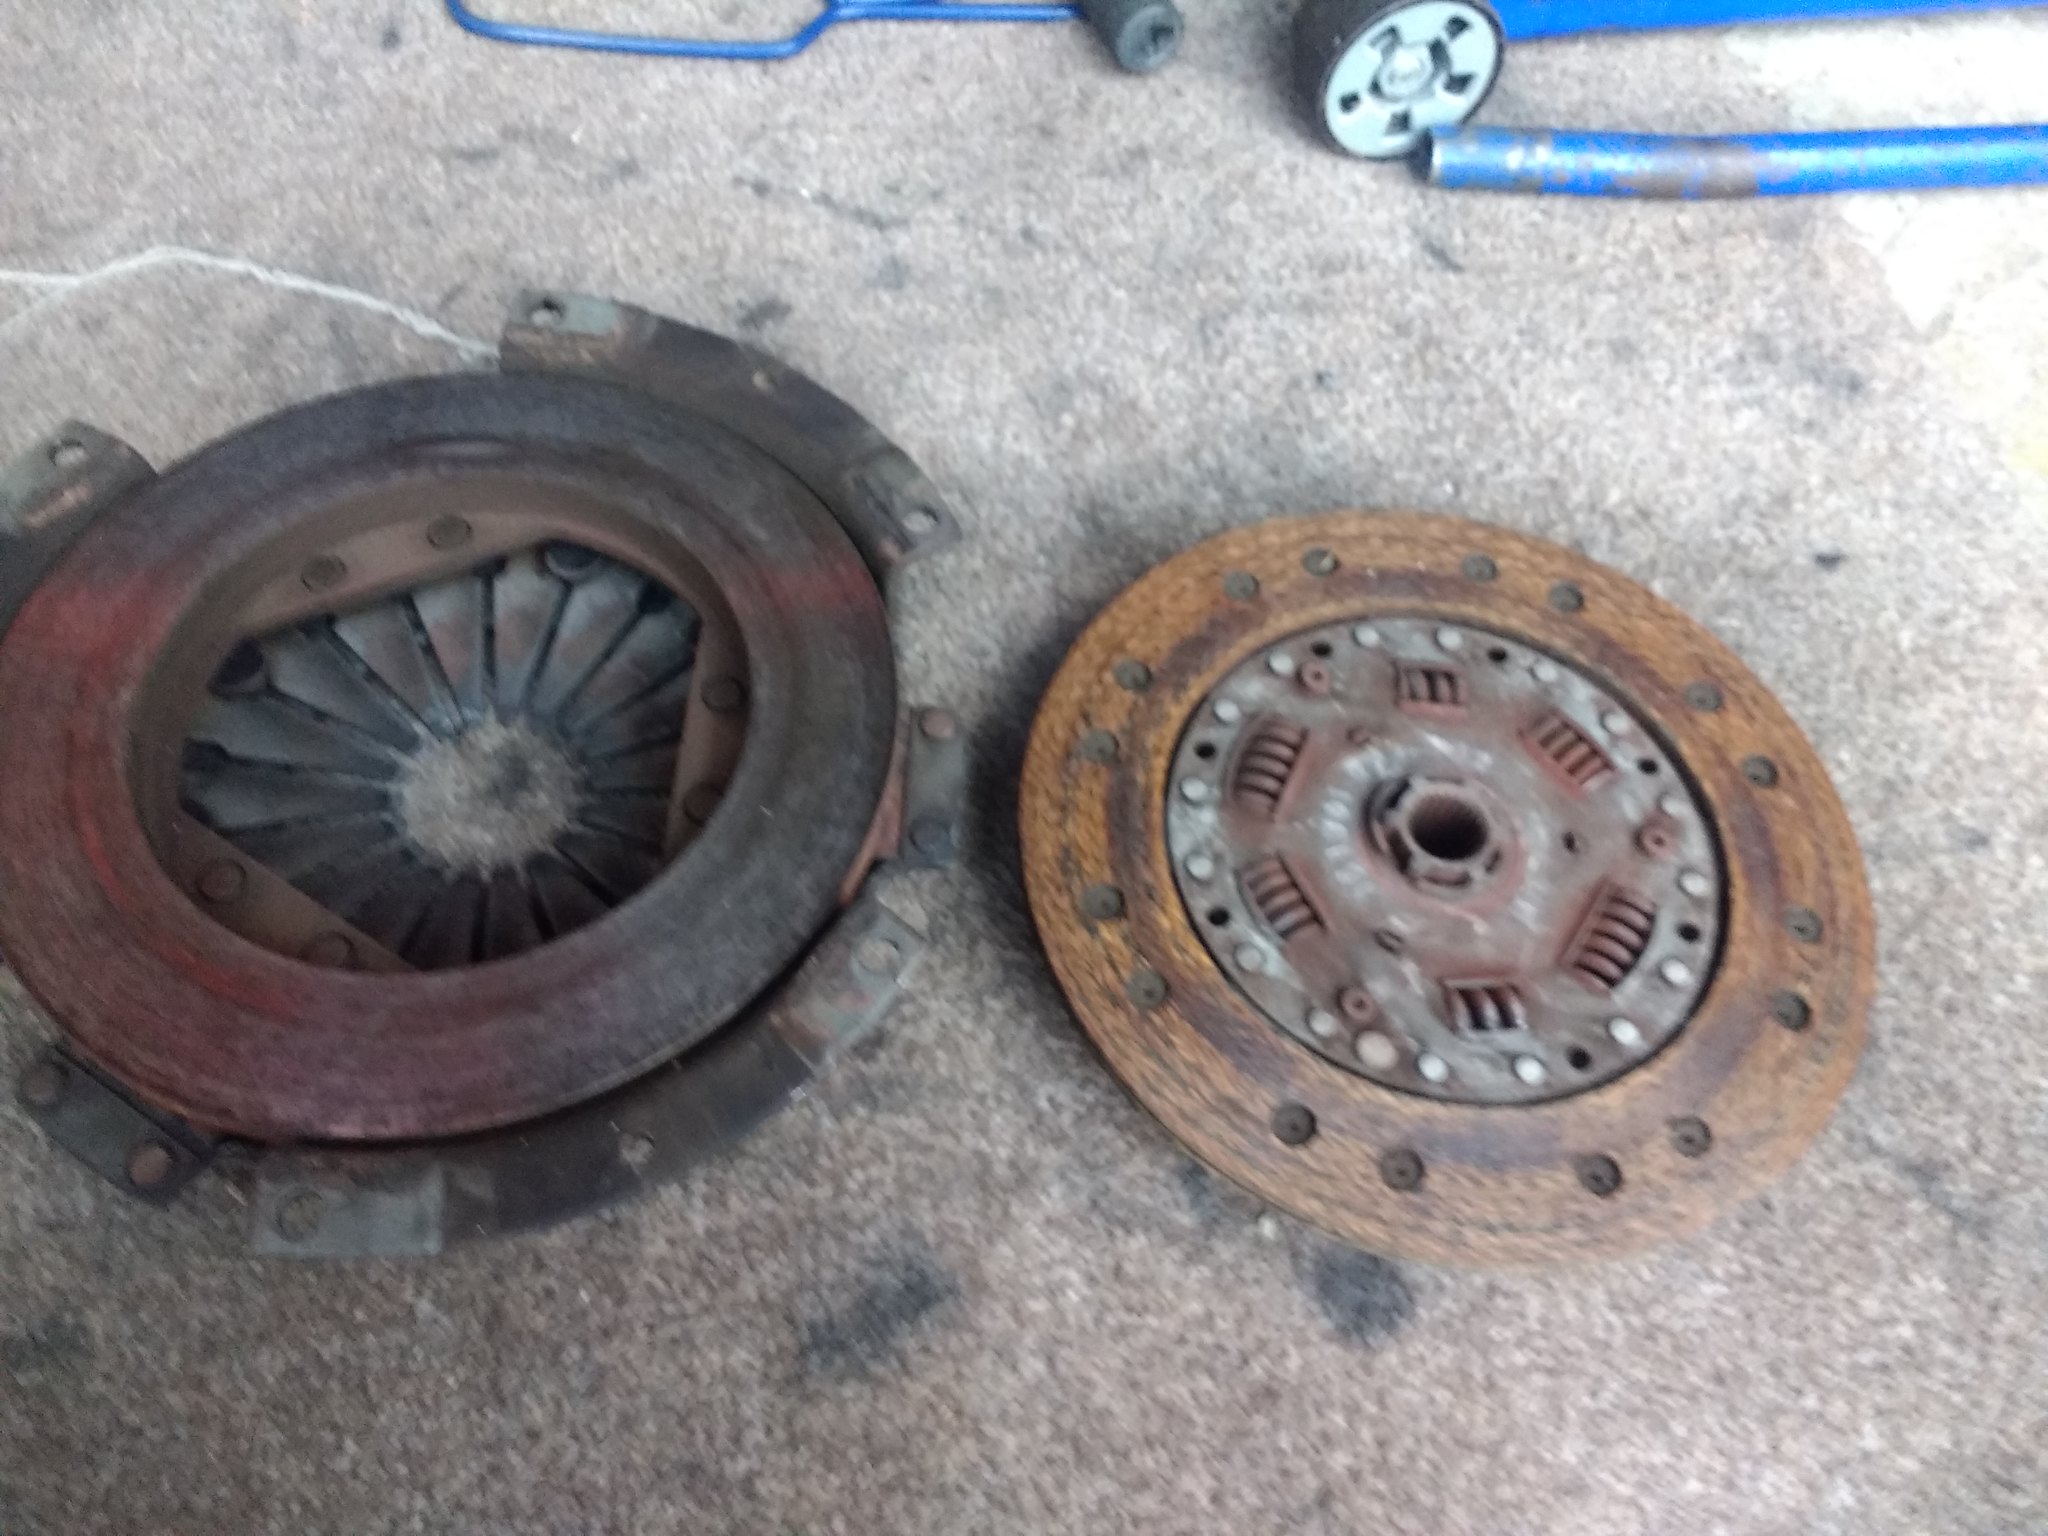
After getting more annoyed with the clutch rattling at biting point I've started to replace the clutch and thought I'd document the fun and games here for other users. I'd say I'm quite good when it comes to home mechanics but I'm simply working on the garage floor (carpet
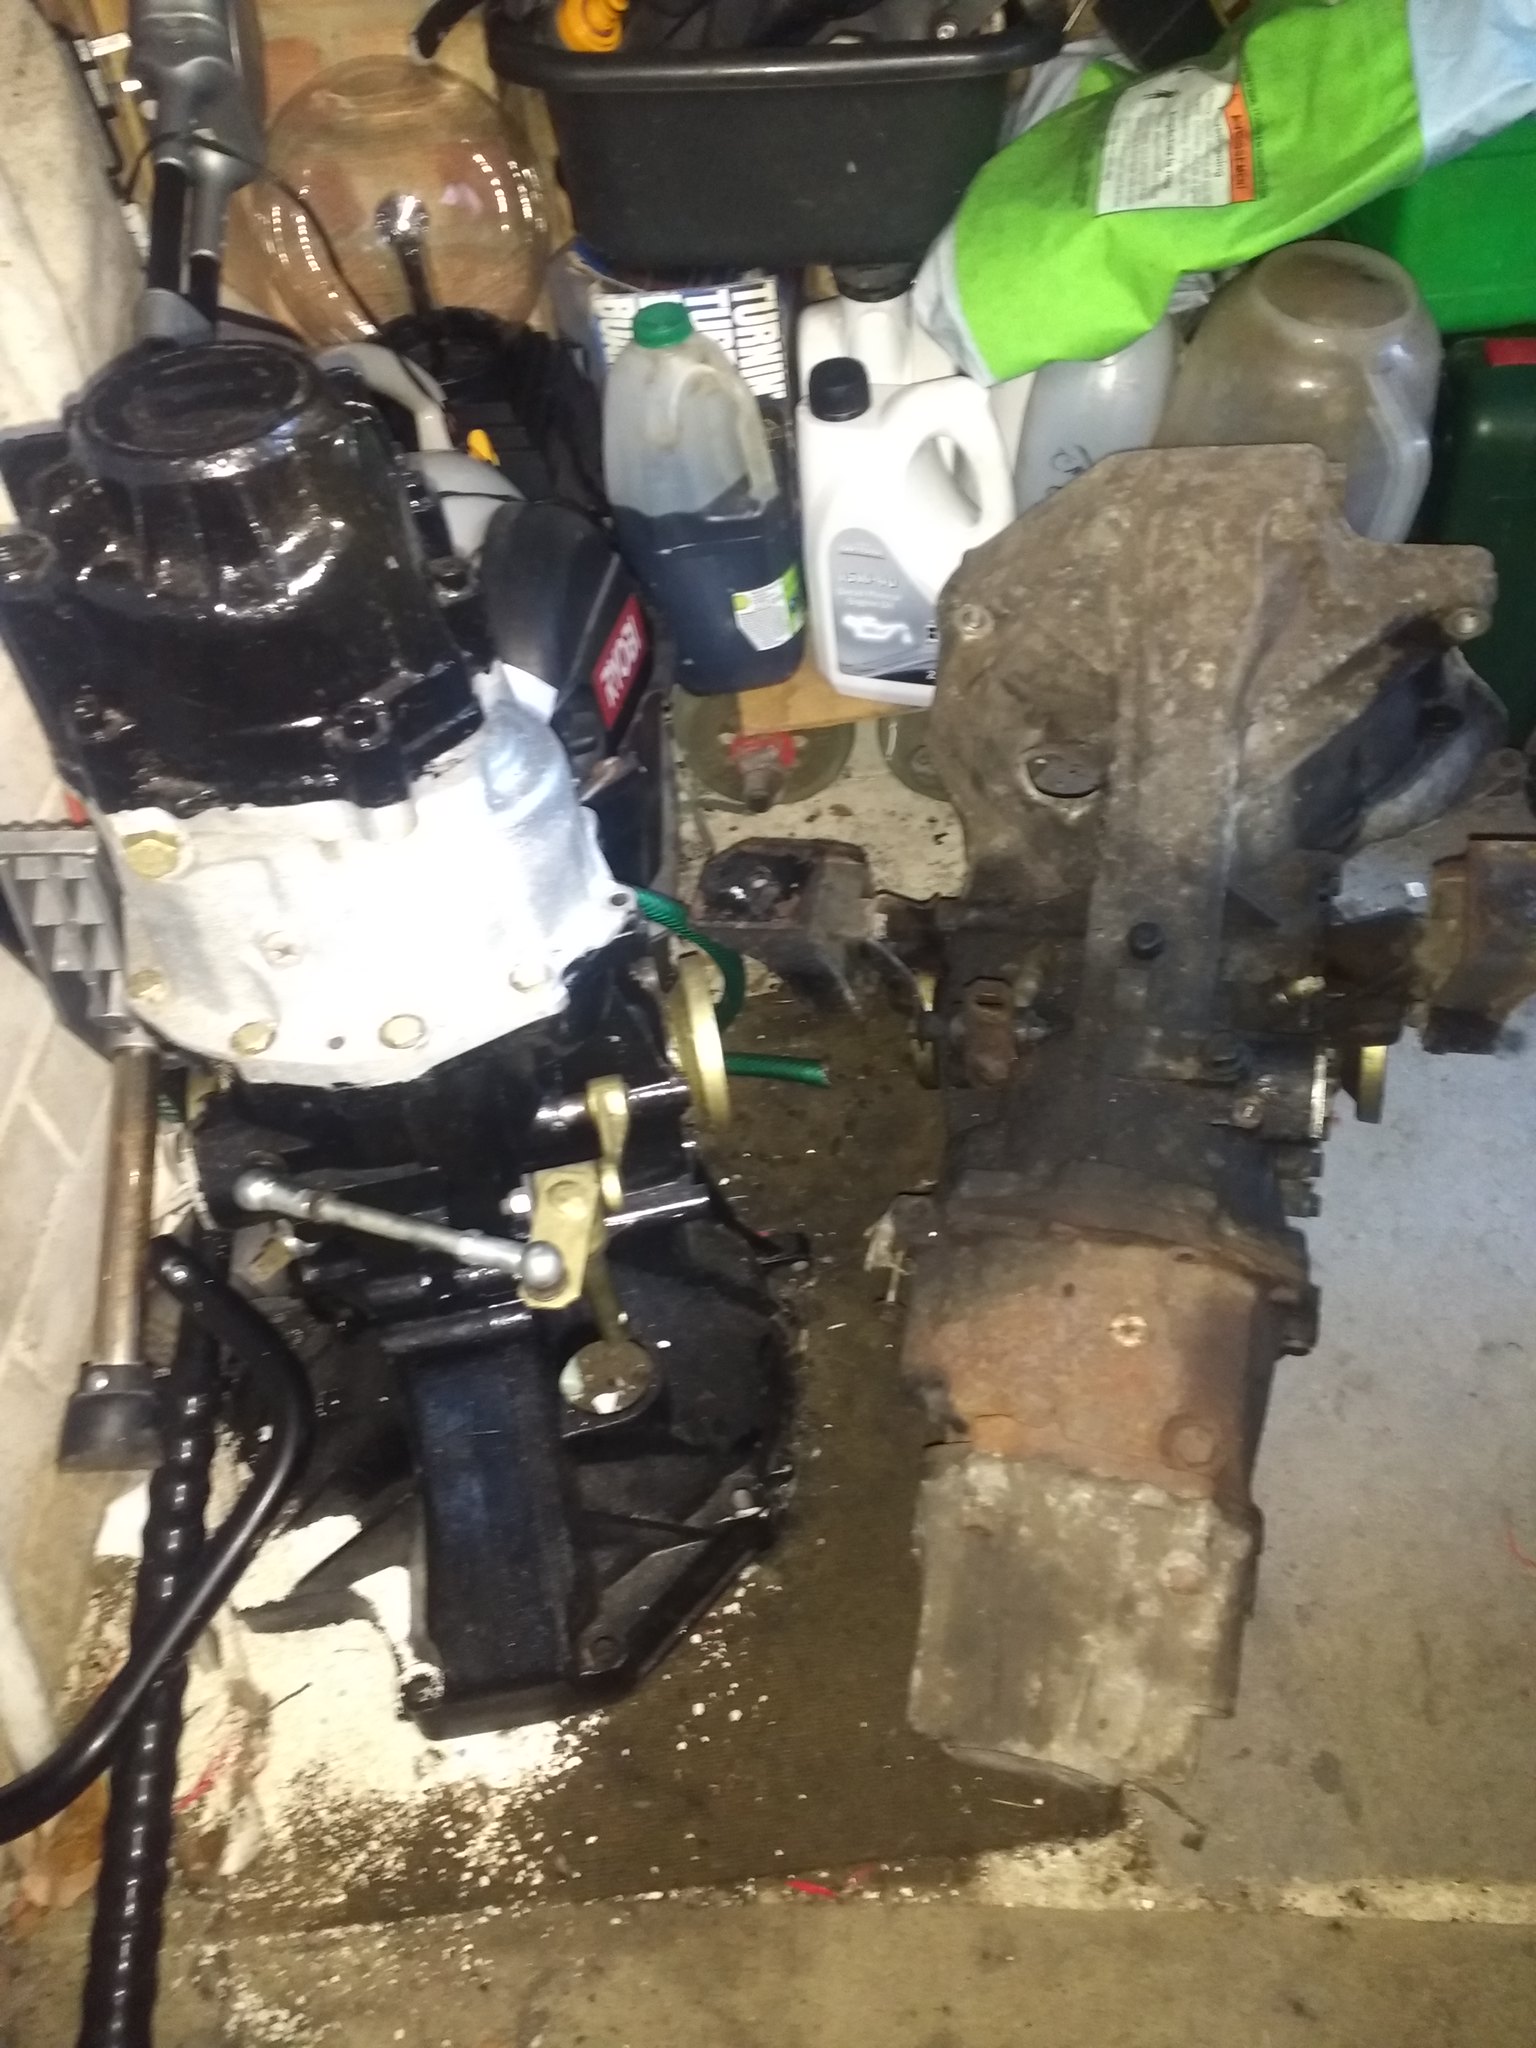
ugs are down so a little bit of comfort). Decided to do an hour each evening to break up the task which also means if something goes a bit wrong I can just walk away for 24 hours! I have a new gearbox to go in which I've replaced seals and given a basic service in preparation.
Ill add any exciting pictures as I go along and remember safety first")
Post completion note: If your thinking of doing this job yourself it's 100% do-able with lots of research and bit of logical thinking. Took me about 14 hours so either right off a weekend or do an hour a night over a few weeks. Read through the below which might help as there are some gotchas to look out for and feel free to PM me if you have any questions. Good Luck!!
1st night
- Removed the exhaust from the down pipe back. This came off ok as I'd replaced it 2 years ago
- Remove both drive shafts. I'd rebuilt these a few years ago so the bolts came out ok but its far easier to do with the car on the ground and just roll car forward as you work through the bolts. Totally removed them to get them out the way.
- Release gear linkage. The rubber boot that covers the bolt was rock hard after 36 years of sitting next to the exhaust so I cut it off then cut the lock wire and released the linkage.
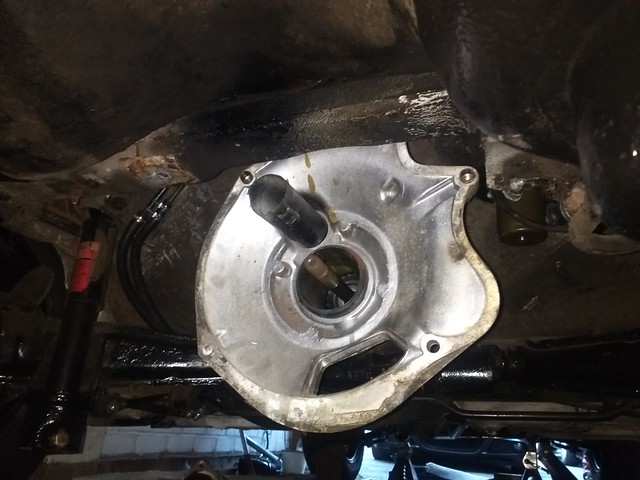
- Disconnect the gearbox orque tube. Going through the access holes in the gearbox housing I rotated the engine until I could access the bolts which need fully removing then slide the coupler back into the gearbox.
- Remove the exhaust bracket from the back of the gear box and the rear box heat shield.
2nd night
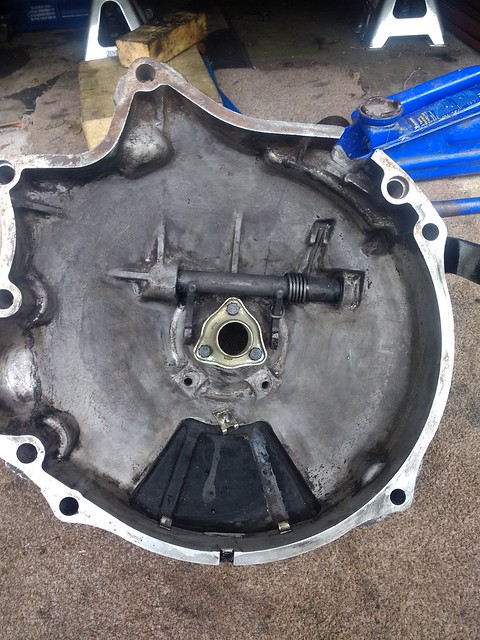
- Inside the car and disconnect the gear linkage rod from the gear stick, remove the 2 bolts for the gear stick and lift it out then 'convince' the linkage rod to go forward through the foam surround. I tried a few different angles before it moved forward enough.
- Push forward the plastic tube that the gear linkage goes through on top of the gearbox. This needs moving towards the front of the car and is simply 'in there' but was a pain to slide back. Ended up with a bit of wood over the gearbox and hitting that to push the tube back.
- Disconnect reverse sensor cable.
- Lodge a piece of wood or similar between the torque tube and rear beam in preparation to support it as the box comes out.
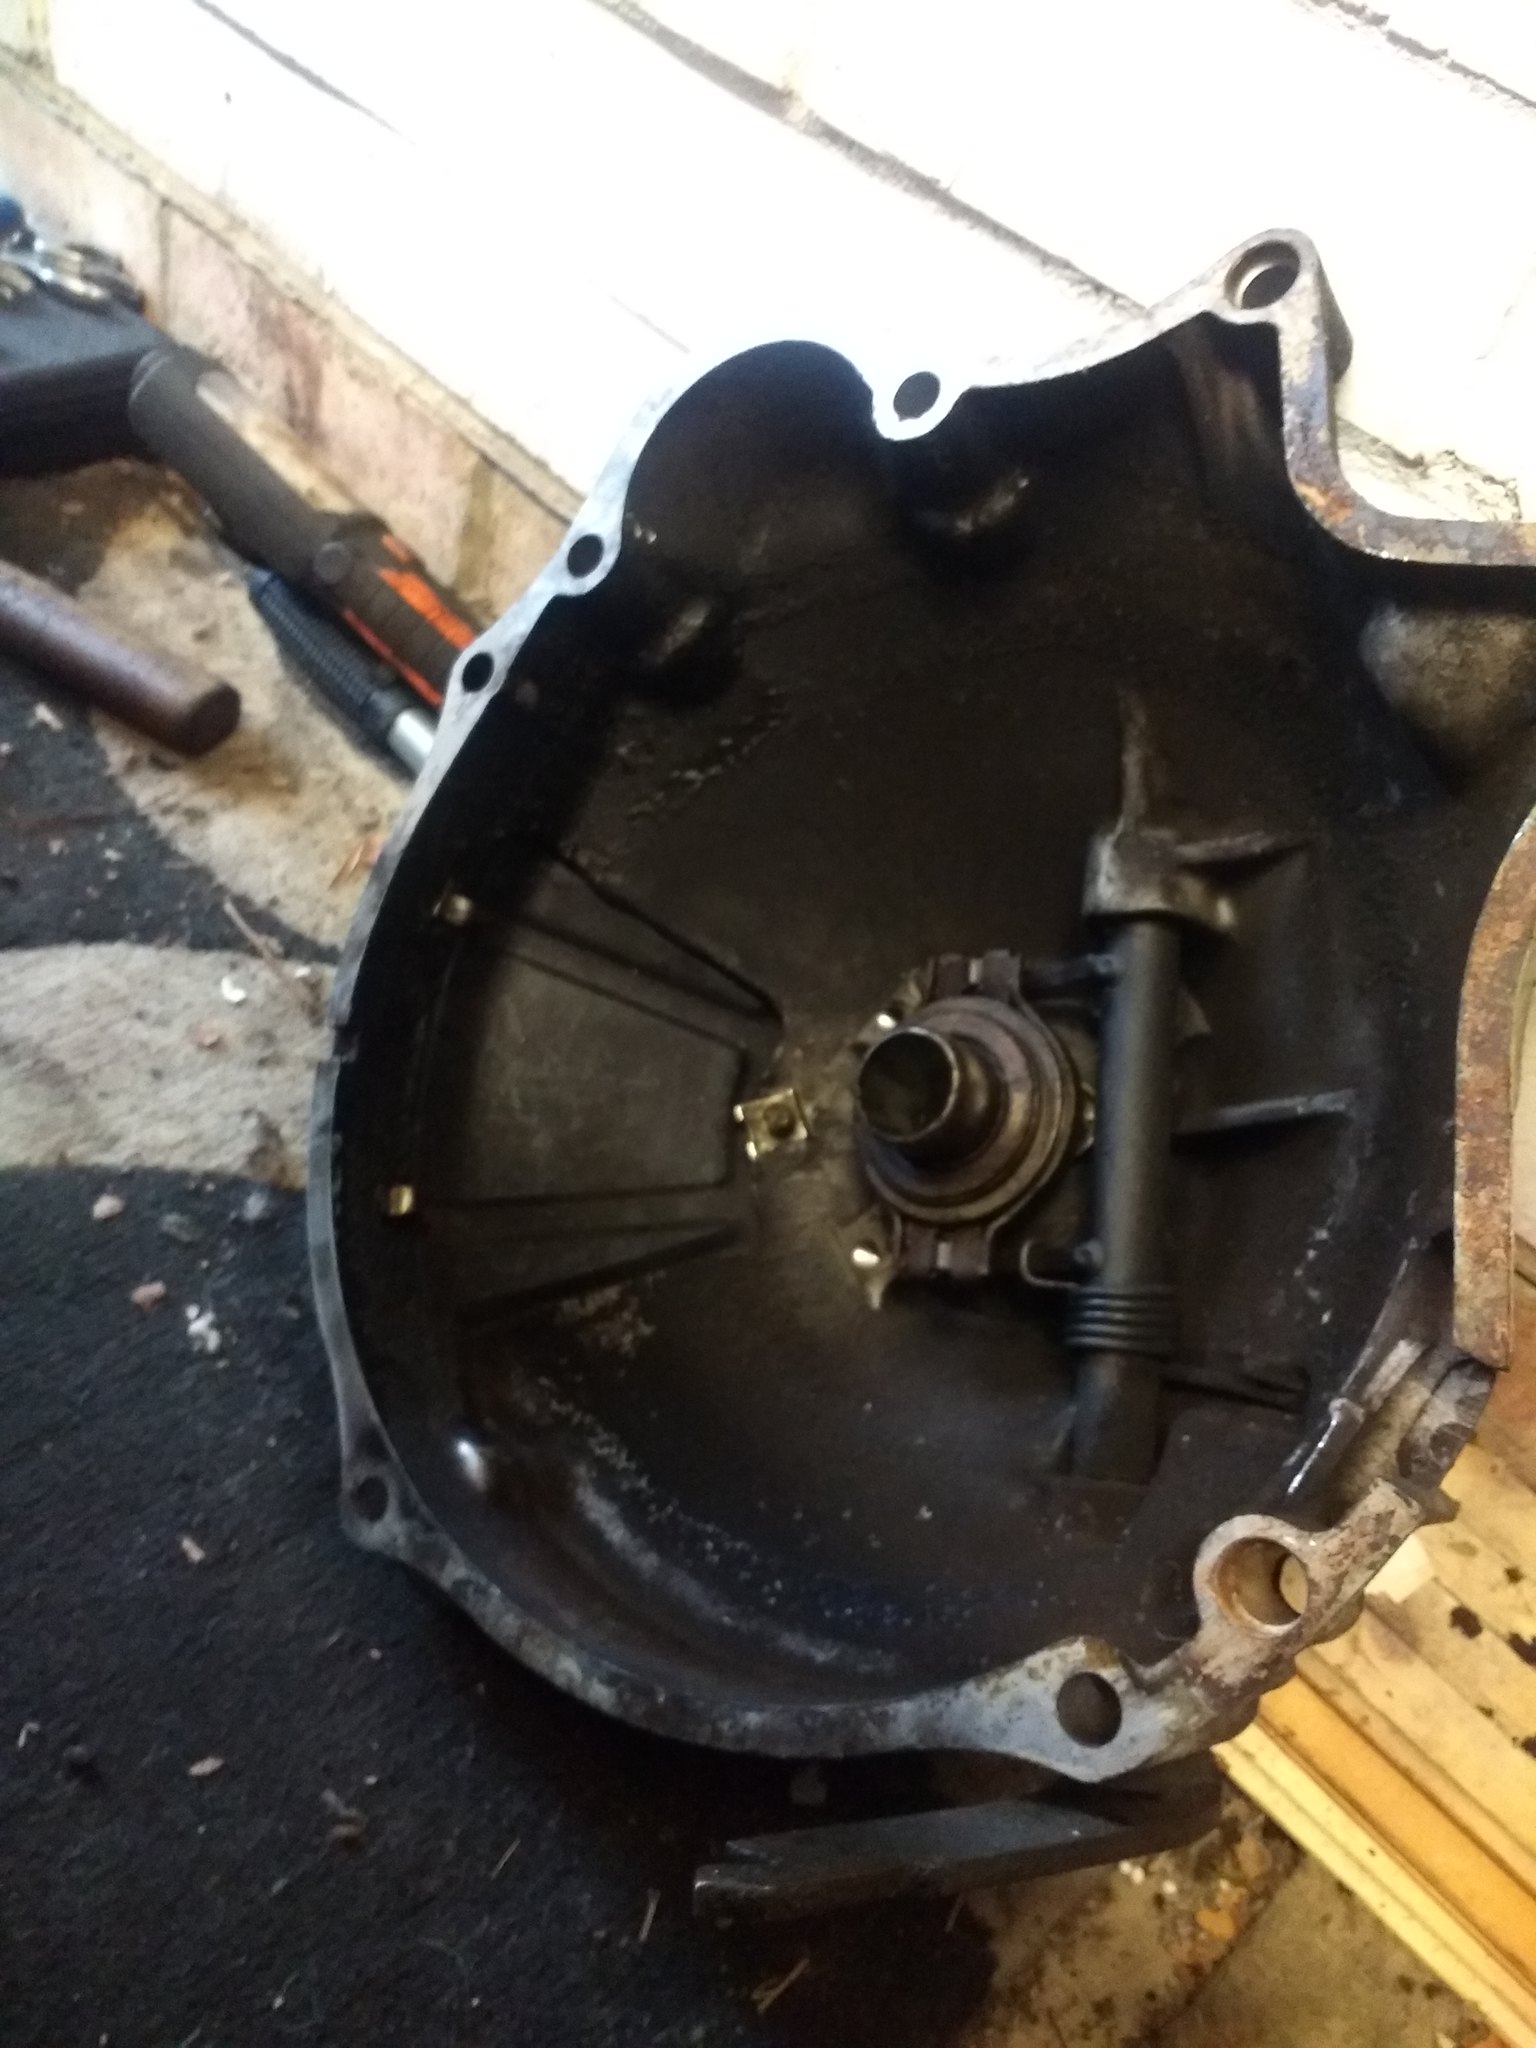
- Remove the bolts that hold the gearbox to the toque tube (one 17 mm and three 19 mm bolts - only one that's difficult is the 19 mm next to the accumulator which is bit of fiddle)
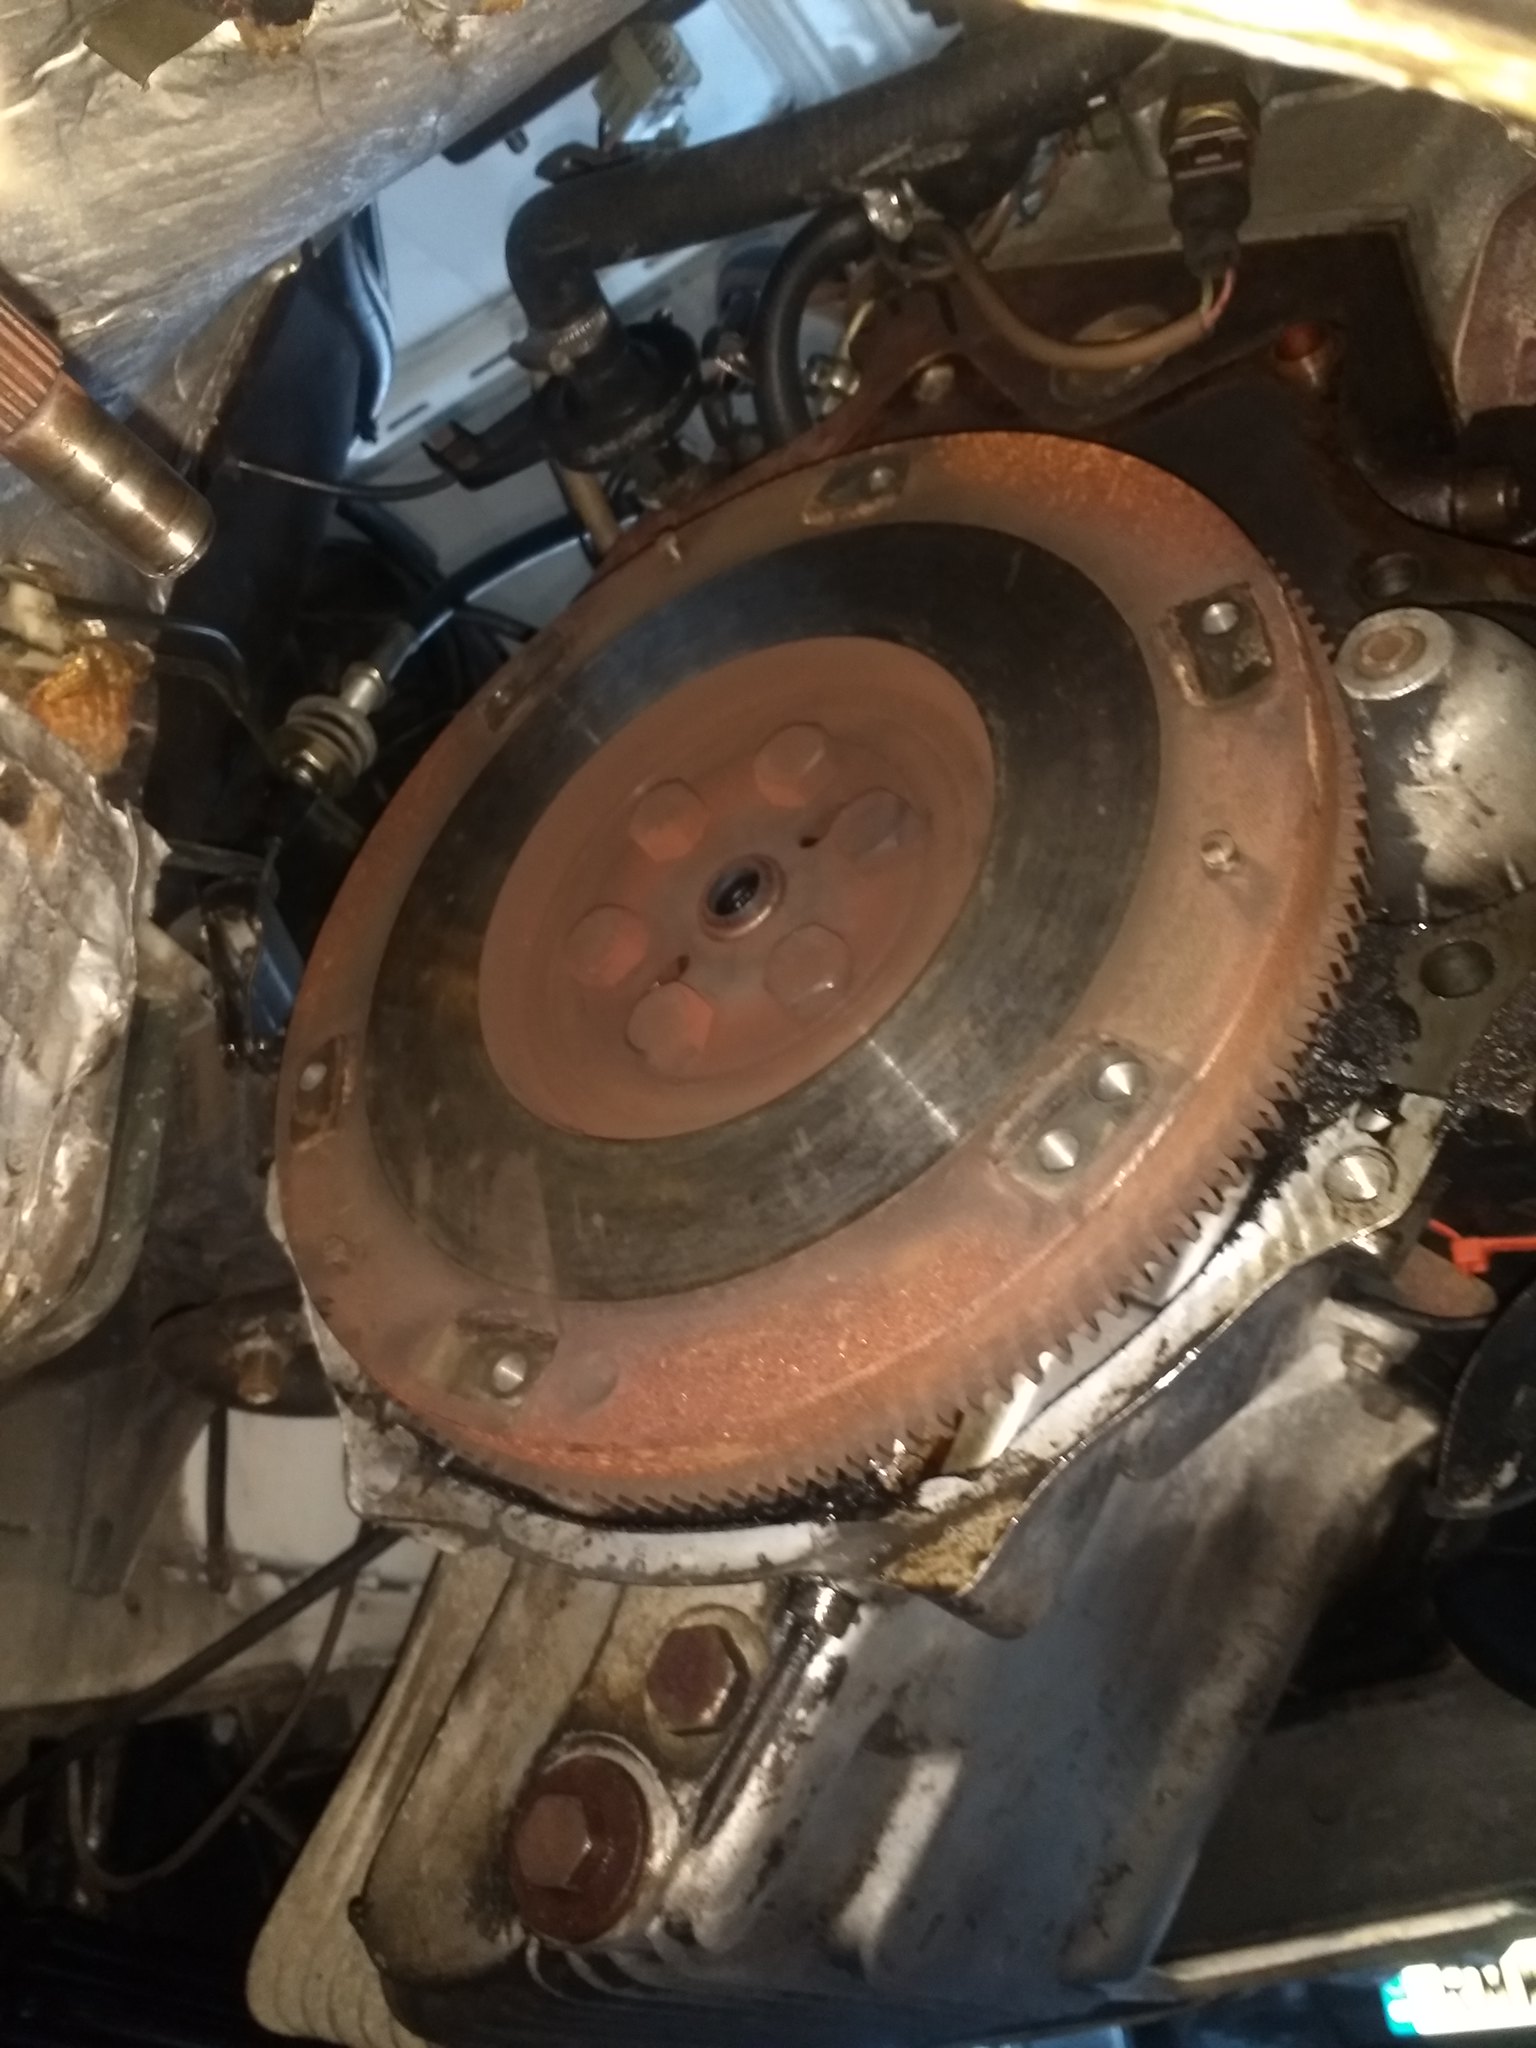
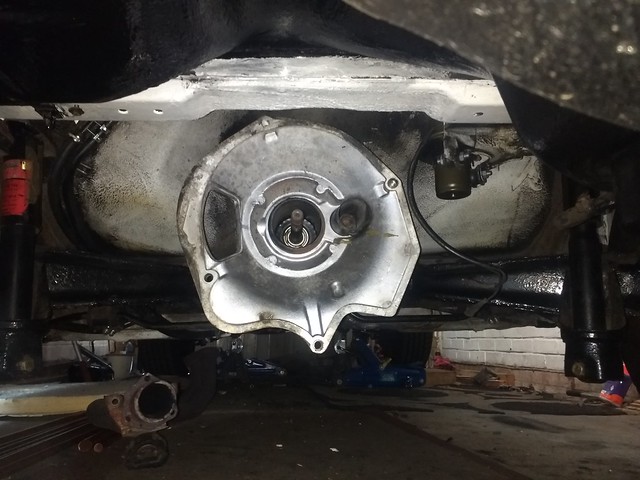
- Time to drop the box which is seriously heavy! With the car on the ground and all weight on the wheels I put a trolley jack under the cv cups on each side of the box then slowly removed the gearbox mount bolts. As the bolts came out the weight of the box was taken on the trolley jacks which allowed me to slowly lower the box down while lifting the back of it up and down as required to clear the spare wheel well.
- As the box cleared the torque tube, spare wheel well and fuel tank I let it sit on the floor then jacked the car back up and dragged it out via the exhaust cut out.
- Release the 2 exhaust clamps on the torque tube in preparation for it to be slid back from the bell housing.
Thoughts so far: My main concern about the job overall was dropping the box but actually it wasn't too bad. I'm lucky that I've taken quite a bit apart in the past so no stuck bolts yet but I'm only 25% through the complete job so fingers crossed!!! Plan to remove front heat shields etc and slide the toque tube back tonight then clutch bell housing off Friday night.
After getting more annoyed with the clutch rattling at biting point I've started to replace the clutch and thought I'd document the fun and games here for other users. I'd say I'm quite good when it comes to home mechanics but I'm simply working on the garage floor (carpet
ugs are down so a little bit of comfort). Decided to do an hour each evening to break up the task which also means if something goes a bit wrong I can just walk away for 24 hours! I have a new gearbox to go in which I've replaced seals and given a basic service in preparation.
Ill add any exciting pictures as I go along and remember safety first
Post completion note: If your thinking of doing this job yourself it's 100% do-able with lots of research and bit of logical thinking. Took me about 14 hours so either right off a weekend or do an hour a night over a few weeks. Read through the below which might help as there are some gotchas to look out for and feel free to PM me if you have any questions. Good Luck!!
1st night
- Removed the exhaust from the down pipe back. This came off ok as I'd replaced it 2 years ago
- Remove both drive shafts. I'd rebuilt these a few years ago so the bolts came out ok but its far easier to do with the car on the ground and just roll car forward as you work through the bolts. Totally removed them to get them out the way.
- Release gear linkage. The rubber boot that covers the bolt was rock hard after 36 years of sitting next to the exhaust so I cut it off then cut the lock wire and released the linkage.
- Disconnect the gearbox orque tube. Going through the access holes in the gearbox housing I rotated the engine until I could access the bolts which need fully removing then slide the coupler back into the gearbox.
- Remove the exhaust bracket from the back of the gear box and the rear box heat shield.
2nd night
- Inside the car and disconnect the gear linkage rod from the gear stick, remove the 2 bolts for the gear stick and lift it out then 'convince' the linkage rod to go forward through the foam surround. I tried a few different angles before it moved forward enough.
- Push forward the plastic tube that the gear linkage goes through on top of the gearbox. This needs moving towards the front of the car and is simply 'in there' but was a pain to slide back. Ended up with a bit of wood over the gearbox and hitting that to push the tube back.
- Disconnect reverse sensor cable.
- Lodge a piece of wood or similar between the torque tube and rear beam in preparation to support it as the box comes out.
- Remove the bolts that hold the gearbox to the toque tube (one 17 mm and three 19 mm bolts - only one that's difficult is the 19 mm next to the accumulator which is bit of fiddle)
- Time to drop the box which is seriously heavy! With the car on the ground and all weight on the wheels I put a trolley jack under the cv cups on each side of the box then slowly removed the gearbox mount bolts. As the bolts came out the weight of the box was taken on the trolley jacks which allowed me to slowly lower the box down while lifting the back of it up and down as required to clear the spare wheel well.
- As the box cleared the torque tube, spare wheel well and fuel tank I let it sit on the floor then jacked the car back up and dragged it out via the exhaust cut out.
- Release the 2 exhaust clamps on the torque tube in preparation for it to be slid back from the bell housing.
Thoughts so far: My main concern about the job overall was dropping the box but actually it wasn't too bad. I'm lucky that I've taken quite a bit apart in the past so no stuck bolts yet but I'm only 25% through the complete job so fingers crossed!!! Plan to remove front heat shields etc and slide the toque tube back tonight then clutch bell housing off Friday night.